
In theory, designing products is a smooth journey: you discover a problem, conduct user and market research, generate ideas, test them, and ship a brilliant solution.
In reality, it’s a mess.
Designers get handed unclear ideas on Friday and are expected to mock up a prototype by Monday. Founders want pixel-perfect mockups before there’s a product strategy. You’re missing access to users, half the team is in different time zones, and the product roadmap is a moving target.
So what do you do?
You adapt. You build a process that’s good enough to work. And that’s what this guide is about. We’ll explain how to design a product in 8 steps along with expert advice, community insights, and real-world examples. All the steps are flexible, so you can shape them around your team’s needs and constraints.
What is the product design process?
The product design process is a structured way of creating products from scratch or improving those that already exist. At first glance, it might seem like a rigid set of rules, but in practice, it’s a series of stages that help designers, developers, and founders stay on the same page.
Without some kind of process, teams tend to drift. Features get added for unclear reasons, deadlines pile up, and what ships often looks impressive on the surface, but doesn’t solve the right problems. A process won’t guarantee success, but it dramatically improves the odds by keeping attention on what matters most.
At its heart, every product design effort aims to:
- uncover what users actually struggle with,
- shape solutions that fit those needs,
- deliver them in a way that’s consistent, scalable, and realistic for the team behind it.
Instead of debating endlessly, the right design process gives the team a way to test, refine, and adapt as they go.
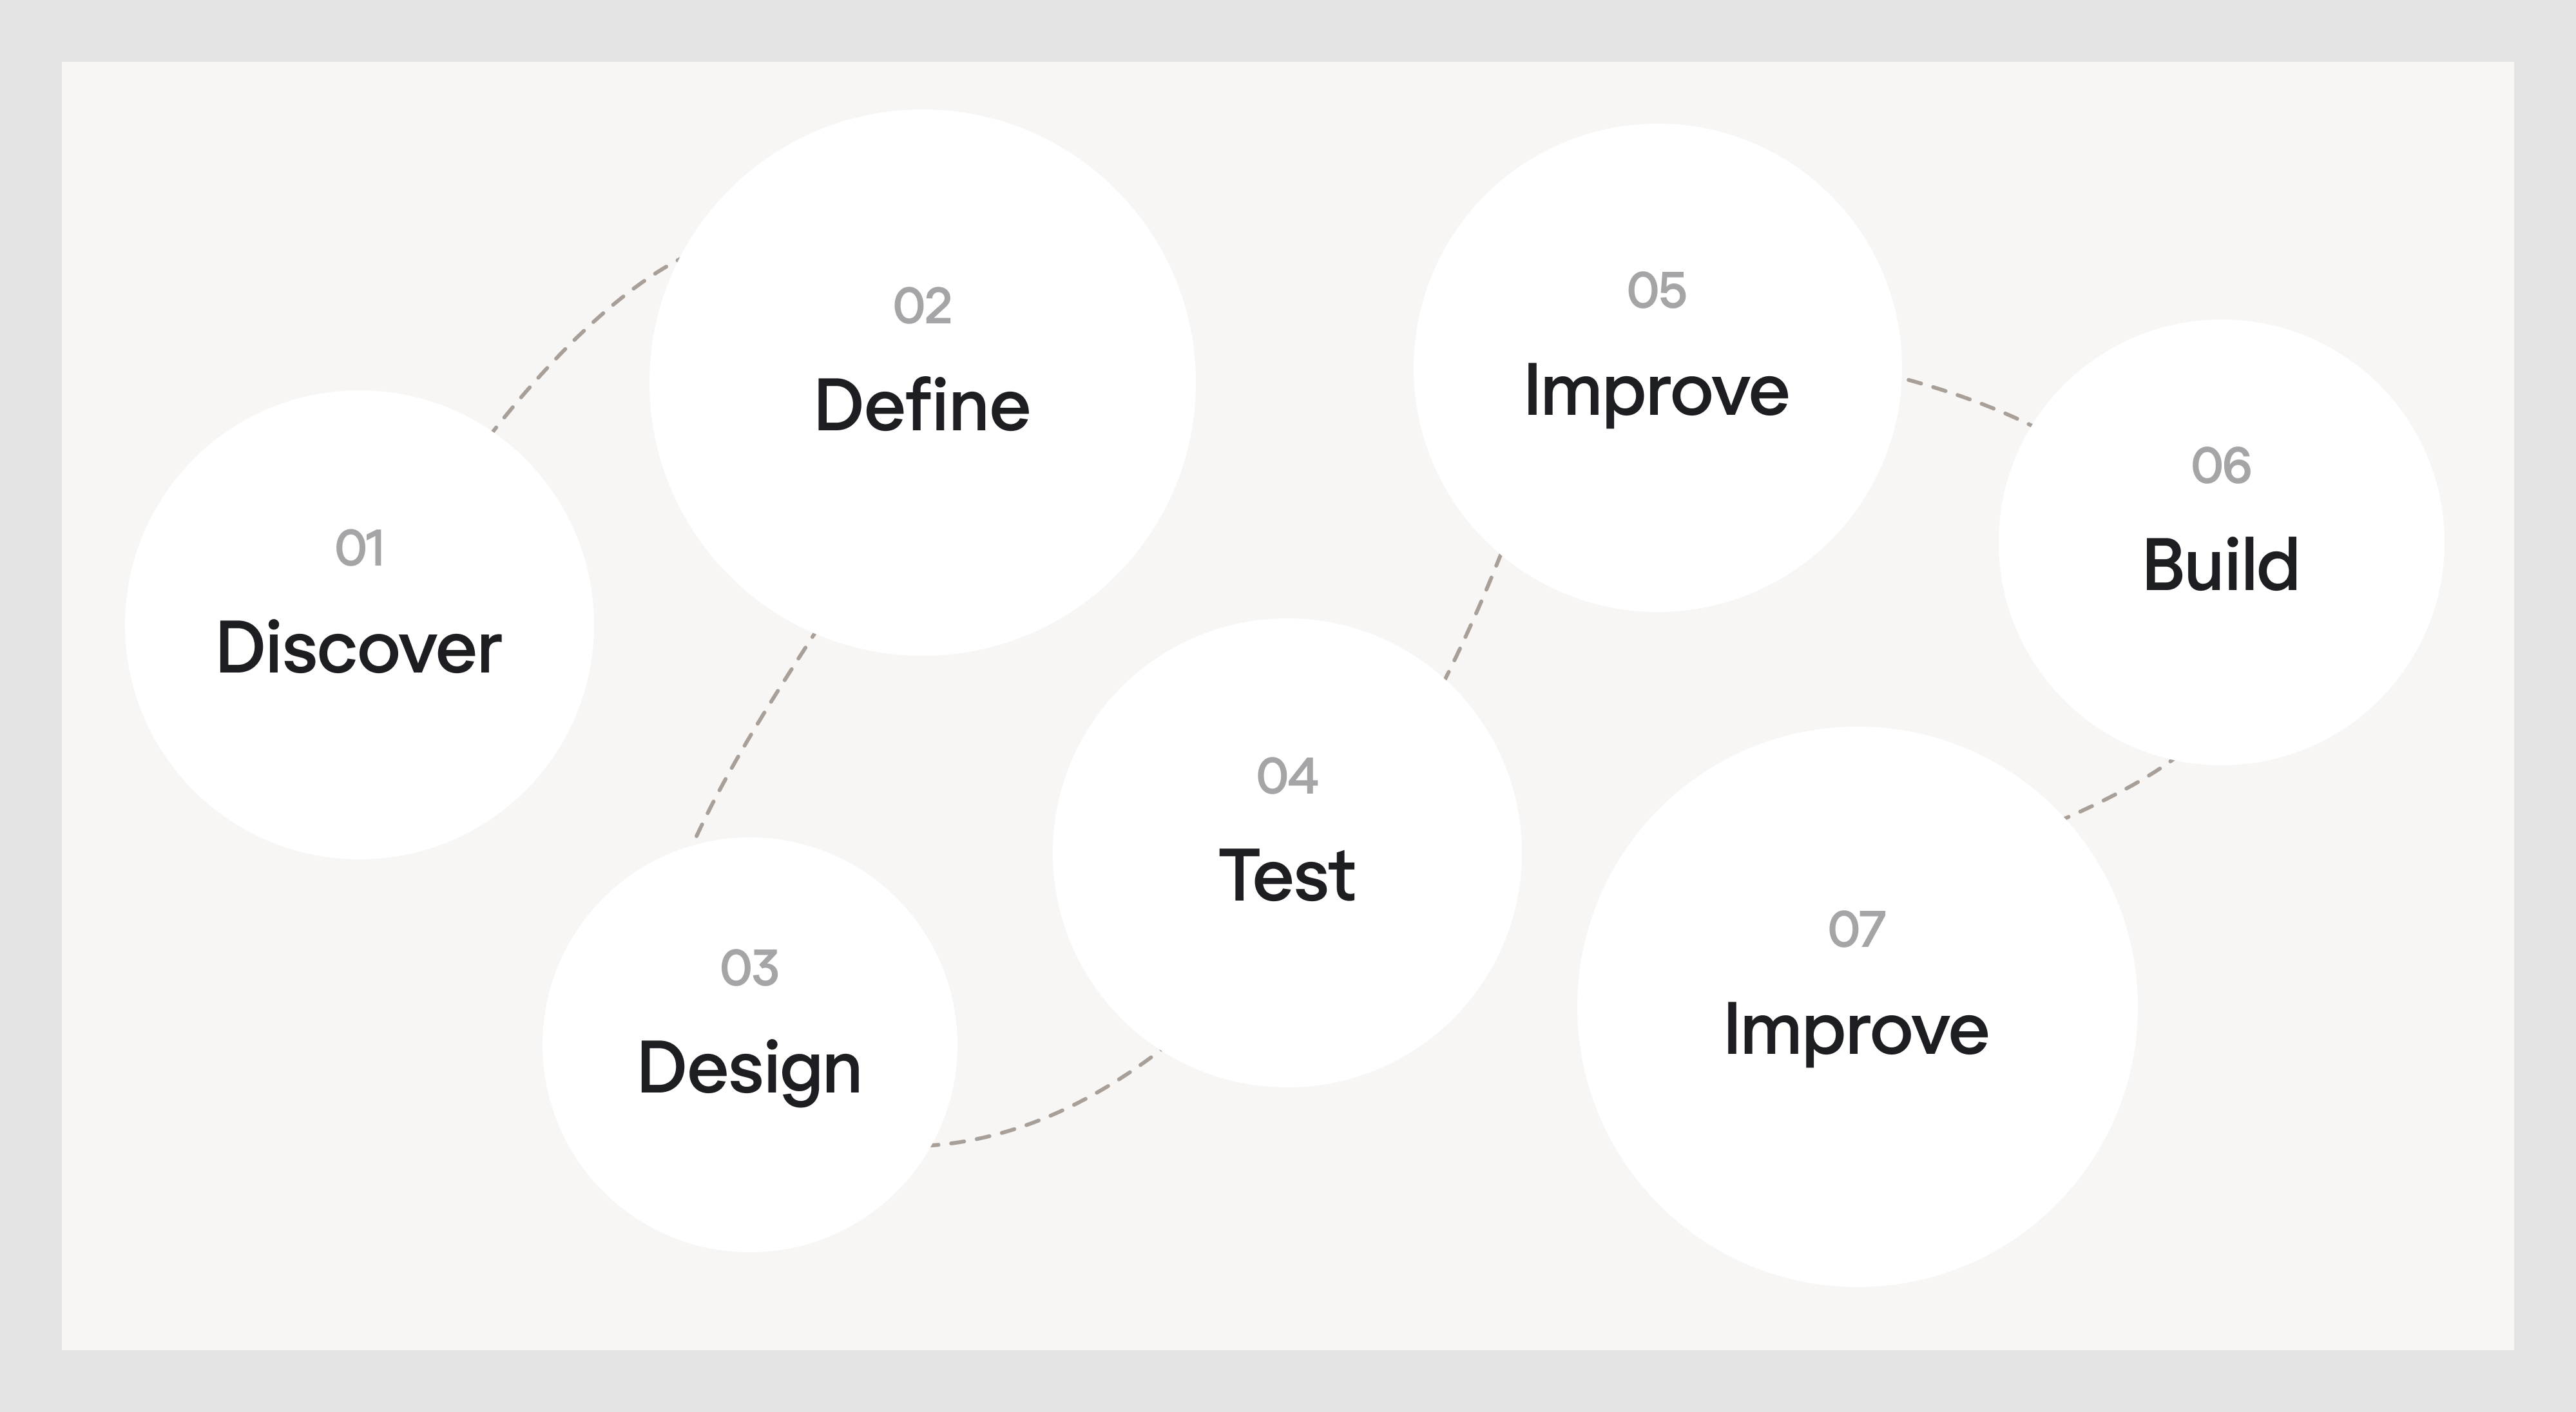
A realistic product design process in 8 steps
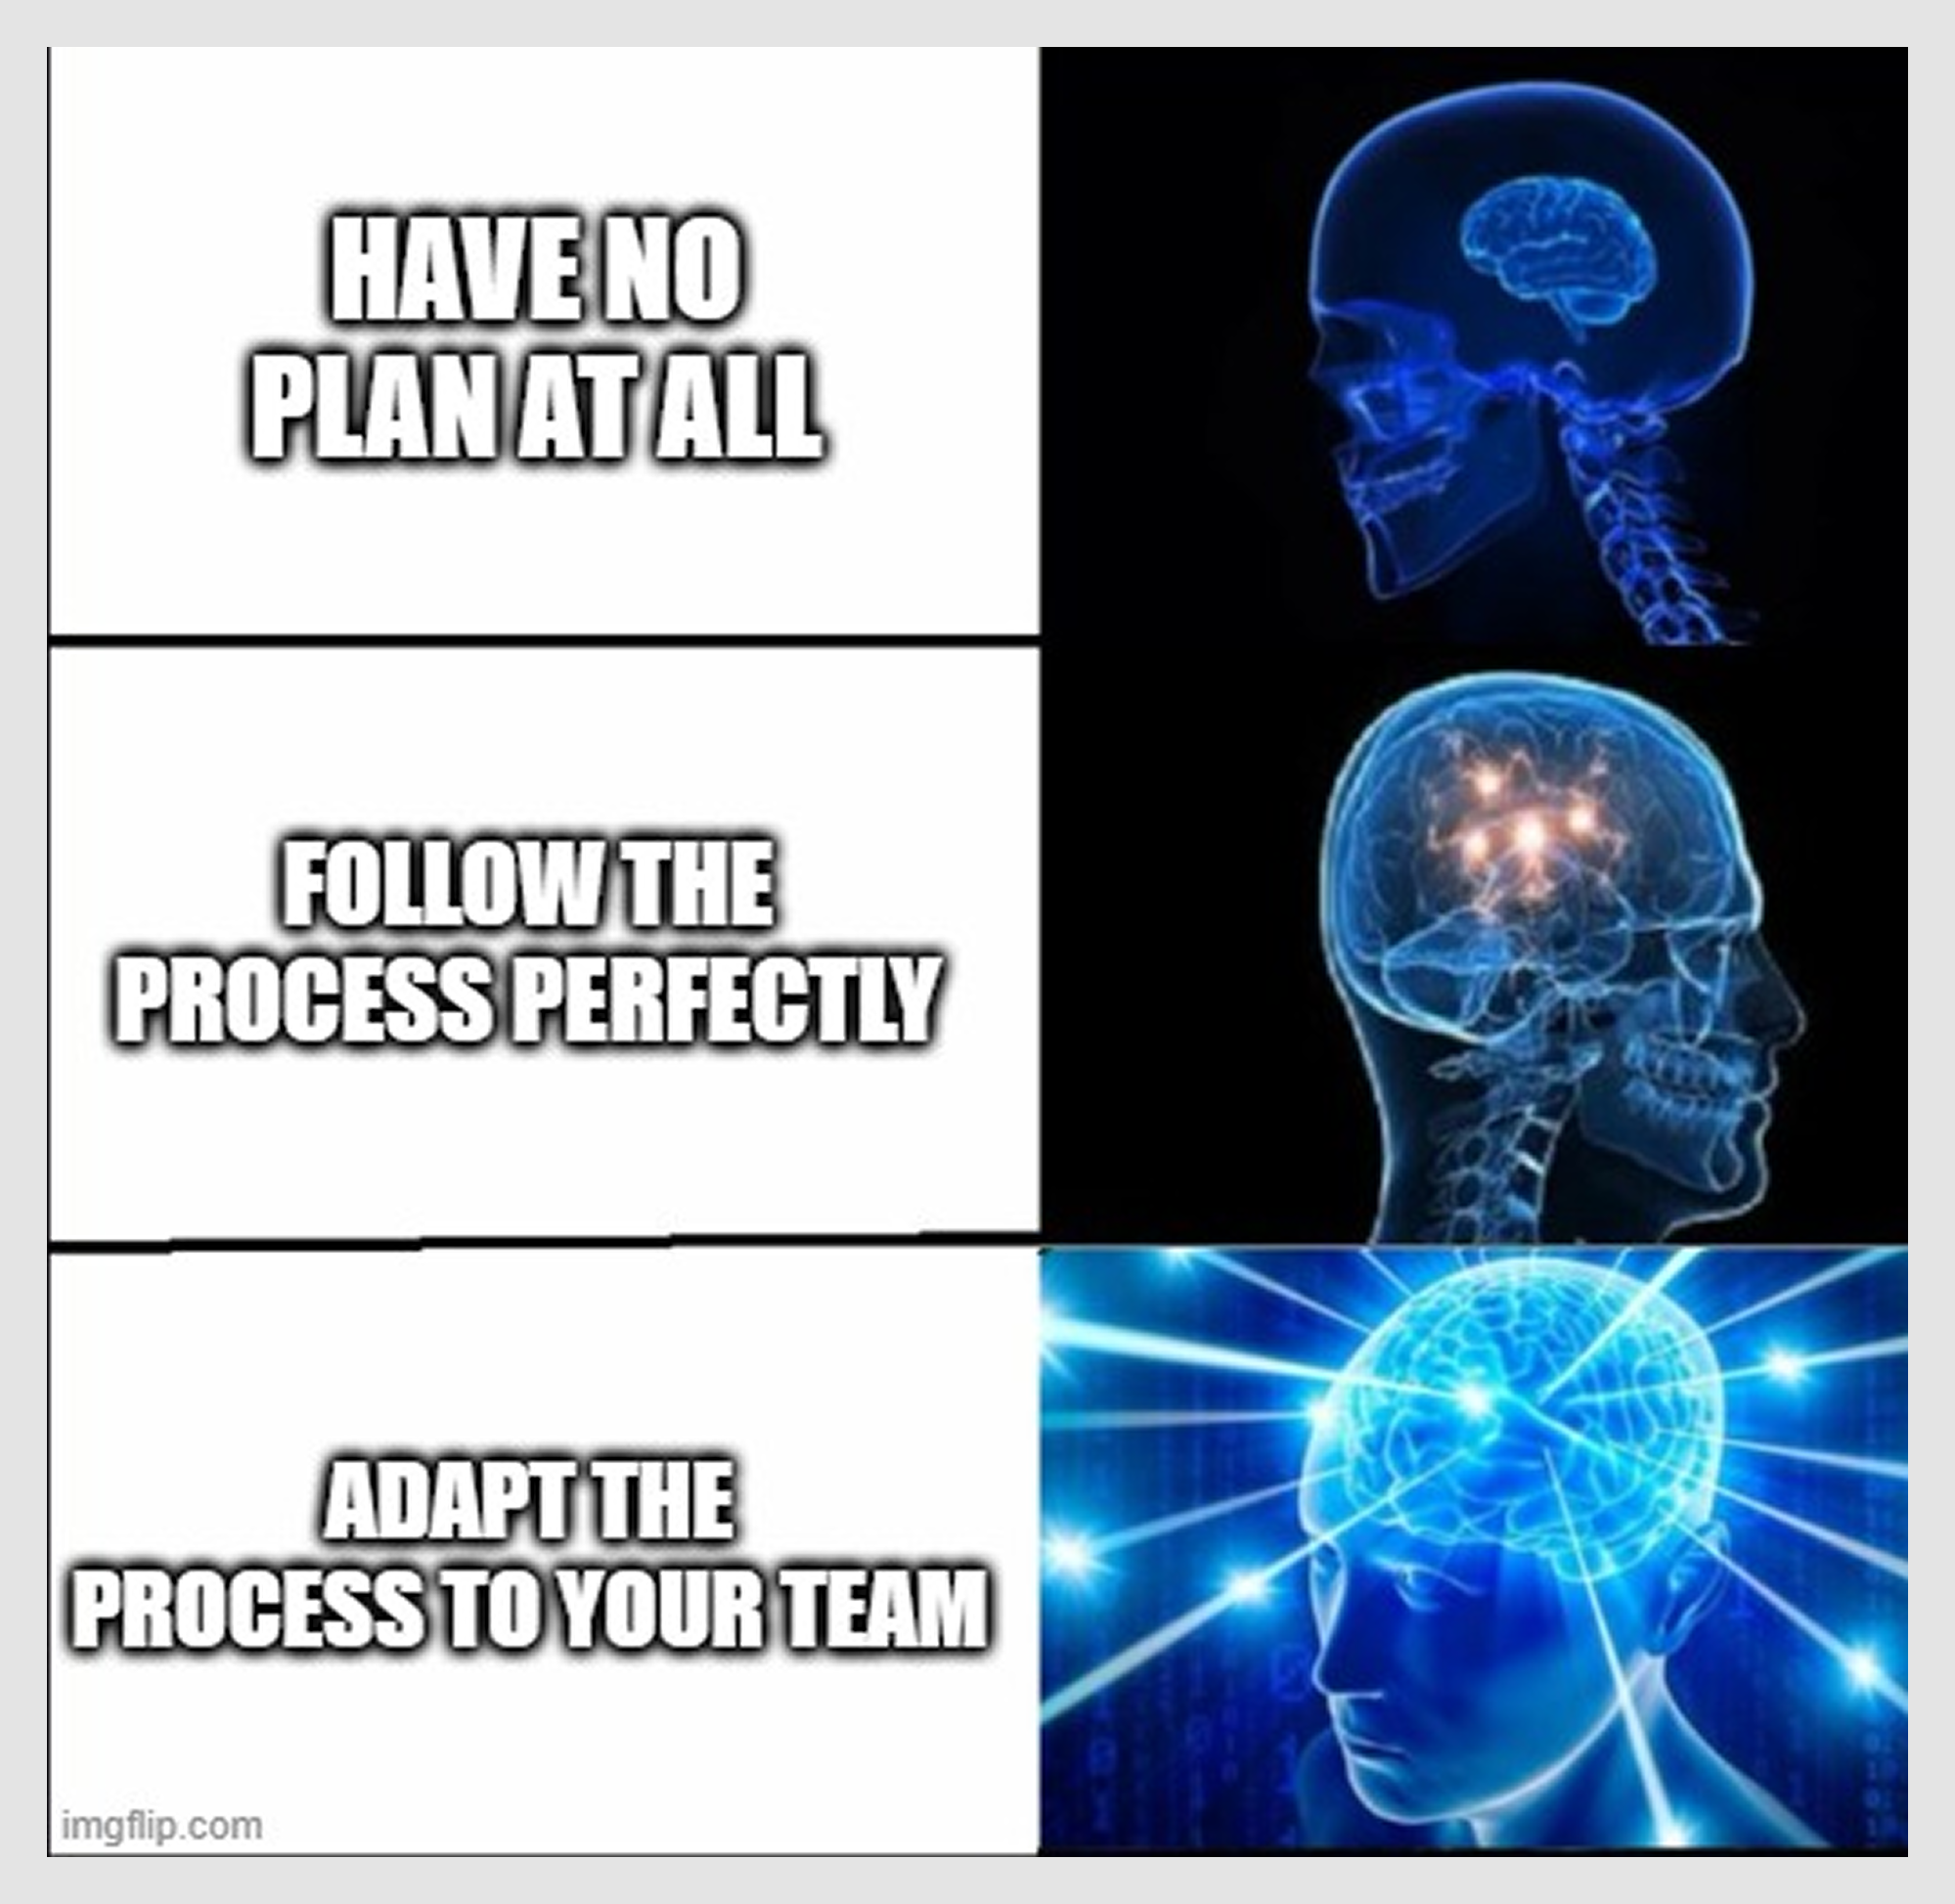
As we move into the product design steps, here’s one important thing: in real life, almost no one follows them in perfect order.
Teams skip steps, merge them together, or repeat the same stage three times before moving forward. Sometimes you’ll test before you sketch, or you’ll define goals and then realize you still don’t understand the problem. That’s normal.
The eight steps we’ll cover next aren’t a strict sequence you must follow. As we already said, you can arrange everything to fit your context, and our insights along the way will help you do it even better.
Step 1. Discover the problem
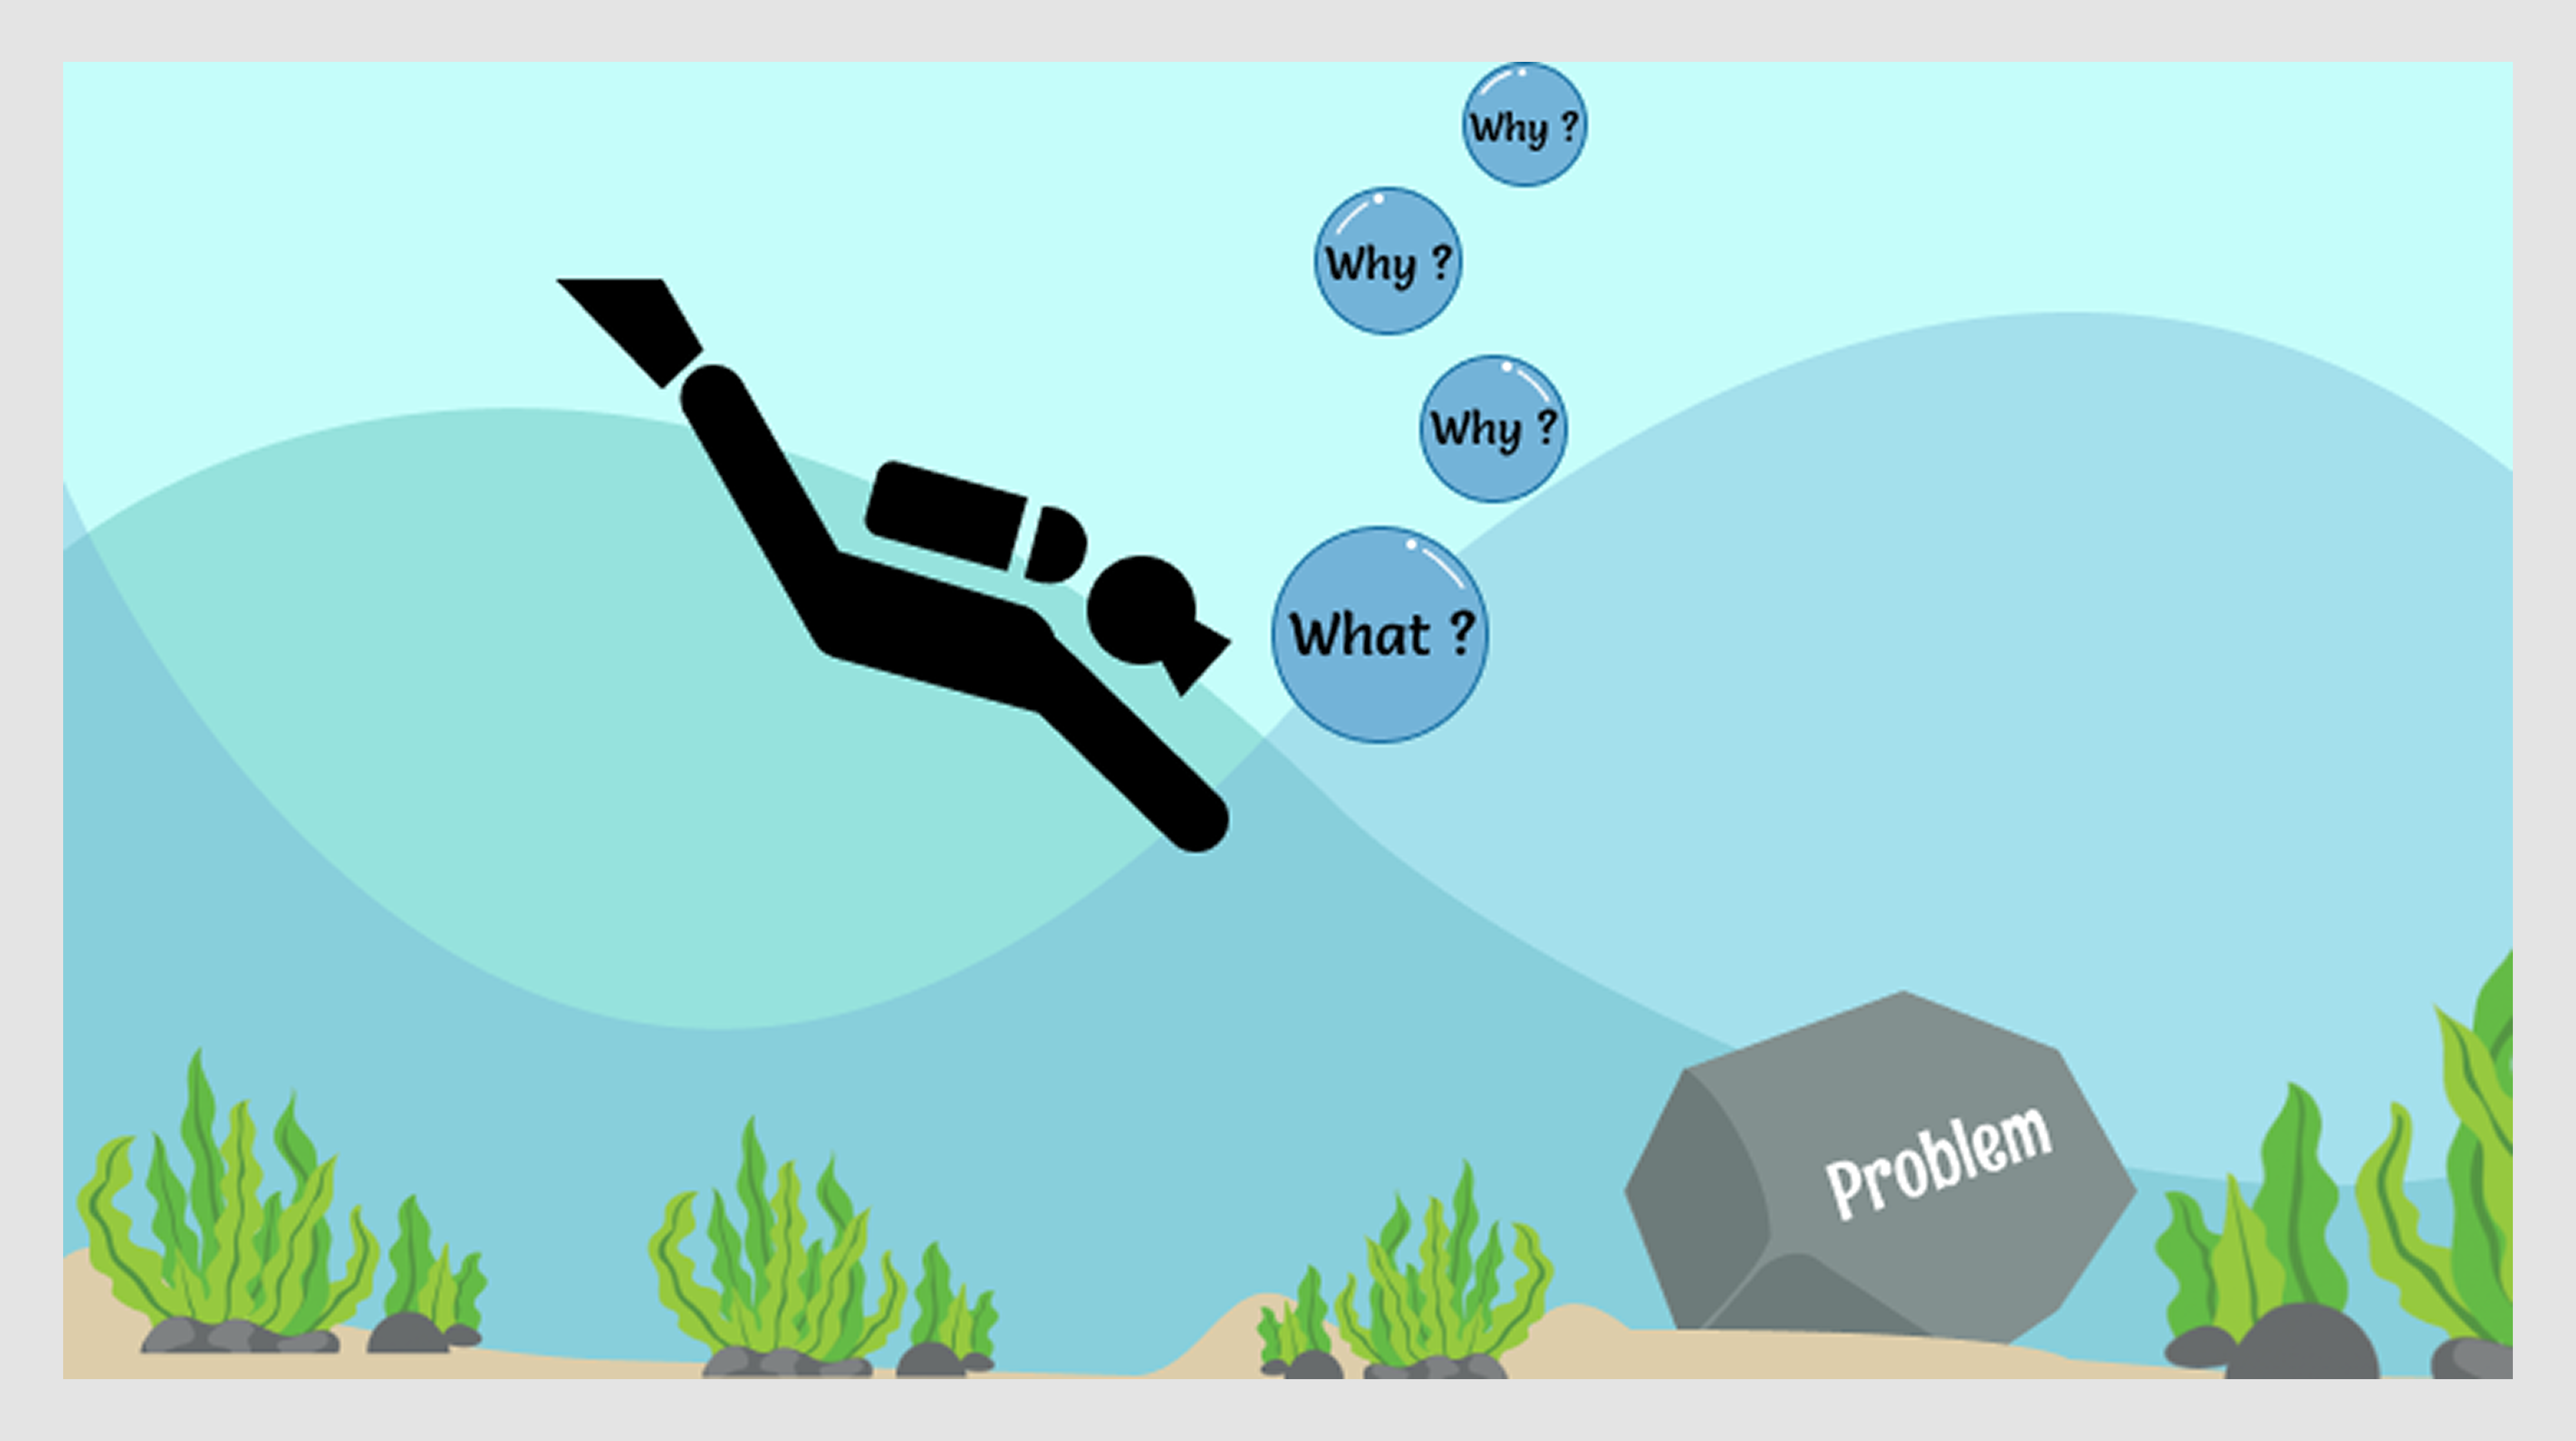
Every good product starts with a problem worth solving. In the design process, that problem has to be made visible and grounded in reality. The best way to do that is by asking the right questions early: What are we trying to solve, and for whom?
Product designers begin by gathering context from different sides — users, stakeholders, and the market. This stage often starts with a kickoff conversation or a project brief, but it quickly expands into deeper product design research. The aim is to see the bigger picture before jumping into solutions.
Some useful ways to explore the problem space include:
- User research: interviews, surveys, or focus groups to uncover pain points (Google Forms, Typeform, or even quick calls with potential users).
- Stakeholder workshops: sessions to align on business goals, technical specifications, and success metrics.
- Assumption mapping: list out what you believe to be true about users or the market and flag the riskiest assumptions to validate first.
- Market research: competitor audits, industry reports, or simple SWOT or PESTLE analysis to identify gaps and opportunities.
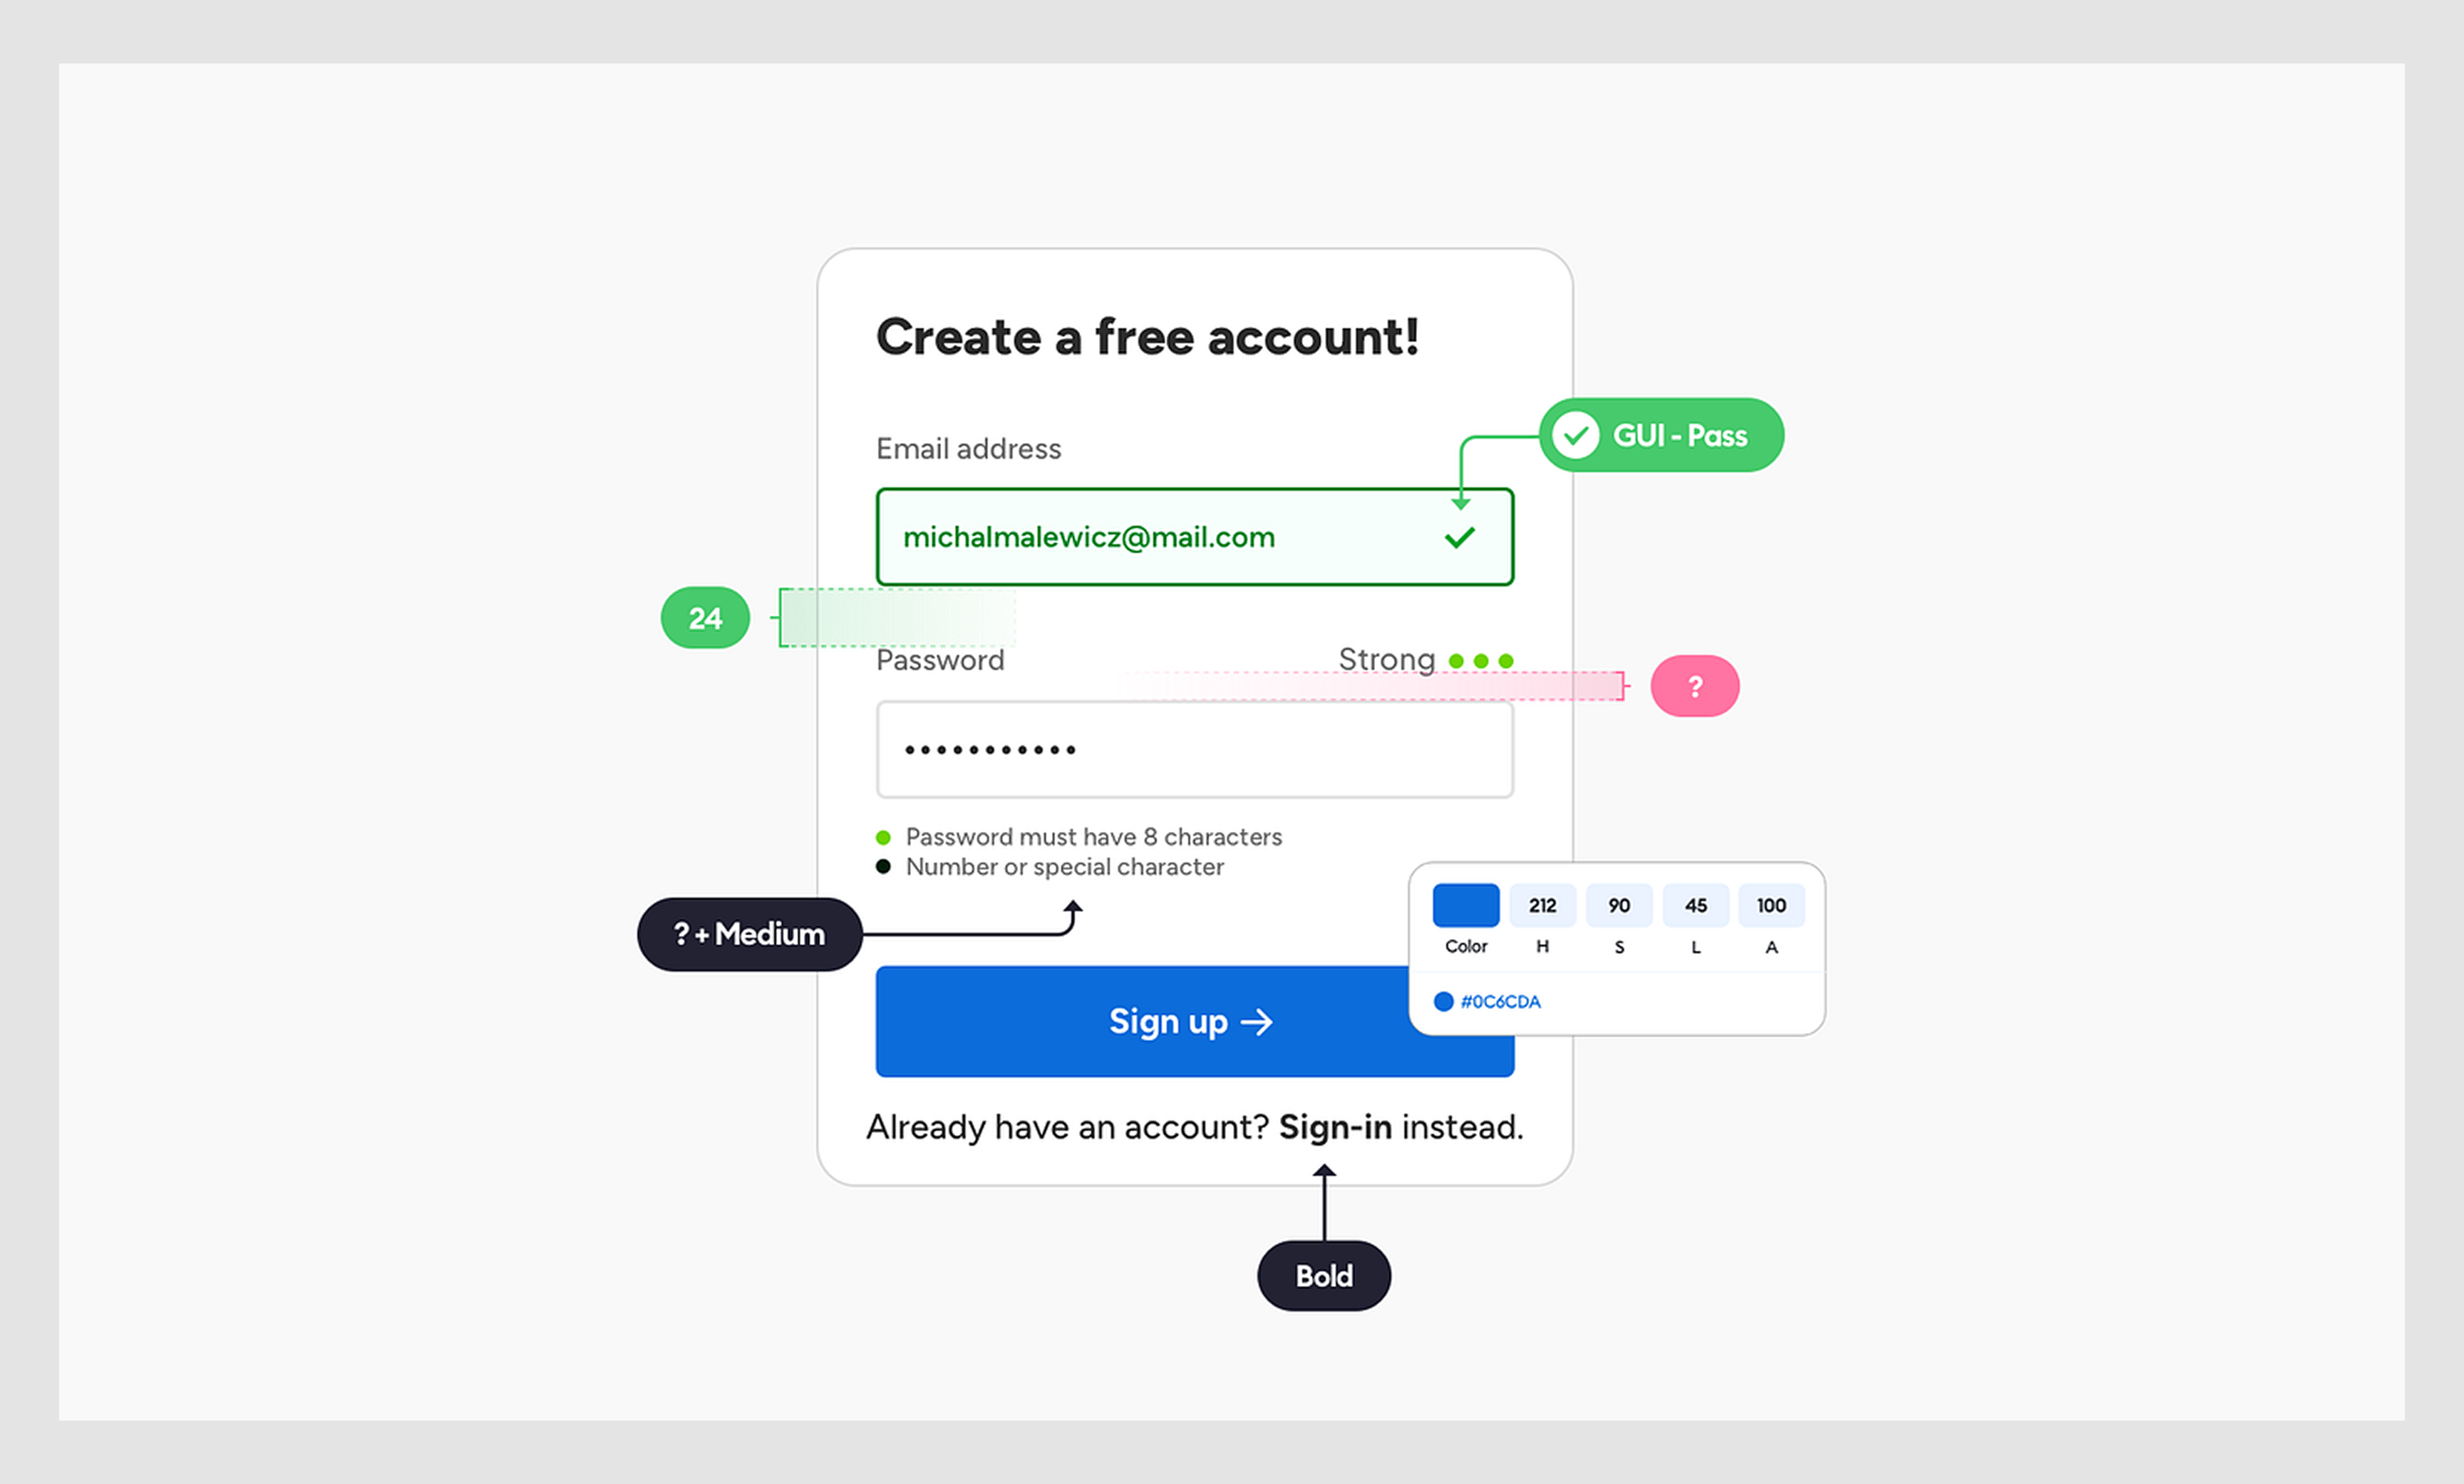
A real example from our own work shows how powerful this step can be. At Glow Labs, the product manager kept an open feedback loop with customers throughout development, and their input directly shaped the design.
It became clear that users struggled to notice important controls, and our decision was to make buttons bigger and brighter. It was a small design change, but it solved a real user frustration and kept the product usable.
Of course, access to users isn’t always possible, especially in startups. In those cases, designers get creative.
When we browsed through threads on Reddit, we found plenty of scrappy workarounds shared by practitioners. Some recommended using adjacent platforms where your target users hang out, others suggested talking to subject matter experts, and a few pointed to AI-powered tools like heatmaps to approximate user behavior.
None of these fully replace real conversations with users, but they can still help you uncover patterns and avoid designing a product in the dark.
Step 2. Define goals, scope, and success criteria
Once the problem is clear, the next step is to define where you’re headed. Simply put, insights from the research phase need to be turned into a product vision that everyone on the team understands. Without that alignment, even the best ideas risk being pulled in different directions.
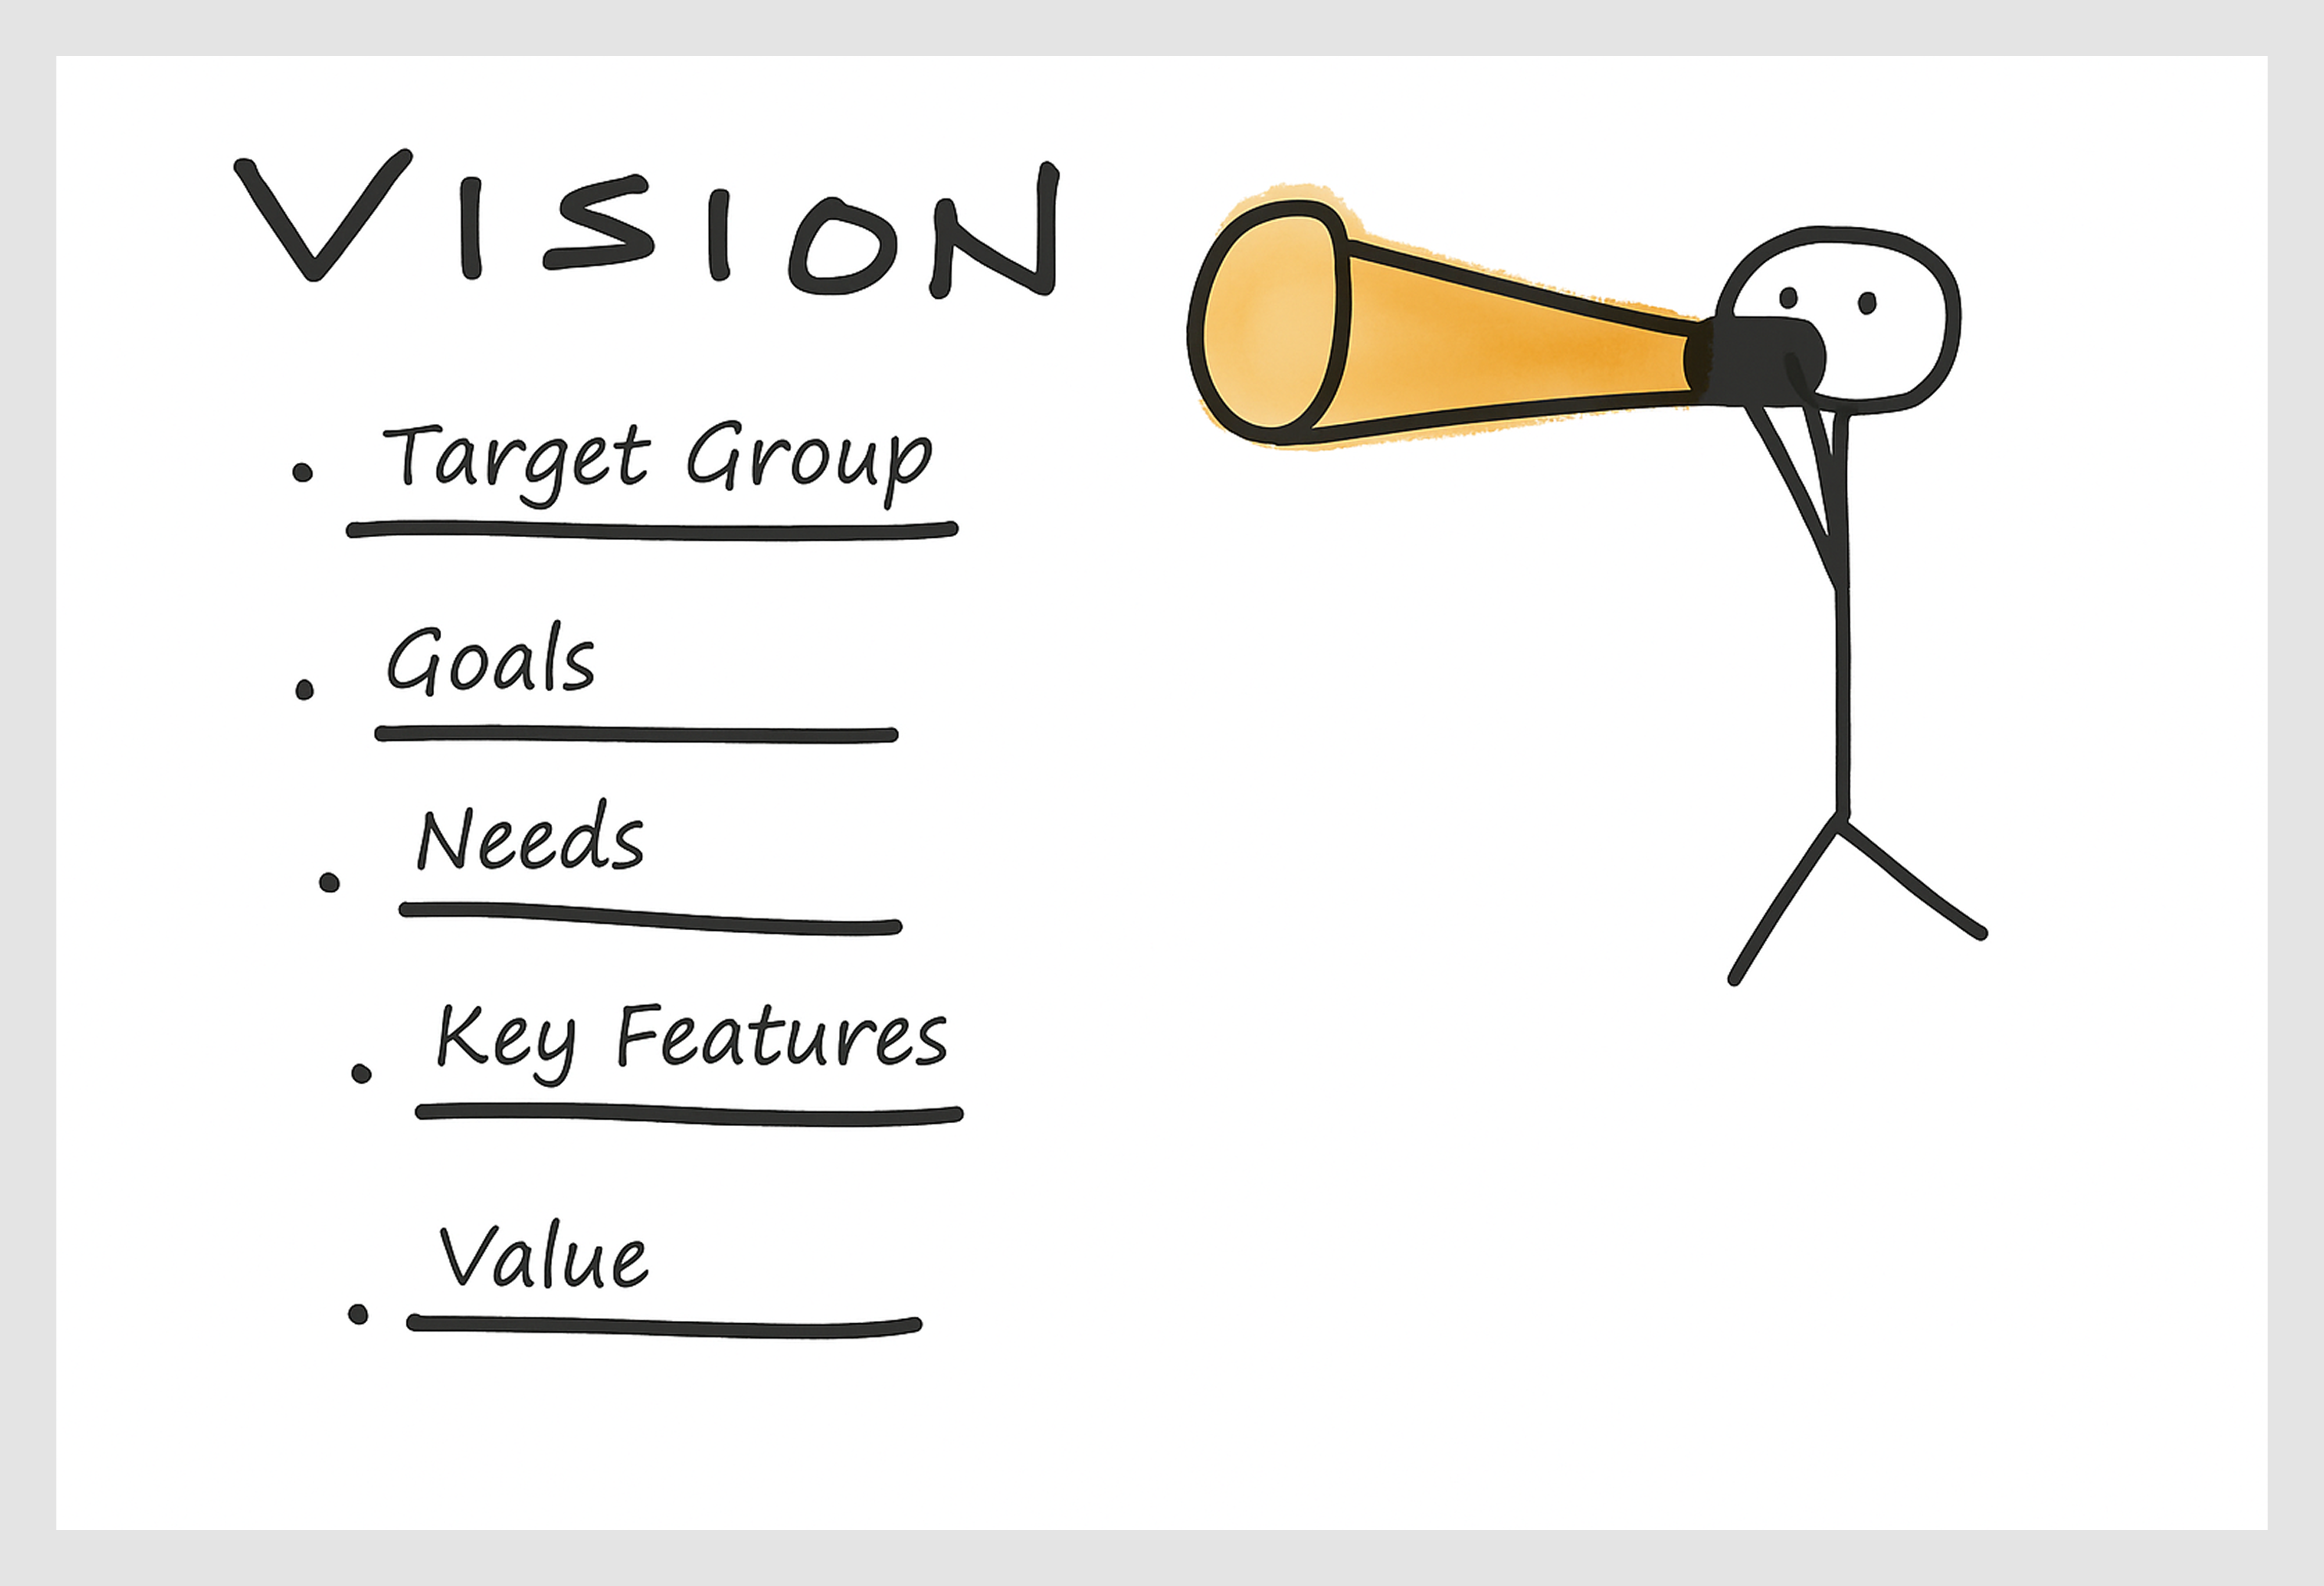
At this stage, the goal is to translate what you’ve learned into concrete business objectives and constraints. That usually means answering questions like:
- What would a successful product look like for both users and the business?
- Which user needs are the most urgent to address?
- What’s technically and financially feasible right now?
A common mistake here is trying to do everything at once. The smarter approach is to prioritize by balancing three factors: business value, user need, and feasibility. Not every idea deserves to become a feature, and not every feature belongs in the first release.
This is where the concept of the minimum viable product (MVP) comes in. As one Redditor put it: “There is no MVP until there is a clear path to desirability.” In other words, shipping a bare-bones product doesn’t help if it’s not something people actually want.
At Eleken, we’ve spent a lot of time helping founders find that balance, so much so that we created a free email course on how to define and design an MVP.

To move from vision to potential solutions, teams often run ideation workshops. These are collaborative, judgment-free spaces where UX designers, product managers, and engineers throw ideas on the table. Techniques like Crazy 8s (sketching eight ideas in eight minutes), mind mapping, or “How Might We” questions help push thinking beyond the usual patterns.
To align on the bigger picture, many design teams also create a moodboard — a collection of colors, typography, references, and user interface examples that capture the desired look and feel. Unlike final designs, moodboards are quick and flexible, helping teams agree on the emotional direction of the product.
Among practical tools at this stage, you can use:
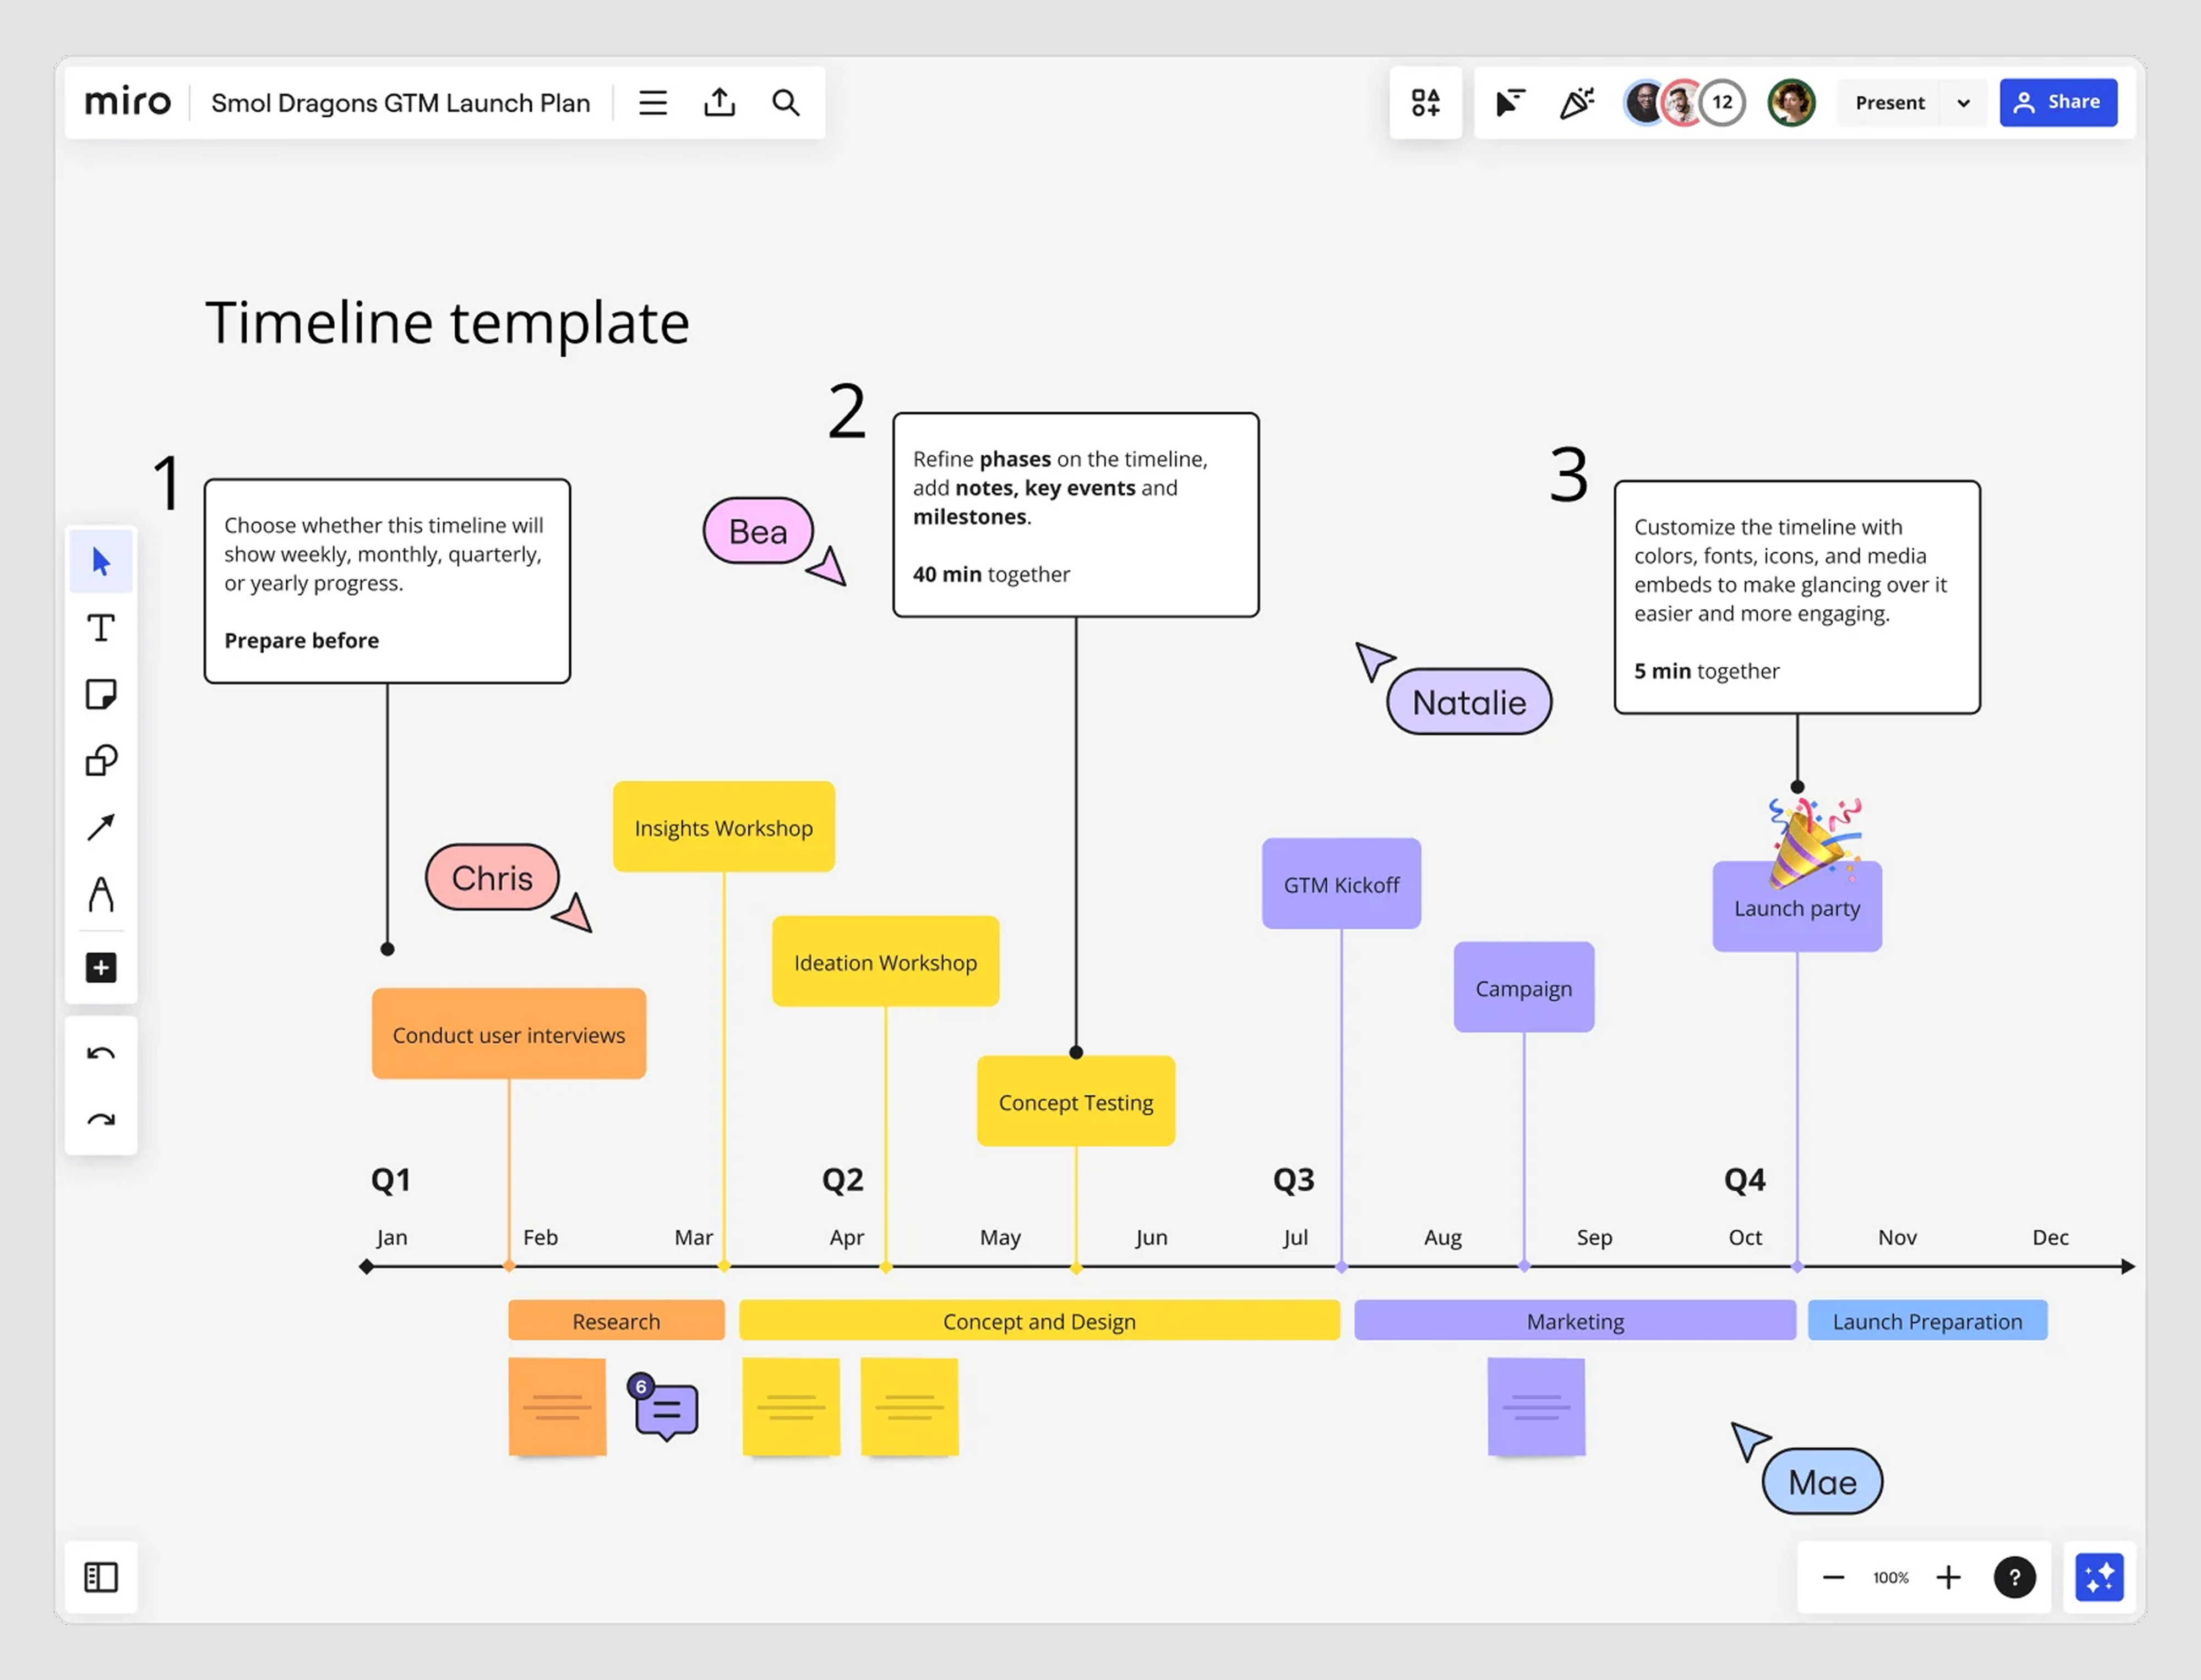
- Digital whiteboards like Miro or FigJam for remote brainstorming.
- Sticky notes (physical or virtual) to capture and cluster ideas quickly.
- Evaluation frameworks, like an impact–feasibility matrix, to filter the wild ideas and surface the ones most worth pursuing.
We also rely on prioritization techniques in our practice. Advan Research, for instance, came to us with a long list of potential features, and the real question was where to start. Together, we applied the ICE prioritization framework.
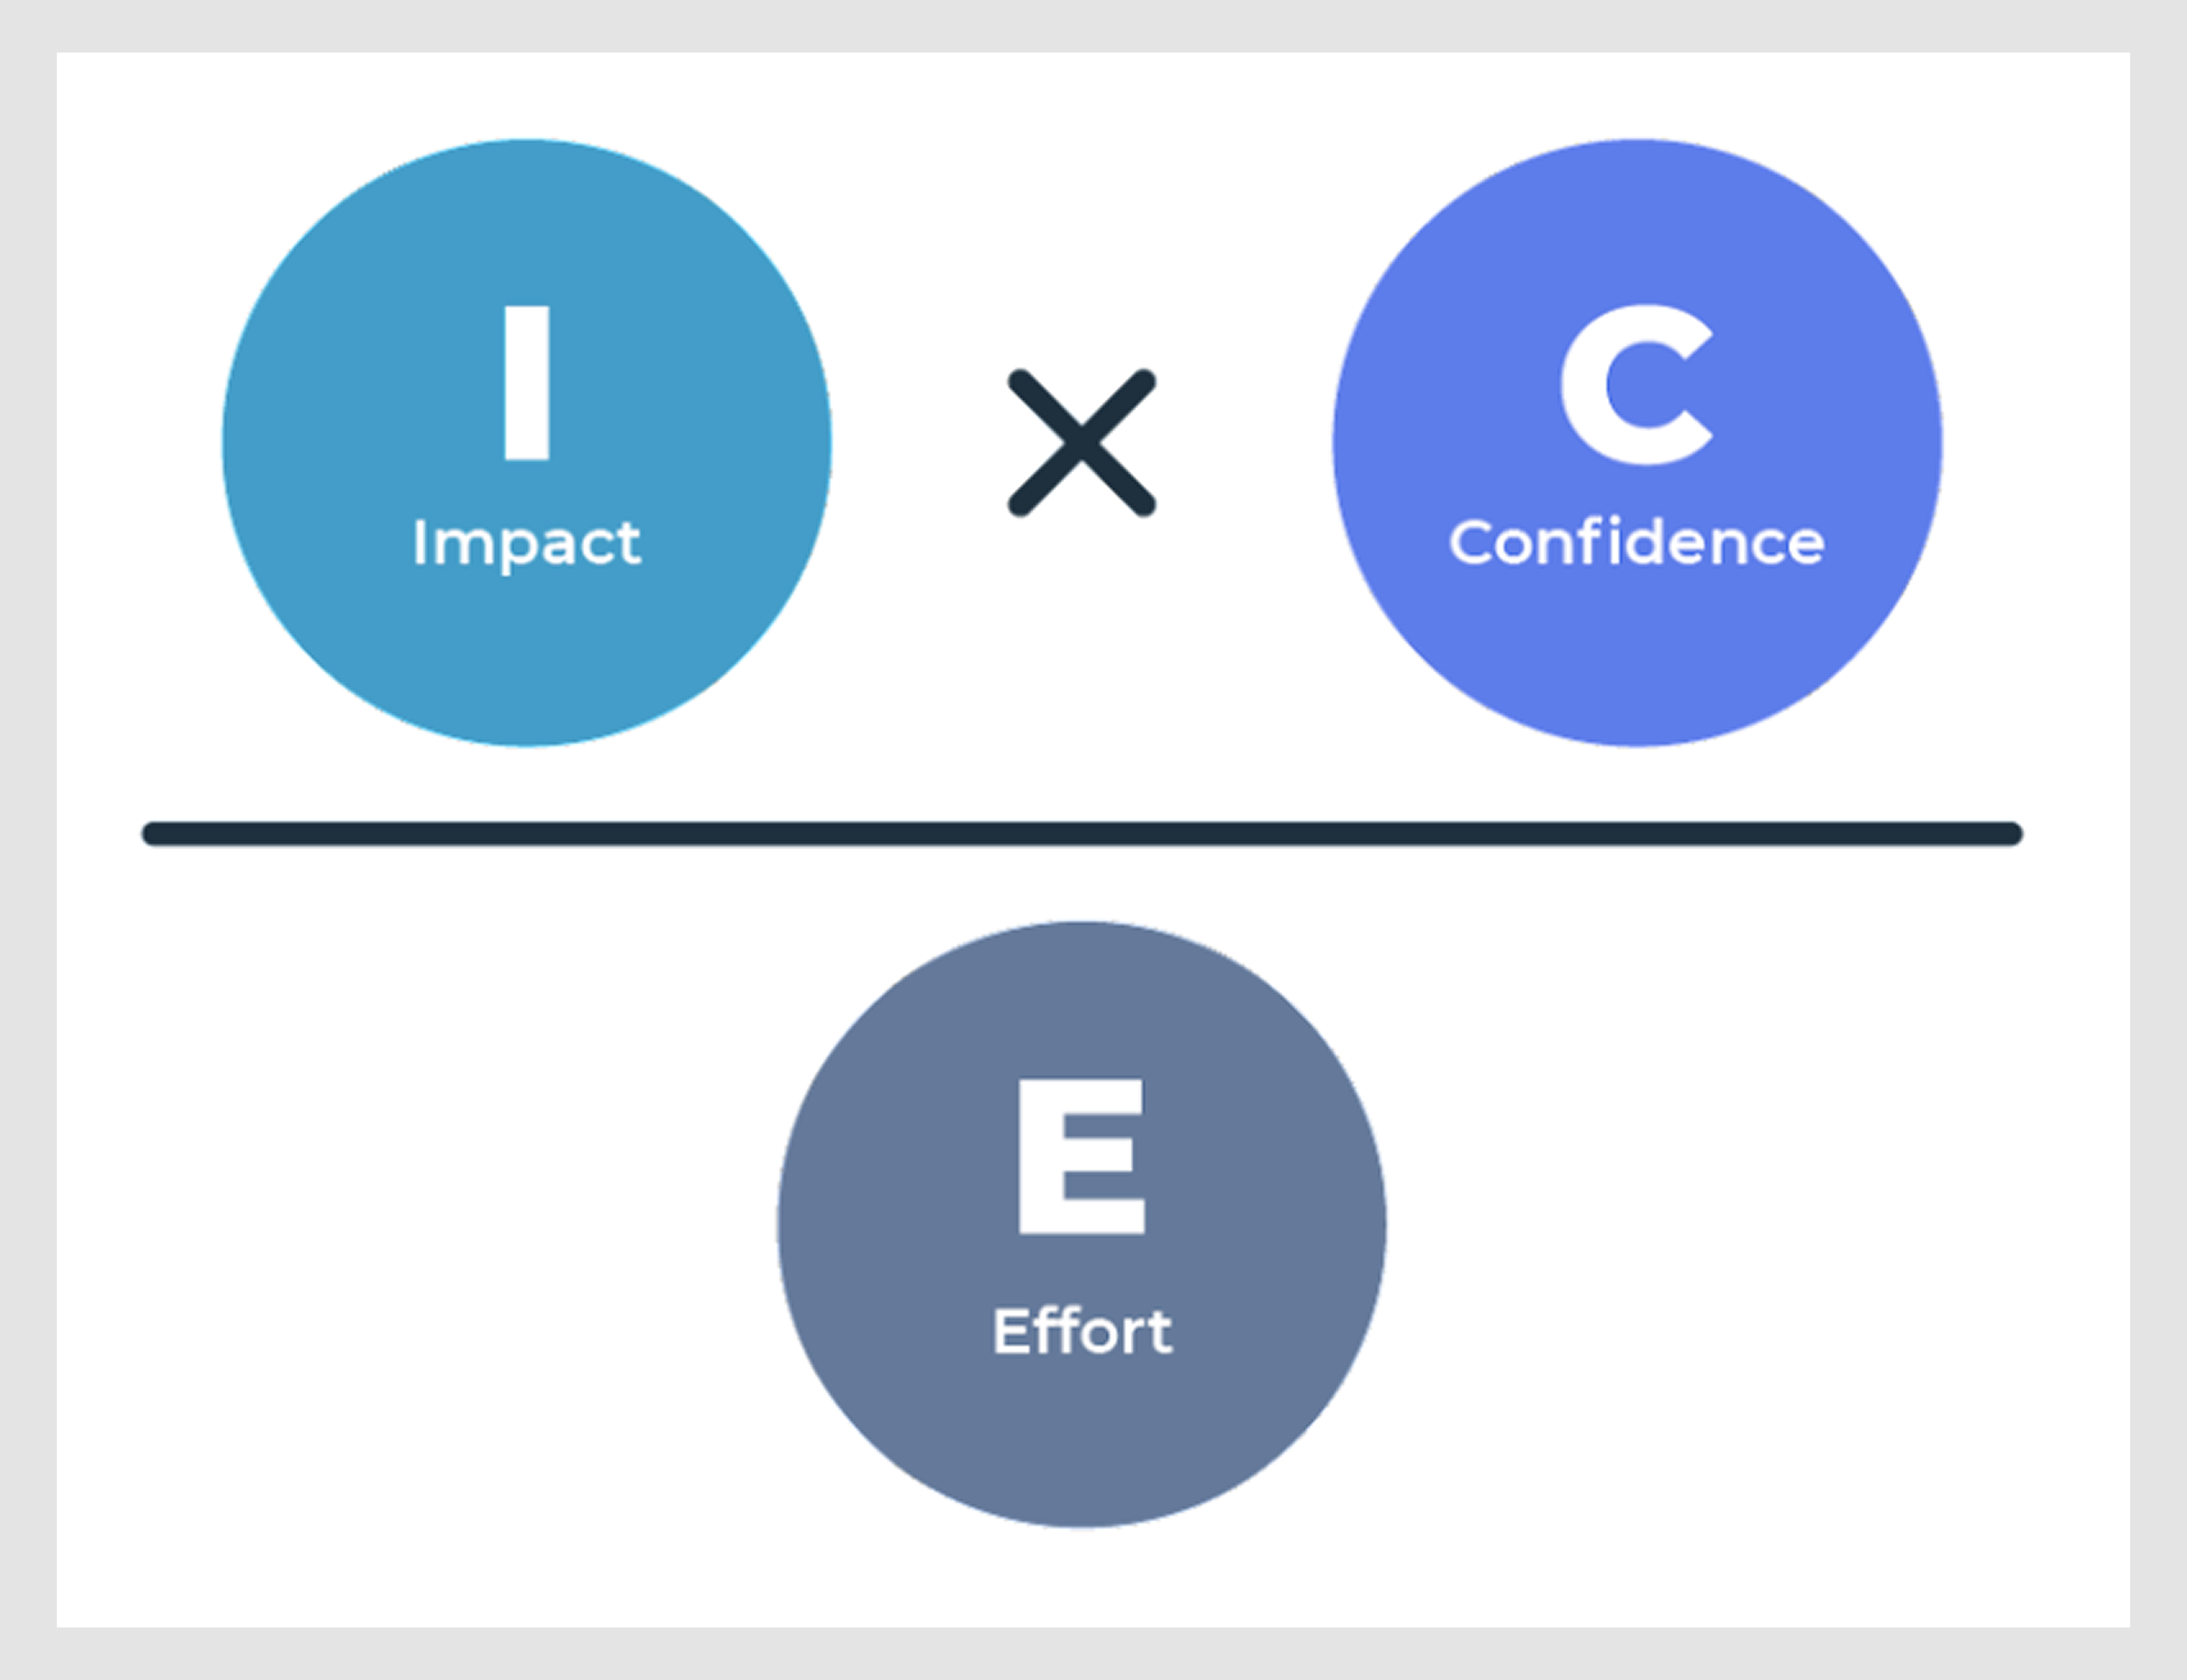
By scoring each feature on impact, confidence, and effort, it became clear which initiatives would bring the most value. With that focus, we completed the redesign in just 3 months and helped the client’s team move faster with implementation.
Step 3. Sketch, flow, and prototype
With the problem defined and priorities set, it’s time to let ideas take shape. This step requires you to move from abstract design thinking into something tangible that people can see, touch, or click through.
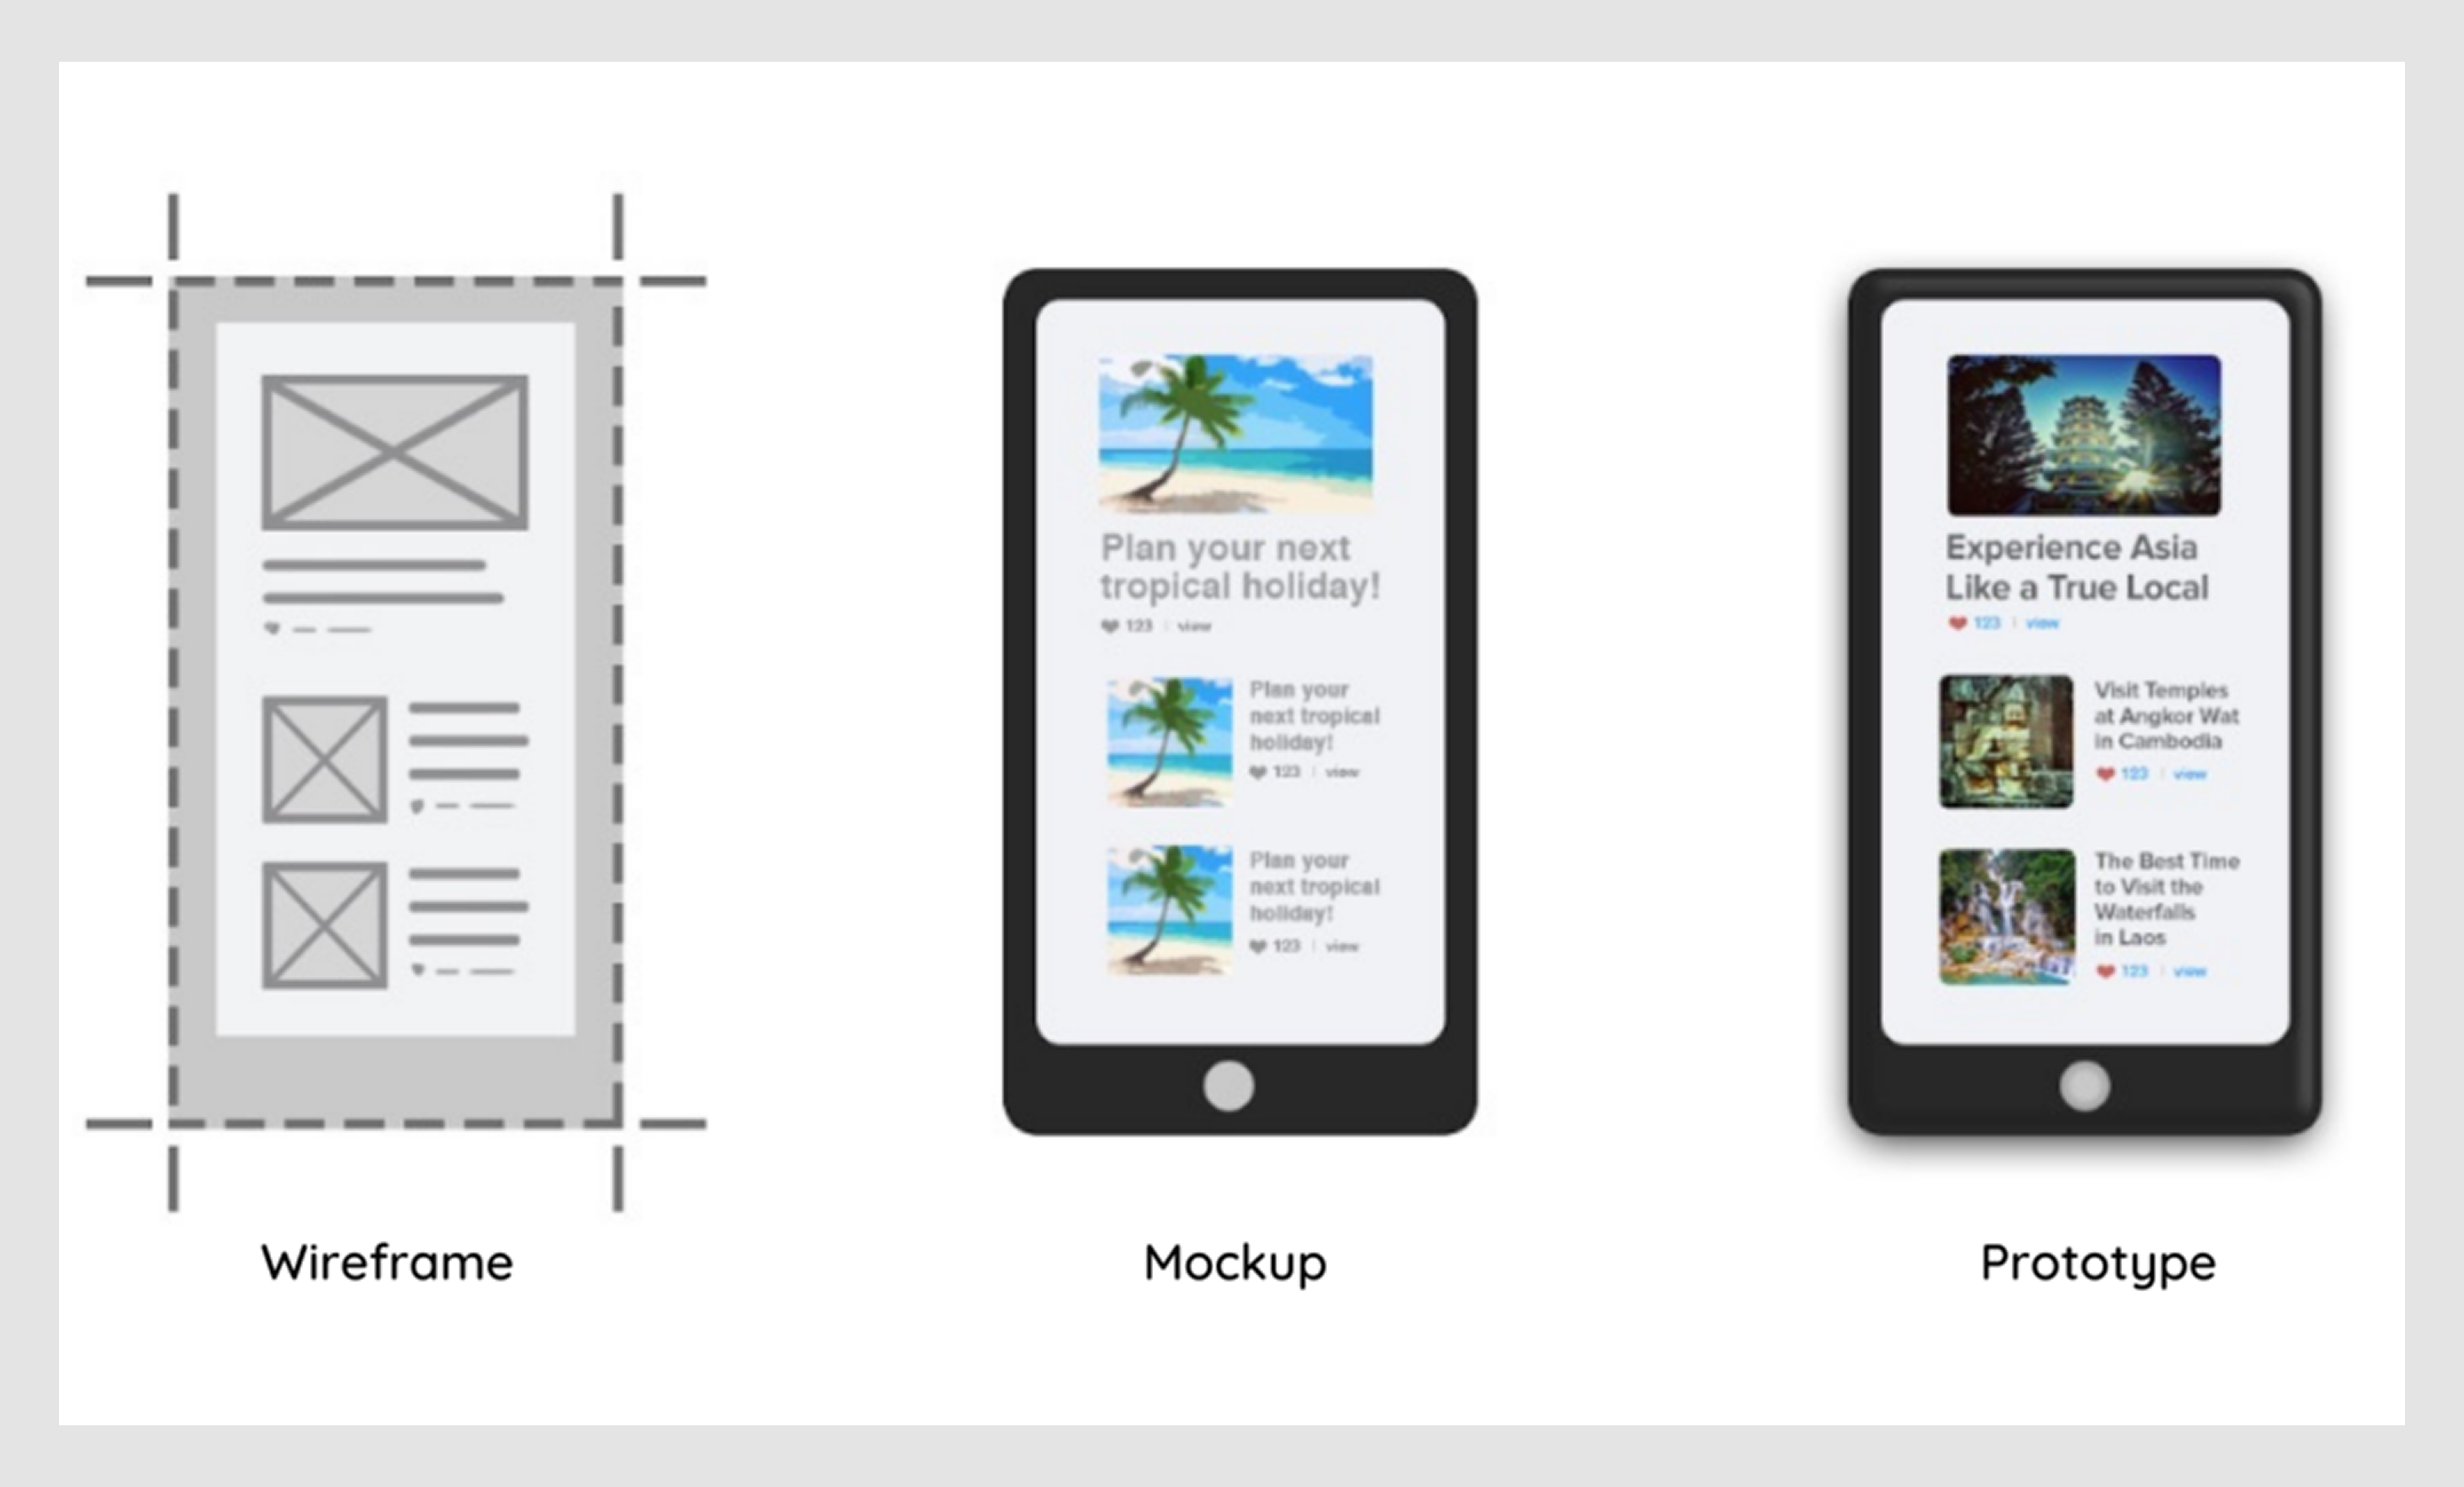
The process usually starts small. Rough sketches on paper, whiteboard diagrams, or quick wireframes in Figma are often enough to outline the structure and user flows. The goal here is clarity. You want to visualize how a product might work, not spend hours fine-tuning colors or typography too early.
As the product design concepts mature, designers turn those sketches into prototypes. These can range from lo-fi clickable wireframes to more polished high-fidelity mockups. For digital products, tools like Figma, Sketch, or Adobe XD make it easy to simulate real interactions.
Some best practices at this stage include:
- Information architecture: mapping user flows and sitemaps so navigation feels logical.
- Design systems: maintaining consistent components and styles to avoid reinventing the wheel.
- Feedback loops: showing drafts to teammates or test users early and often.
In fact, many designers emphasize that your app or product should always be treated as a prototype in disguise. Even if it’s live in production, it’s still something you’ll tweak, adjust, and evolve based on what users need. That mindset keeps teams open to iteration instead of clinging to early decisions.
Step 4. Conduct testing and validation
Sketches and prototypes are useful, but they’re still only guesses until you put them in front of people. The testing phase is where those guesses meet reality. Before investing in development, you want to see whether users can actually use the product and whether it solves the problem you set out to address.
Testing can be as simple as asking a colleague to click through a high-fidelity prototype or as structured as running sessions with recruited testers. Some designers even run guerrilla tests — walking into a café, handing someone a phone, and asking them to try a task. Others use remote tools like Maze, UsabilityHub, or UserTesting to collect insights asynchronously.
A few useful approaches are:
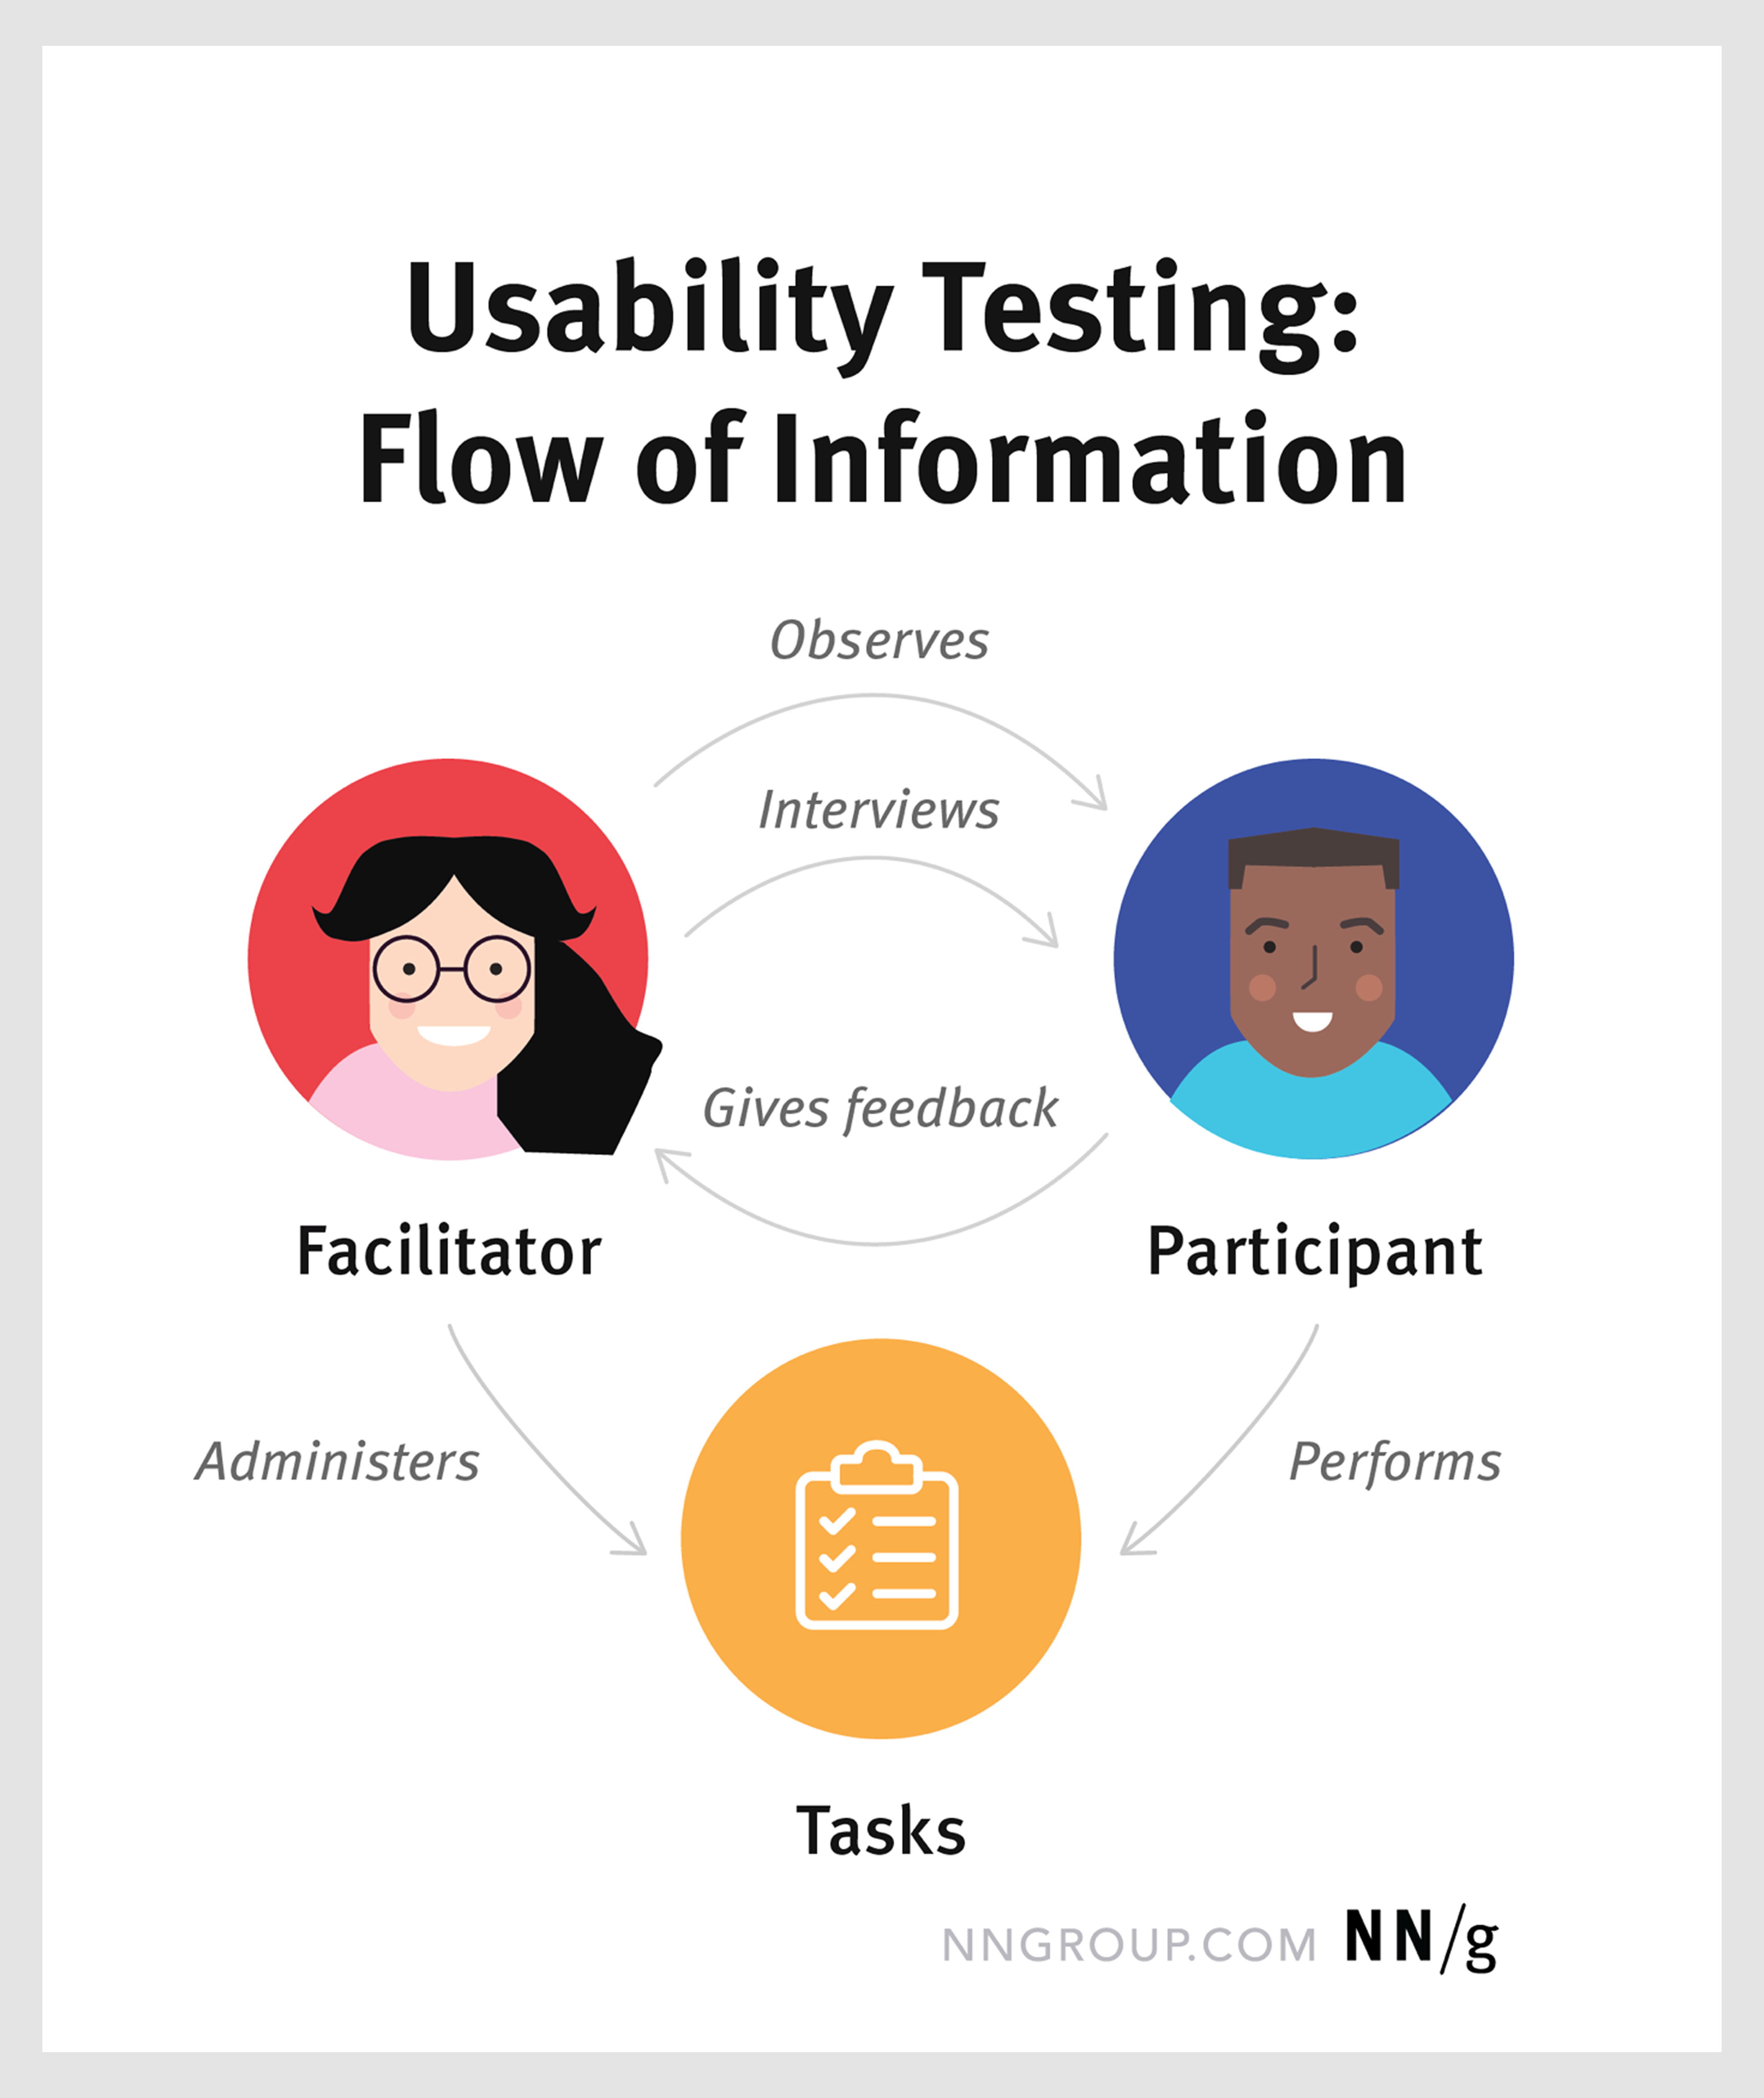
- Task-based usability testing: ask users to complete realistic tasks and watch where they struggle, hesitate, or take wrong turns.
- Qualitative feedback: ask testers what they liked, what felt confusing, and why.
- Quantitative measures: track completion rates, error counts, or time on task to see patterns.
- Stakeholder reviews: get engineers to flag technical hurdles or ask sales/marketing how customers might react.
As one designer on Reddit put it: “There’s never an excuse for not testing.” Even with limited time or budget, you can always find a way, whether that’s asking internal teammates, using async tools, or running a quick poll with your target audience.
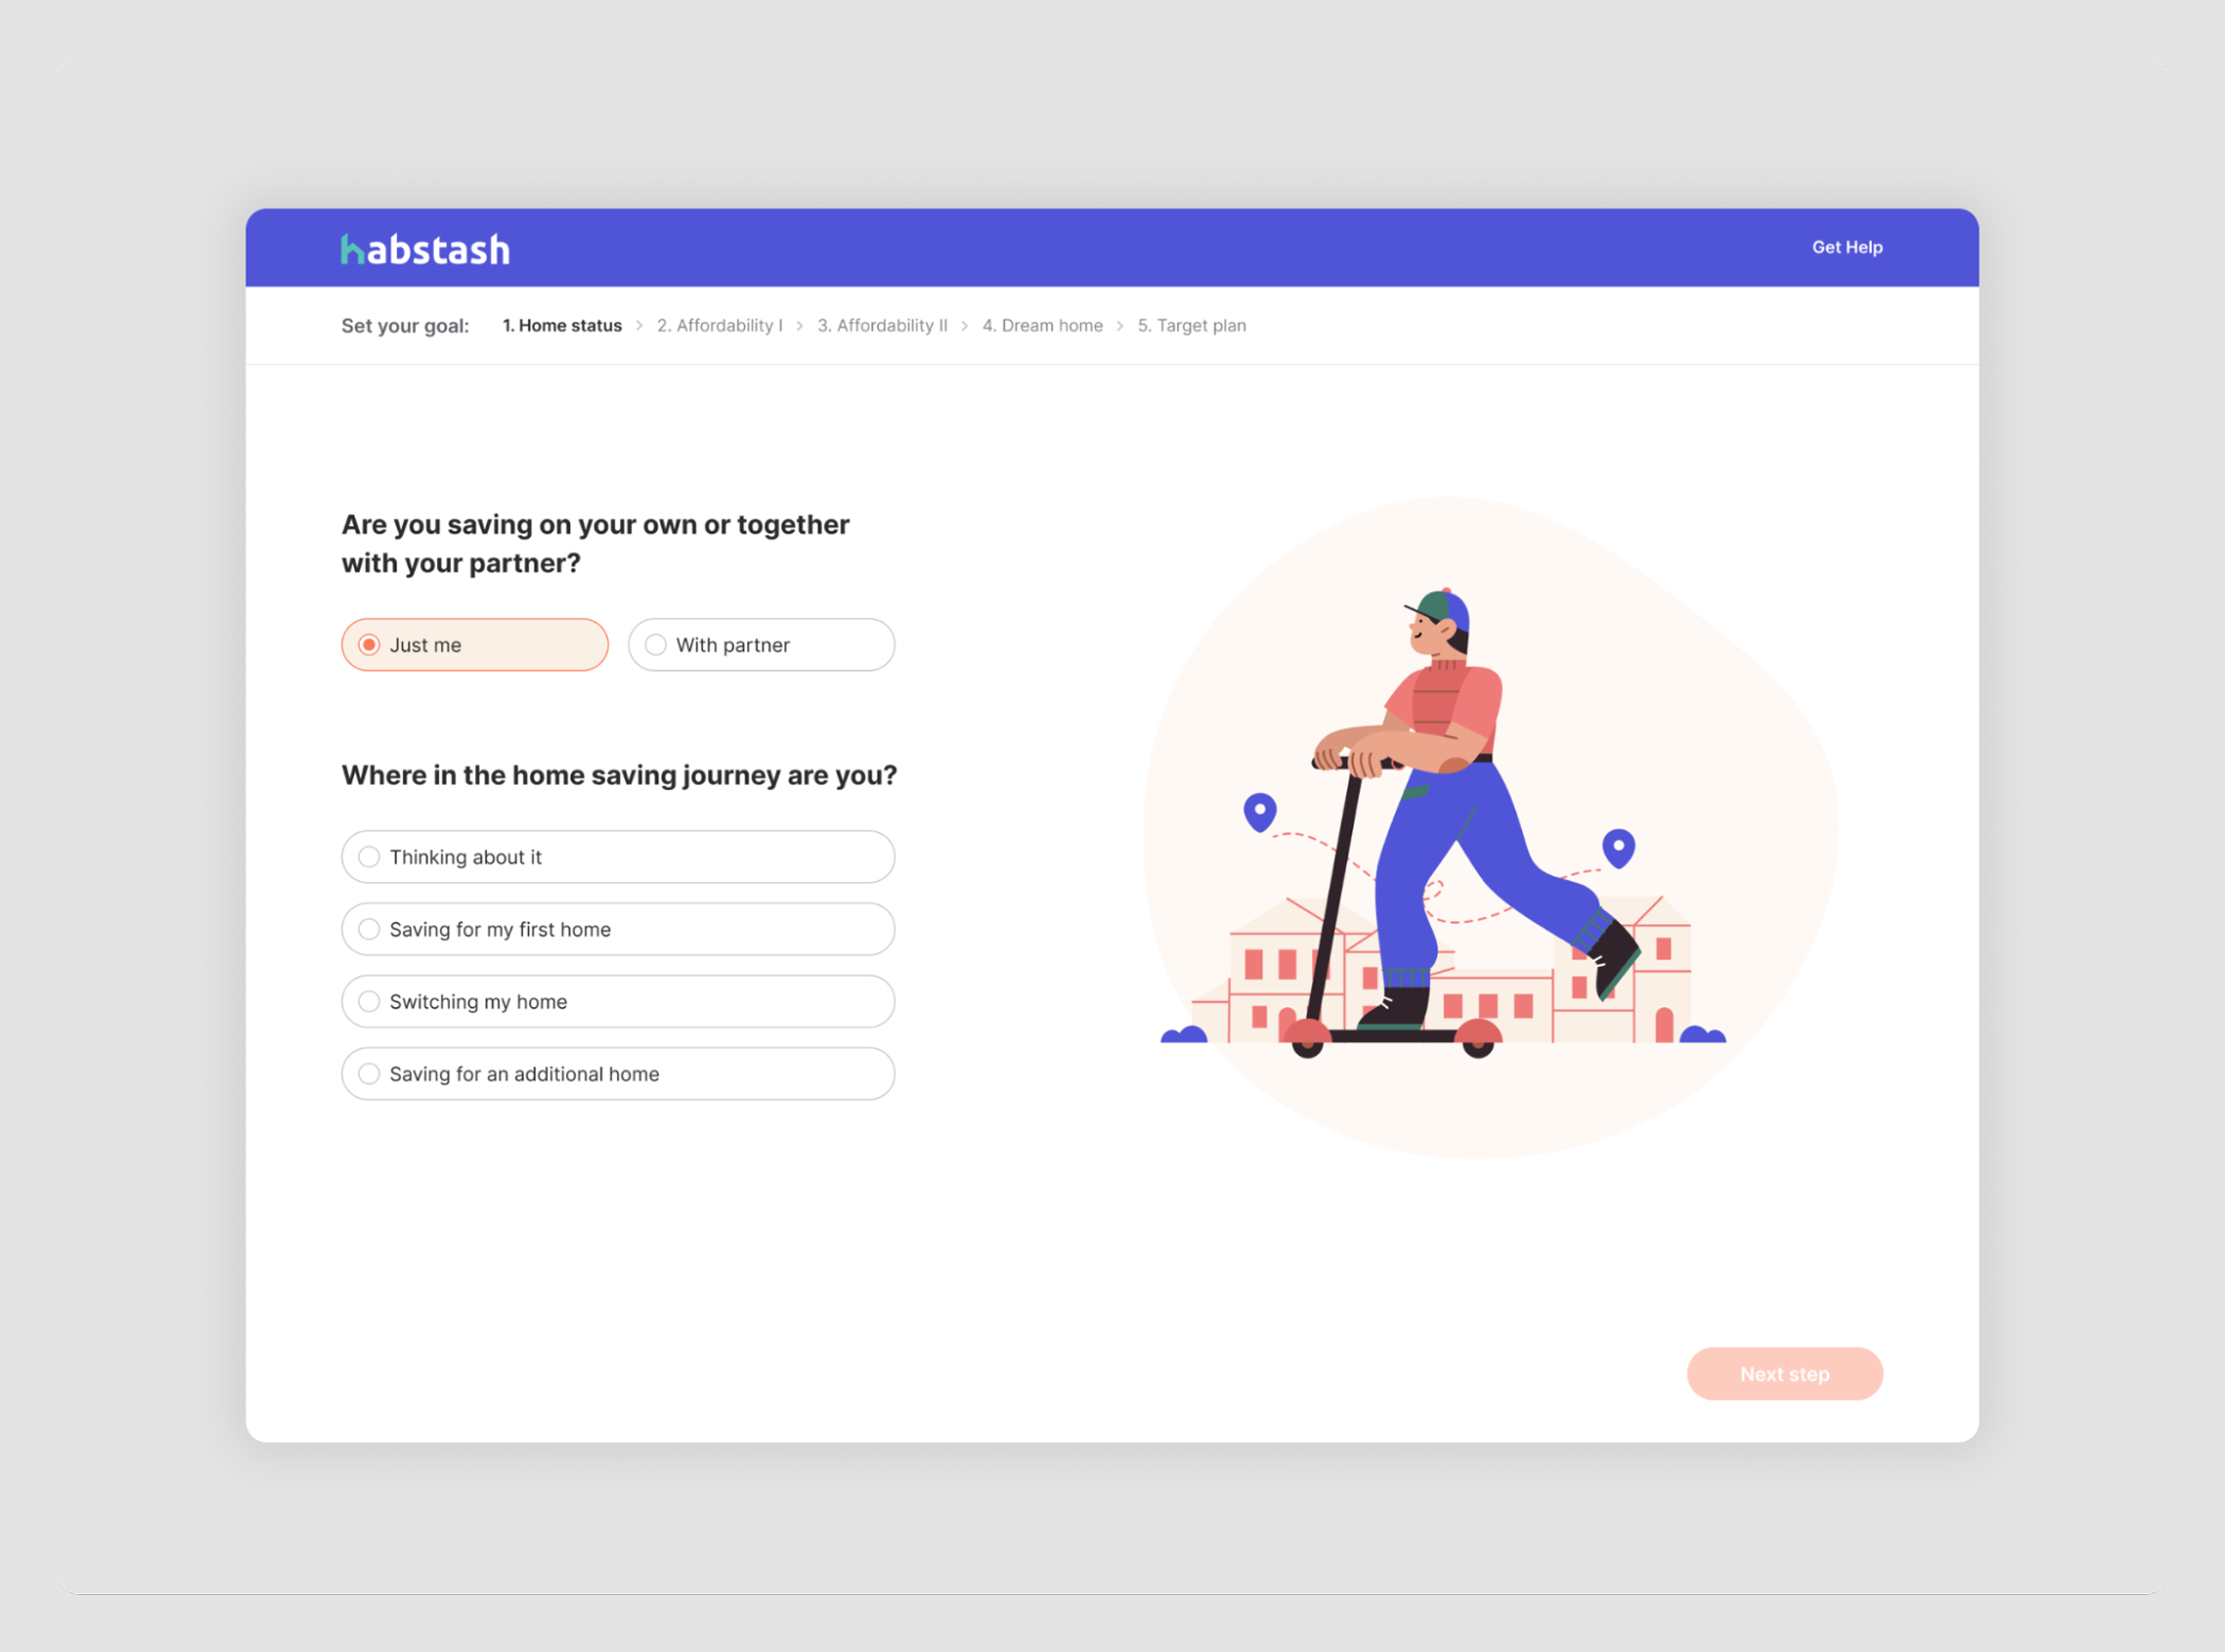
We saw the impact of user testing while working on Habstash, an early-stage fintech startup. Usability sessions revealed that many users wanted to save money together with a partner, not just individually.
Based on this insight, we added a “Save with your partner” feature, which became a key part of the onboarding flow. By iterating on prototypes and refining them with real feedback, Habstash launched an MVP that reflected actual user needs.
Step 5. Take time to improve the design
By this point, you’ve tested your product design concept and gathered feedback. Now comes the stage of turning those lessons into refinements and moving toward a polished design. Think of it as a cycle: test, fix, test again. Each loop brings the product closer to something users actually enjoy using.
A key principle here is to hold off on high-fidelity design until the core ideas are validated. There’s no point in perfecting typography or color palettes if users can’t even find the button they need. Once the flows and structure are solid, you can move into the details that make the product feel complete.
Here are some product design fundamentals we recommend at this stage:
- Prioritize critical issues first. Fix anything that blocks users from completing tasks before tackling smaller frustrations.
- Tweak or rethink. Sometimes feedback only calls for small UI changes (like a brighter button), but other times it might mean going back to earlier steps and reshaping an idea entirely.
- Plan for the whole system. Don’t bolt shiny features onto a broken information architecture. Make sure the product feels cohesive.
- Work closely with engineers. Involving developers early prevents nasty surprises later. A design that looks perfect in Figma won’t matter if it’s technically unfeasible.
Refinement also means multiple validation cycles. After each round of adjustments, you put the prototype back in front of users to see whether the changes actually solved the issues. Agile teams often do this in sprints, making incremental improvements until the design is ready for development.
A good example here is our work with Cylynx. The client already had an MVP but wanted to improve the interface. Using the Double Diamond framework, we first immersed ourselves in the product, analyzing demos, discussing workflows, and even trying the platform as end users.
.png)
From there, we worked closely with the developers and the client’s team in an iterative cycle of feedback and refinement. This collaboration helped us restructure the interface into a user-friendly design that made it easier to connect data points and analyze information quickly.
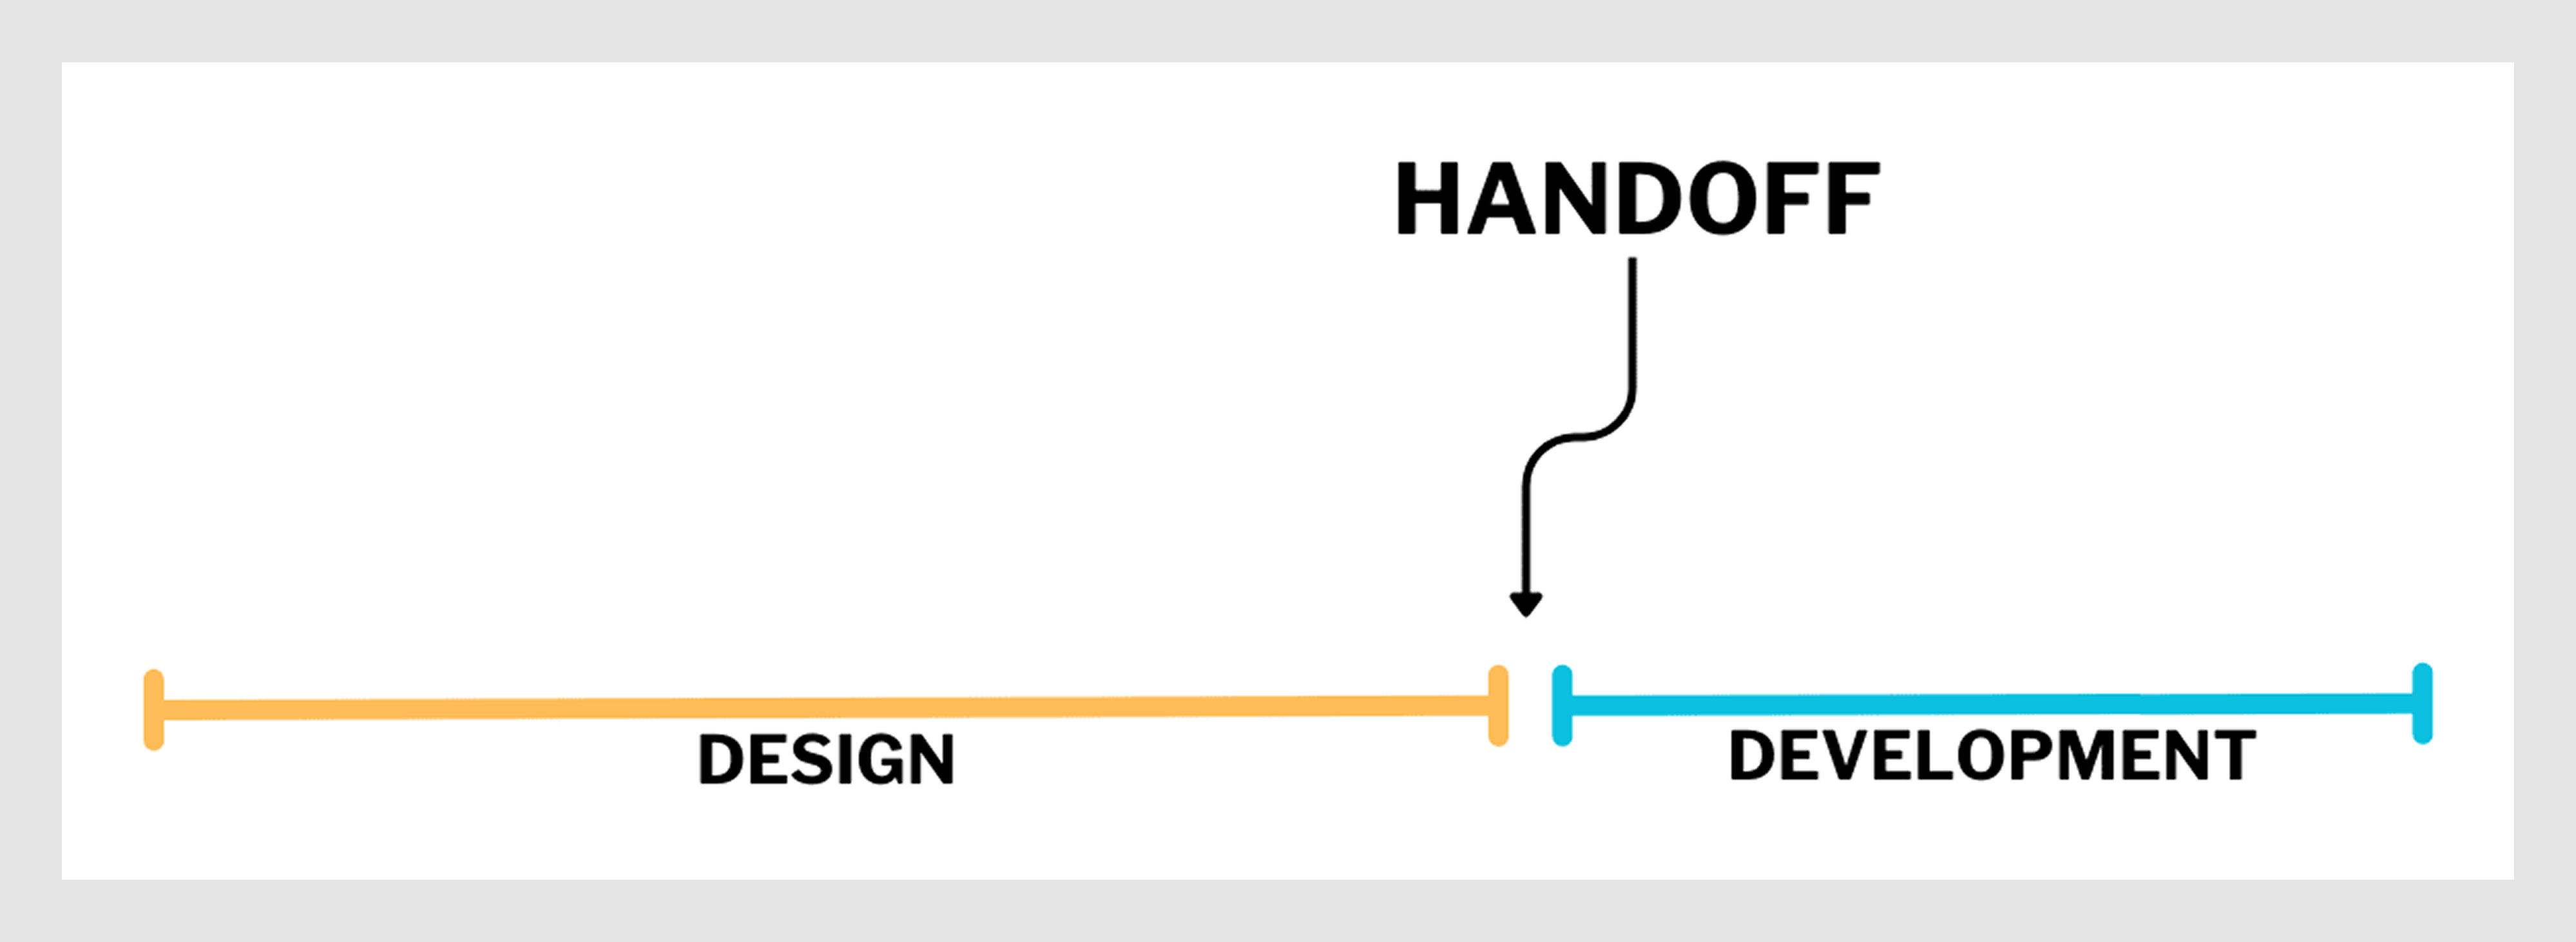
Step 6. Build the product
Once the design is validated, it’s time to hand it off for implementation. In terms of digital products, that means delivering UI designs, style guides, and assets in tools like Figma or Storybook.
During this step, designers stay close to the process by clarifying details, adjusting when constraints arise, and checking that the final product matches the intended experience.
Shipping isn’t the end of design. It’s the beginning of another feedback cycle. After launch, you keep learning by:
- Tracking analytics and product metrics. See how people actually use the product. For SaaS, that often means looking at activation rates, task completion, feature adoption, or churn. Tools like Google Analytics or Mixpanel can help uncover where users drop off or get stuck.
- Collecting insights from customer-facing teams. Support tickets reveal recurring user pain points, while sales conversations highlight objections and unmet needs. Even short syncs with Customer Success can surface patterns you’d miss in dashboards.
- Running usability tests on live features. Small changes, like a new dashboard layout or onboarding flow, can be tested with actual customers. Tools like Maze or Hotjar let you record sessions or run quick surveys to spot friction before it grows.
Iteration at this stage is just as important as in prototyping. A front-end developer might flag that an animation is too heavy, or analytics might reveal users dropping off in unexpected places. Each insight is a chance to refine.
Step 7. Bring the product to market
After months of discovery, design, and refinement, launch is the moment of truth. It’s when the product finally meets its audience and when the work shifts from internal alignment to external impact.
A successful launch is rarely just “pushing a button.” It requires coordination across design, development, marketing, and support to make sure the product is available, understood, and adopted.
From a design perspective, that means final checks on user experience, polishing onboarding flows, and often creating help content like tutorials, FAQs, or tooltips to guide new users.
Some elements of a strong launch include:
- Launch planning. Set a release timeline and prepare marketing strategies to introduce the product. This might involve a marketing website, press releases, social media announcements, or an onboarding email campaign.
- Beta launch (soft launch). Many teams do a soft launch or beta release before a full launch. You can release the product to a small region or a set of early adopters to gather last-minute feedback.
- Final UX checks. Conduct a last usability test on the near-final product or run through a QA checklist to ensure the product still meets user needs after all development changes.
Step 8. Measure, learn, and improve
Once a product is in the hands of users, the real test begins: how well does it serve them in everyday life? The only way to answer that is by measuring performance, learning from the data, and feeding those insights back into the entire design process.
A practical way to approach this step is to think in three loops:
- Collect data. Track quantitative and qualitative signals. Analytics tools can show you where users drop off and which features they engage with. On the qualitative side, support tickets, app store reviews, and social media comments often highlight pain points you won’t see in dashboards.
- Encourage feedback. Don’t just wait for users to complain. Proactively ask for input with in-app surveys, feedback forms, or beta programs. For B2B products, regular check-ins through account managers can surface needs before they become problems.
- Iterate continuously. Use what you’ve learned to prioritize improvements. That might mean polishing the UI for clarity, fixing confusing workflows, or building a feature that multiple customers request. In agile teams, these insights feed into a backlog that guides the next sprint.
The key mindset here is that the product design process steps never really end. Modern products live in a loop of release → feedback → improvement. Every iteration is a chance to make the experience smoother, more valuable, and more competitive.
As we’ve written before at Eleken: “Product design is a complex process that doesn’t always pan out smoothly as you turn plans into reality. The time and effort required in each particular case are unpredictable, and the road to success is anything but a direct route between points A and B.”
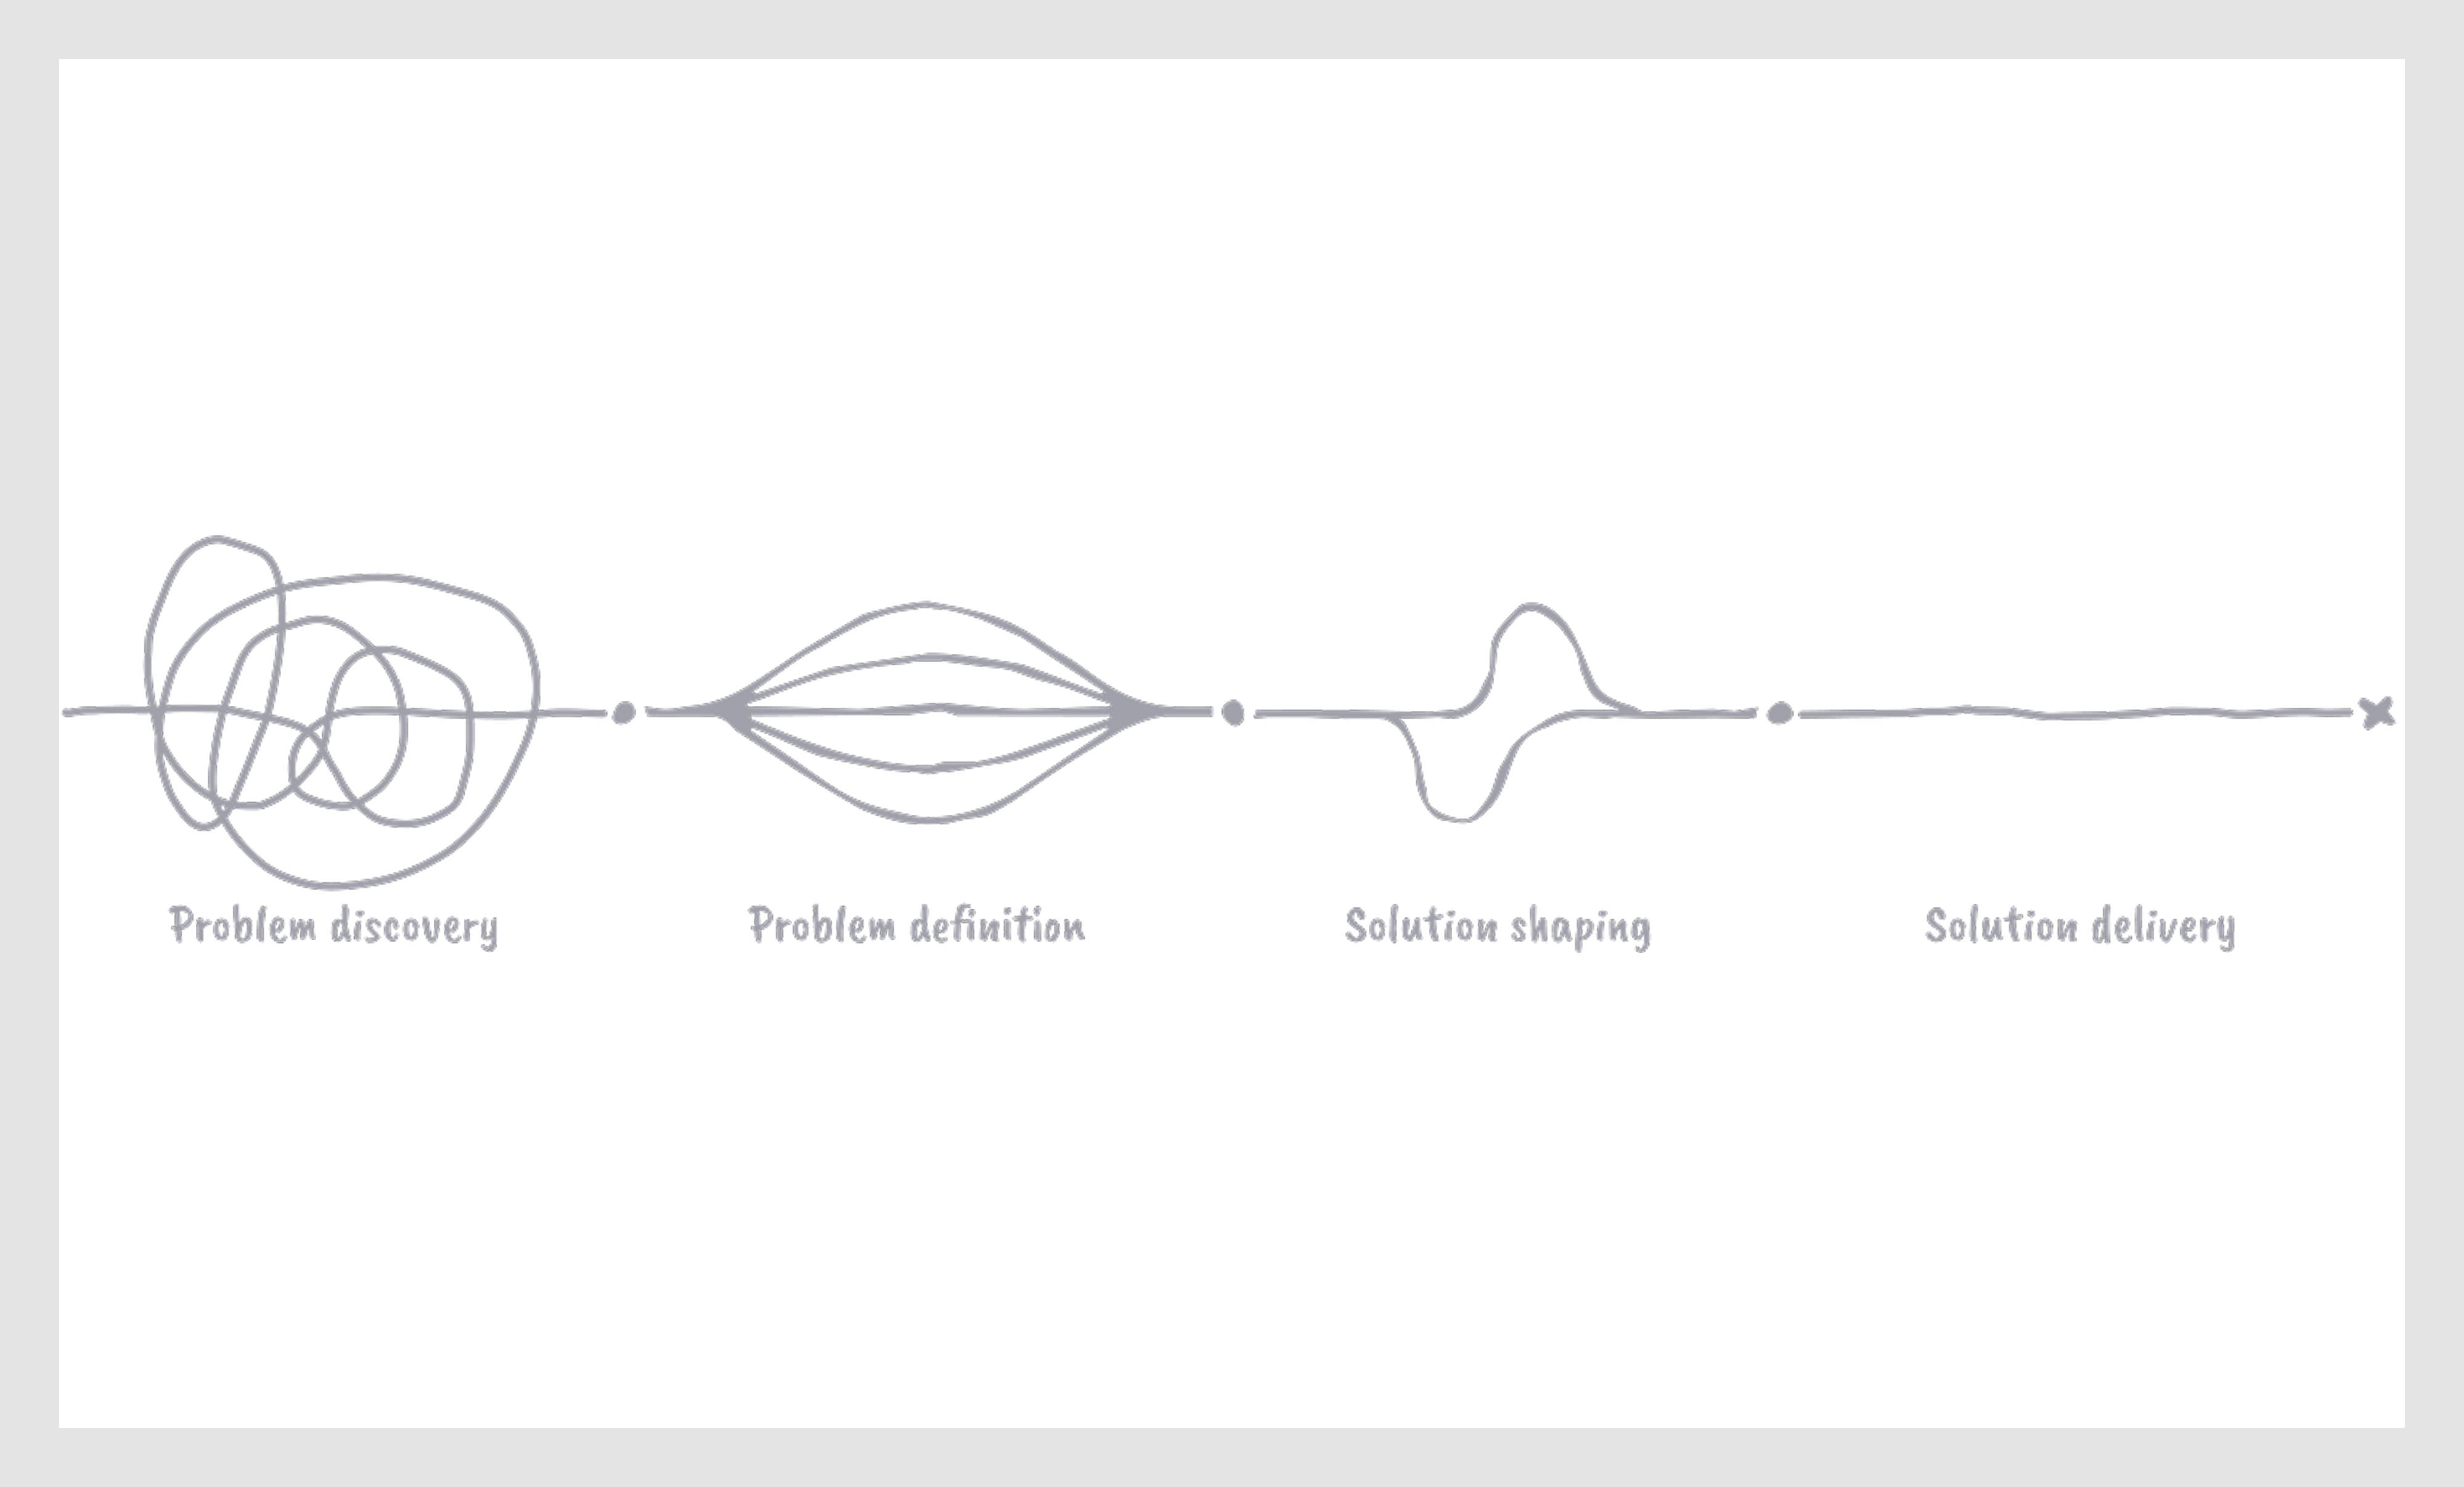
Designing a new product isn’t set in stone. It bends and shifts based on context, constraints, and what you discover along the way. What matters is not sticking to a rigid formula, but keeping the cycle alive: ship, measure, learn — and then improve.
How to improve your product design process
The 8 steps we’ve just covered give you a framework, but no two teams follow them exactly. In practice, the process is shaped by company culture, resources, and the messy realities of shipping products. That’s why the best teams actively improve the process, and here are a few product design tips to help you do the same.
Diagnose your context
Before you worry about how to design products, step back and look at the environment you’re working in. A process that works beautifully for a lean startup would collapse under the weight of an enterprise SaaS design, and the other way around. Context dictates pace, priorities, and even what “good design” means in practice.
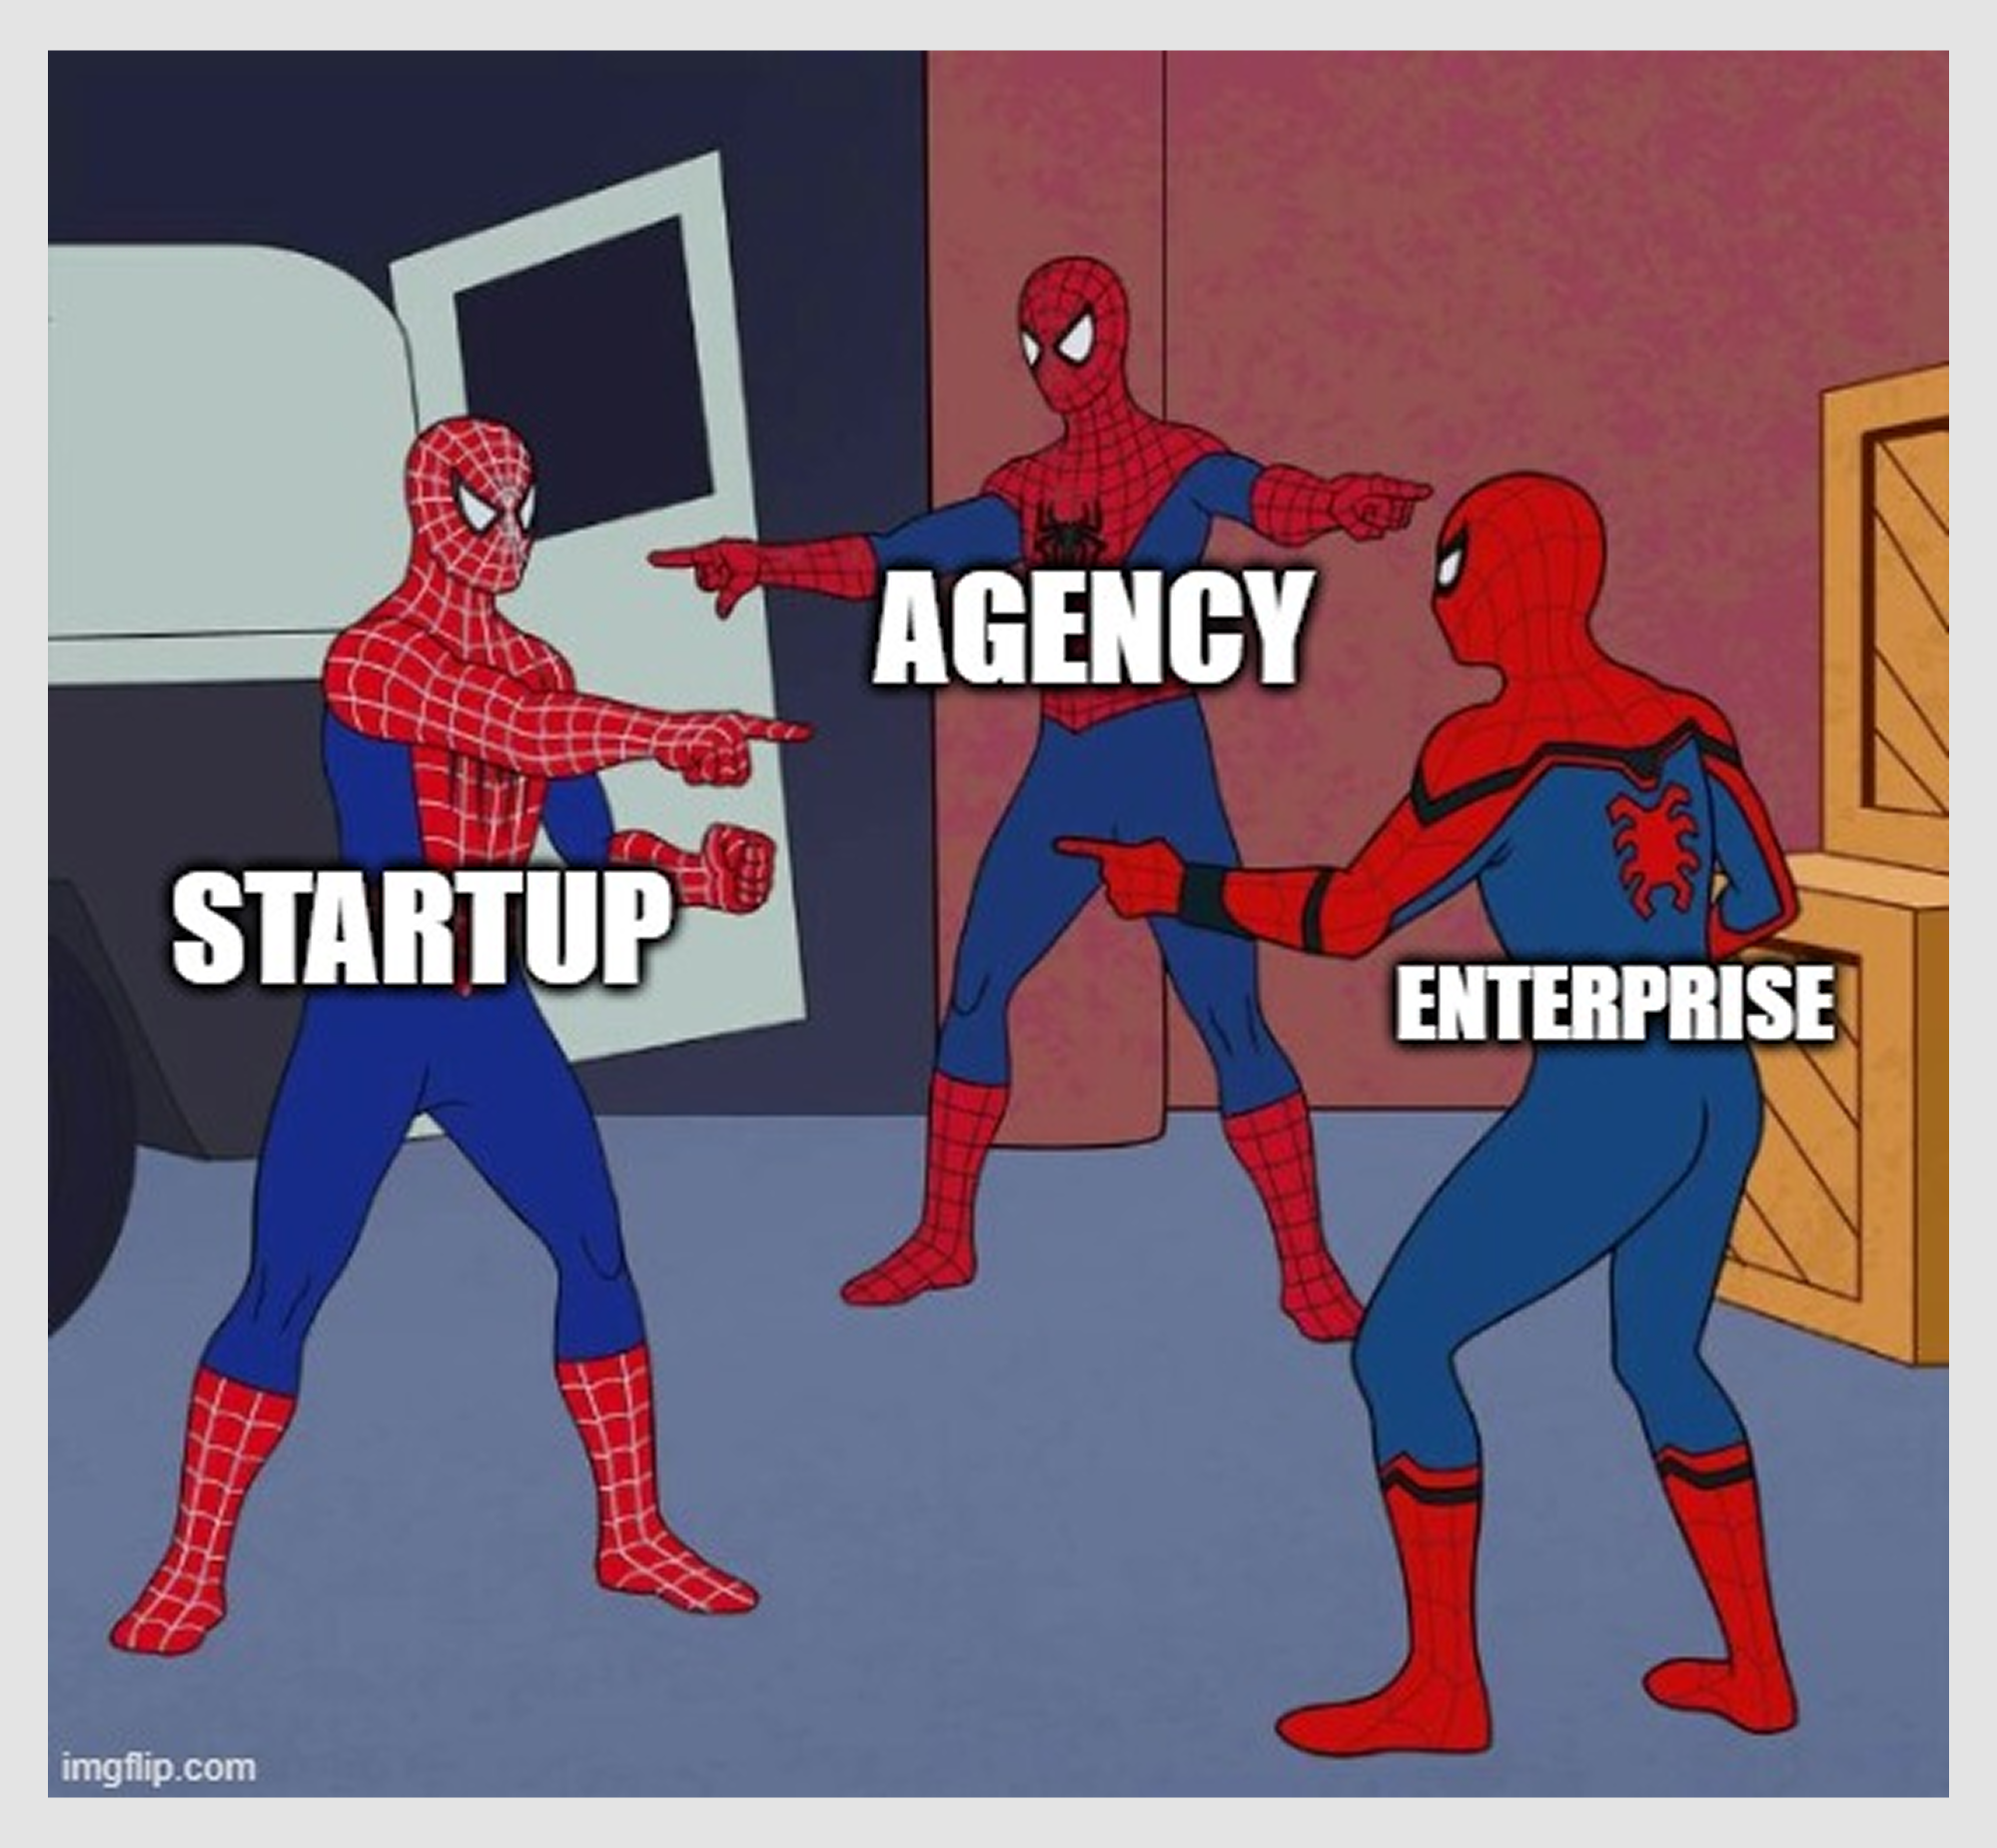
Here are a few common scenarios.
→ Startups
Early-stage teams often prioritize getting something into users’ hands quickly. That means lightweight prototypes, scrappy usability tests, and short feedback loops. The goal is to prove there’s value before running out of time or money.
When working with PrimePro, an app for service workers, speed and clarity were crucial. We iterated flows based on actual tasks, keeping the UI minimal and intuitive while managing time zone constraints with async collaboration.
→ Agencies
Client projects often run on fixed timelines, so the process needs structure and clear checkpoints. Every phase — from audit to wireframes to final UI — has to deliver something tangible, otherwise deadlines slip and trust erodes.
For Data Streams, a SaaS platform expanding globally, we used a modular rollout — wireframes → interim UI → full redesign — to balance business goals with realistic implementation speed.
→ Enterprise SaaS
Larger organizations often have multiple stakeholders, legal constraints, and adoption hurdles. Processes are slower and risk-averse, but small design changes can still have a big impact.
At MyInterview, a B2B recruiting platform, we faced 90% user churn. Redesigning the experience required improving UX while navigating compliance needs and multiple layers of approval.
As you can see, the key is not to wish for a “perfect” process but to diagnose where you are and work with the constraints. A startup MVP and an enterprise SaaS tool will never move at the same pace.
Learn from the field
One of the biggest mistakes you can make as a designer is clinging too tightly to a predefined process. Real projects are messy, and the best way to grow is to treat every one of them as a learning opportunity.

- Treat your live product as a prototype. Keep testing and refining even after launch. The products that evolve continuously are the ones that survive.
- Use structure as a guide, not a prison. Simple stages like concept → validation → delivery can give focus without locking you in.
- Practice empathy beyond the user. Sales, compliance, and other key stakeholders shape the product too. Listen early to avoid friction and “design debt” later.
At Eleken, we’ve found that what really matters is not the exact shape of the process but the principles behind it. We don’t try to lock ourselves into a single framework. Instead, we hold on to a few foundations and let the path meander as needed.
As long as the result answers the brief and delivers value, the road we take can be flexible.
Use tools when people aren’t available
In an ideal world, every design decision would be tested with real users. But in reality, access to people is often limited, especially in startups where recruiting testers takes more time than building features. That doesn’t mean you have to design in the dark.

When direct conversations aren’t possible, tools can step in as a proxy:
- Heatmaps and click tracking (e.g., Hotjar, FullStory) show where users hesitate or ignore elements, even without a live interview.
- AI-powered analytics can simulate user attention, predicting which parts of a page draw focus or create friction.
- Surveys and forms (Typeform, Google Forms) offer quick feedback at scale when you can’t schedule user interviews.
- Session recordings let you replay how real users interact with the product to spot dead ends or confusing flows.
None of these fully replace talking to people, but they can reveal patterns you’d otherwise miss. For example, a heatmap might show that a bright CTA is overlooked because users’ attention drifts elsewhere, or survey data might highlight recurring frustrations you hadn’t prioritized.
The key is to treat tools as helpers. They fill the gaps when people aren’t available and keep the process moving until you can validate with real users.
Protect your scope like a pro
Every product team knows the temptation: once the prototype starts looking good, someone suggests “just one more feature.” Then another. Before long, the scope has doubled, and the timeline is slipping.
Good designers push back. Protecting scope doesn’t mean saying “no” to new ideas forever. It means making sure the team delivers a working solution before chasing add-ons. A simple rule of thumb is: if a feature doesn’t solve the defined problem or support the success metrics, it doesn’t belong in the current build.
Among practical ways to guard scope, you can:
- keep a “not now” list of design ideas to revisit later;
- define your MVP clearly;
- use prioritization frameworks like ICE or MoSCoW.
When you protect the scope, you protect momentum. The team ships faster, feedback arrives sooner, and users get a product that works.
Time to take action
Designers often chase the idea of a “perfect” process — one that will make every project smooth and predictable. But if you’ve read this far, you know that perfect doesn’t exist.
What matters is building a process that works for you, your team, and your context.
At Eleken, we’ve seen that teams who commit to these habits are the ones who ship products people actually use and love. If you’d like to build the same kind of momentum, book a call with us, we’d be glad to provide product design help.


.png)