


Figma and Anthropic announced a two-way integration. The marketing copy promises you'll "escape tunnel vision," "start anywhere," and end up with "editable frames."
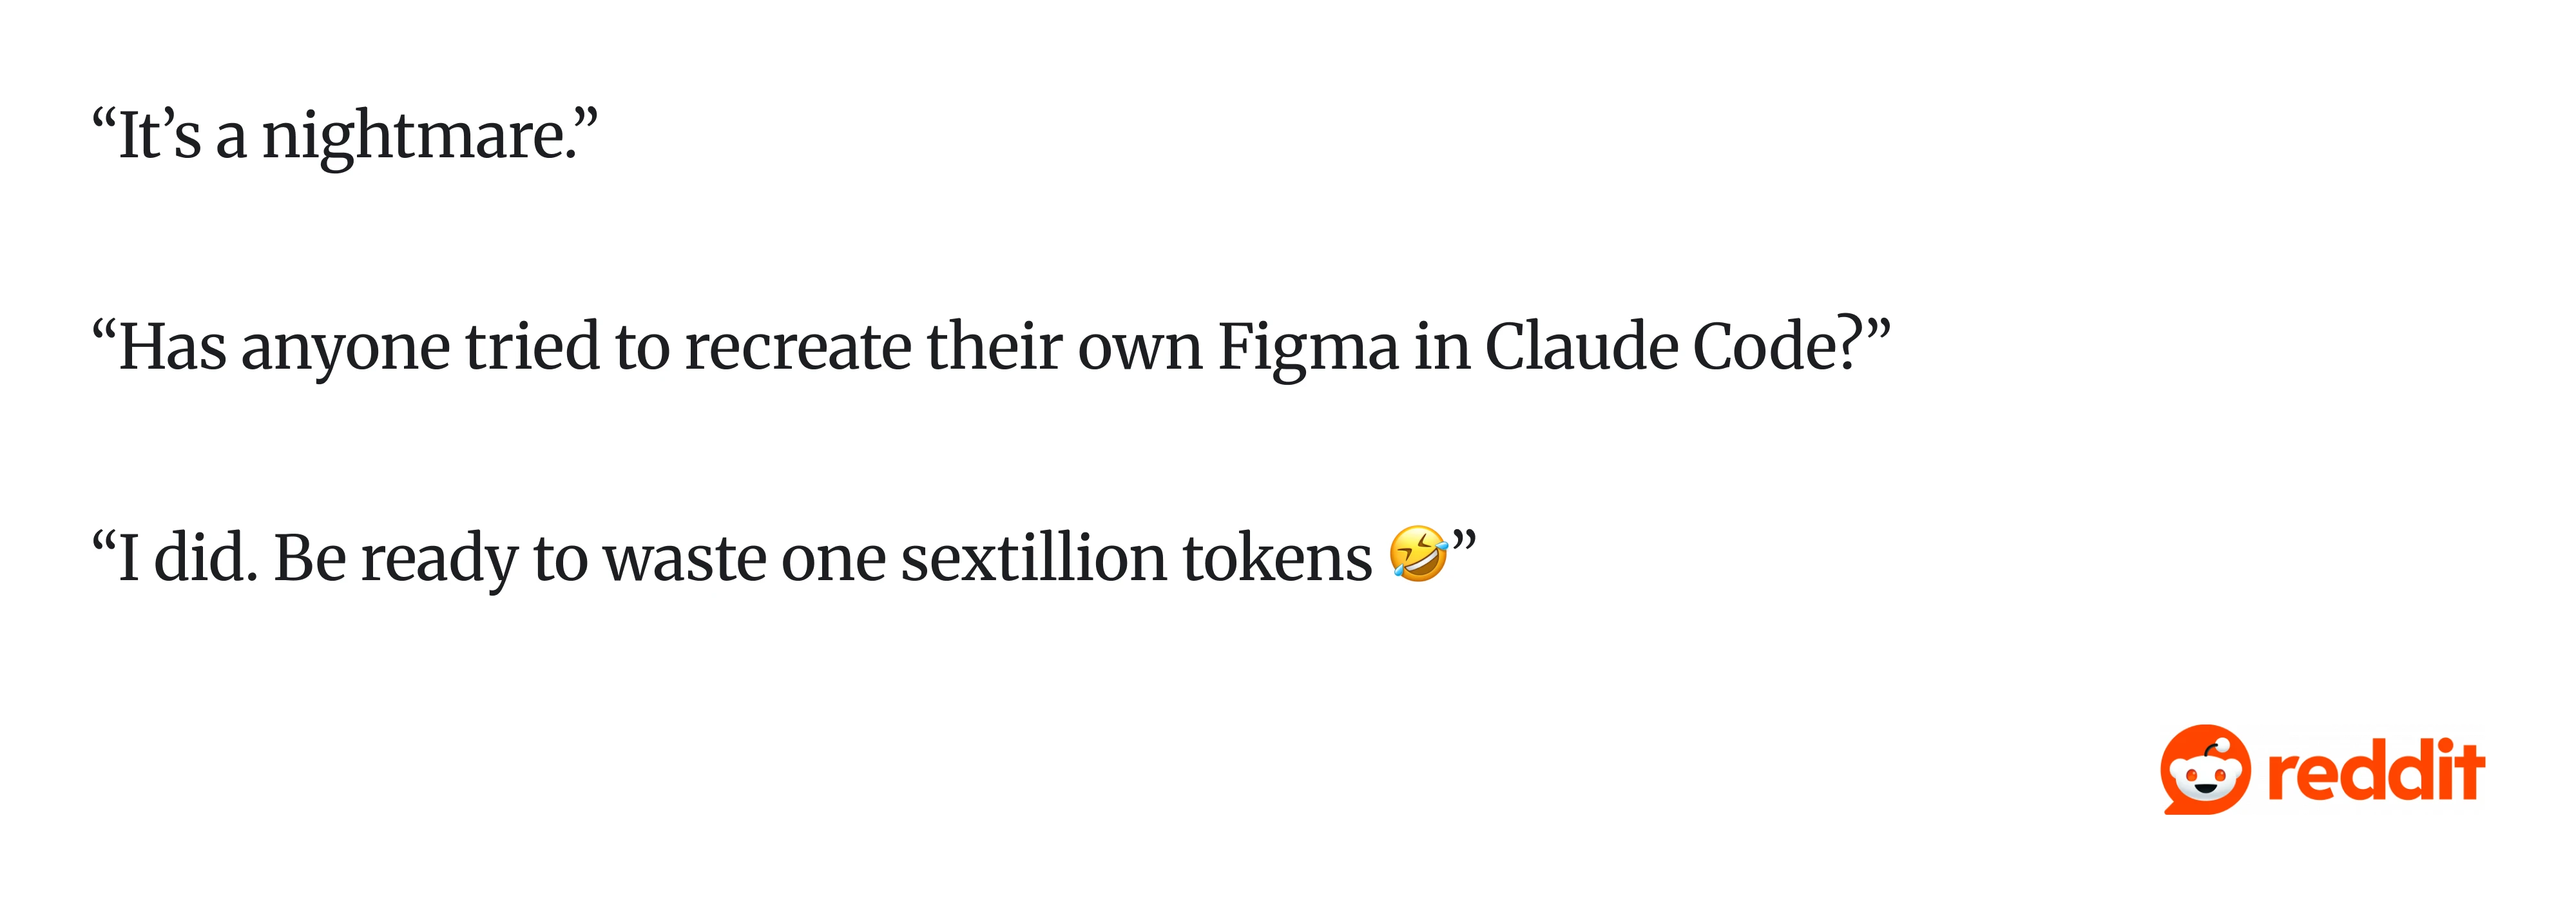
But Reddit’s reaction was less polished. One user called it “a nightmare.” Another warned: “Be ready to waste one sextillion tokens.”
Both sides are right. That's the honest answer.
At Eleken, we’ve been actively experimenting with Claude Code workflows in real SaaS product environments. We’ve tested where the integration speeds up product design, where it breaks down, and what patterns consistently produce better results.
This guide breaks the workflow down clearly, explains which use cases are worth your time, and shares practical lessons from our Lead UX/Product Designer, who has been testing the Figma ↔ Claude loop on client work.
If you're already exploring UX AI tools or AI-assisted design workflows, this integration deserves a serious look. But first, it’s important to understand what it does.
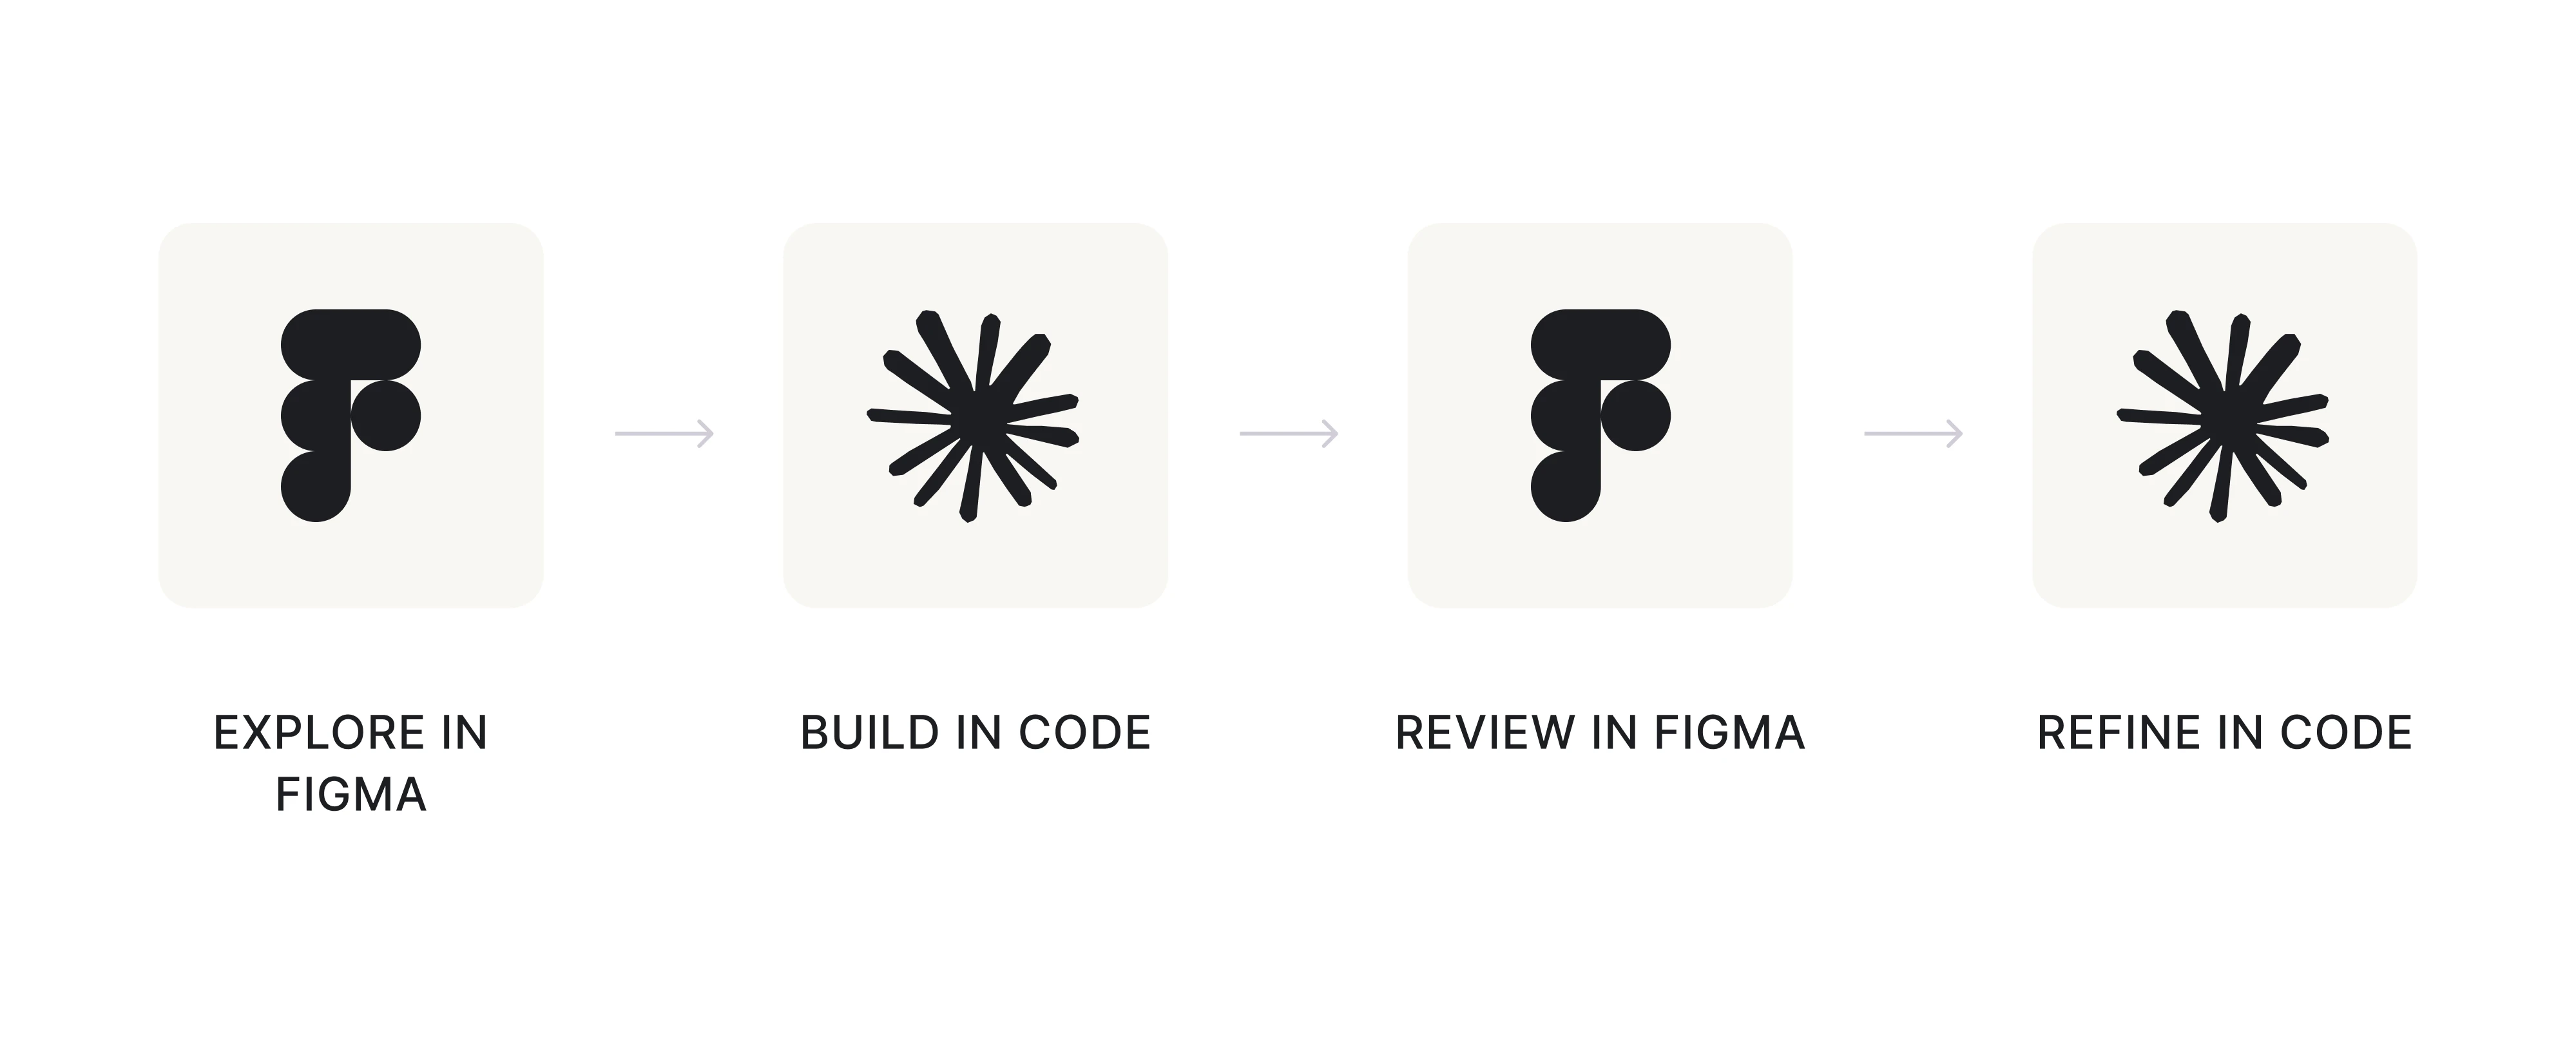
Claude Code Figma integration
Most people assume this is one thing, but it includes two directions:
- Figma → Claude Code (design to code): Claude reads your Figma design file through MCP and generates code from it, making design to code with Claude one of the most practical AI-assisted workflows currently available for rapid prototyping and UI iteration. This is the older, more established direction. It's where most of the real, repeatable value lives today, and it marks a meaningful shift in the designer-developer relationship.
- Claude Code → Figma (code to canvas): You build a UI in Claude Code and send it back into Figma as editable frames, creating a much more collaborative code-to-design workflow than traditional handoff processes. Announced in February 2026, this direction is real, just still maturing. The interaction model is essentially conversational UI: you describe what you want, and Claude builds it.
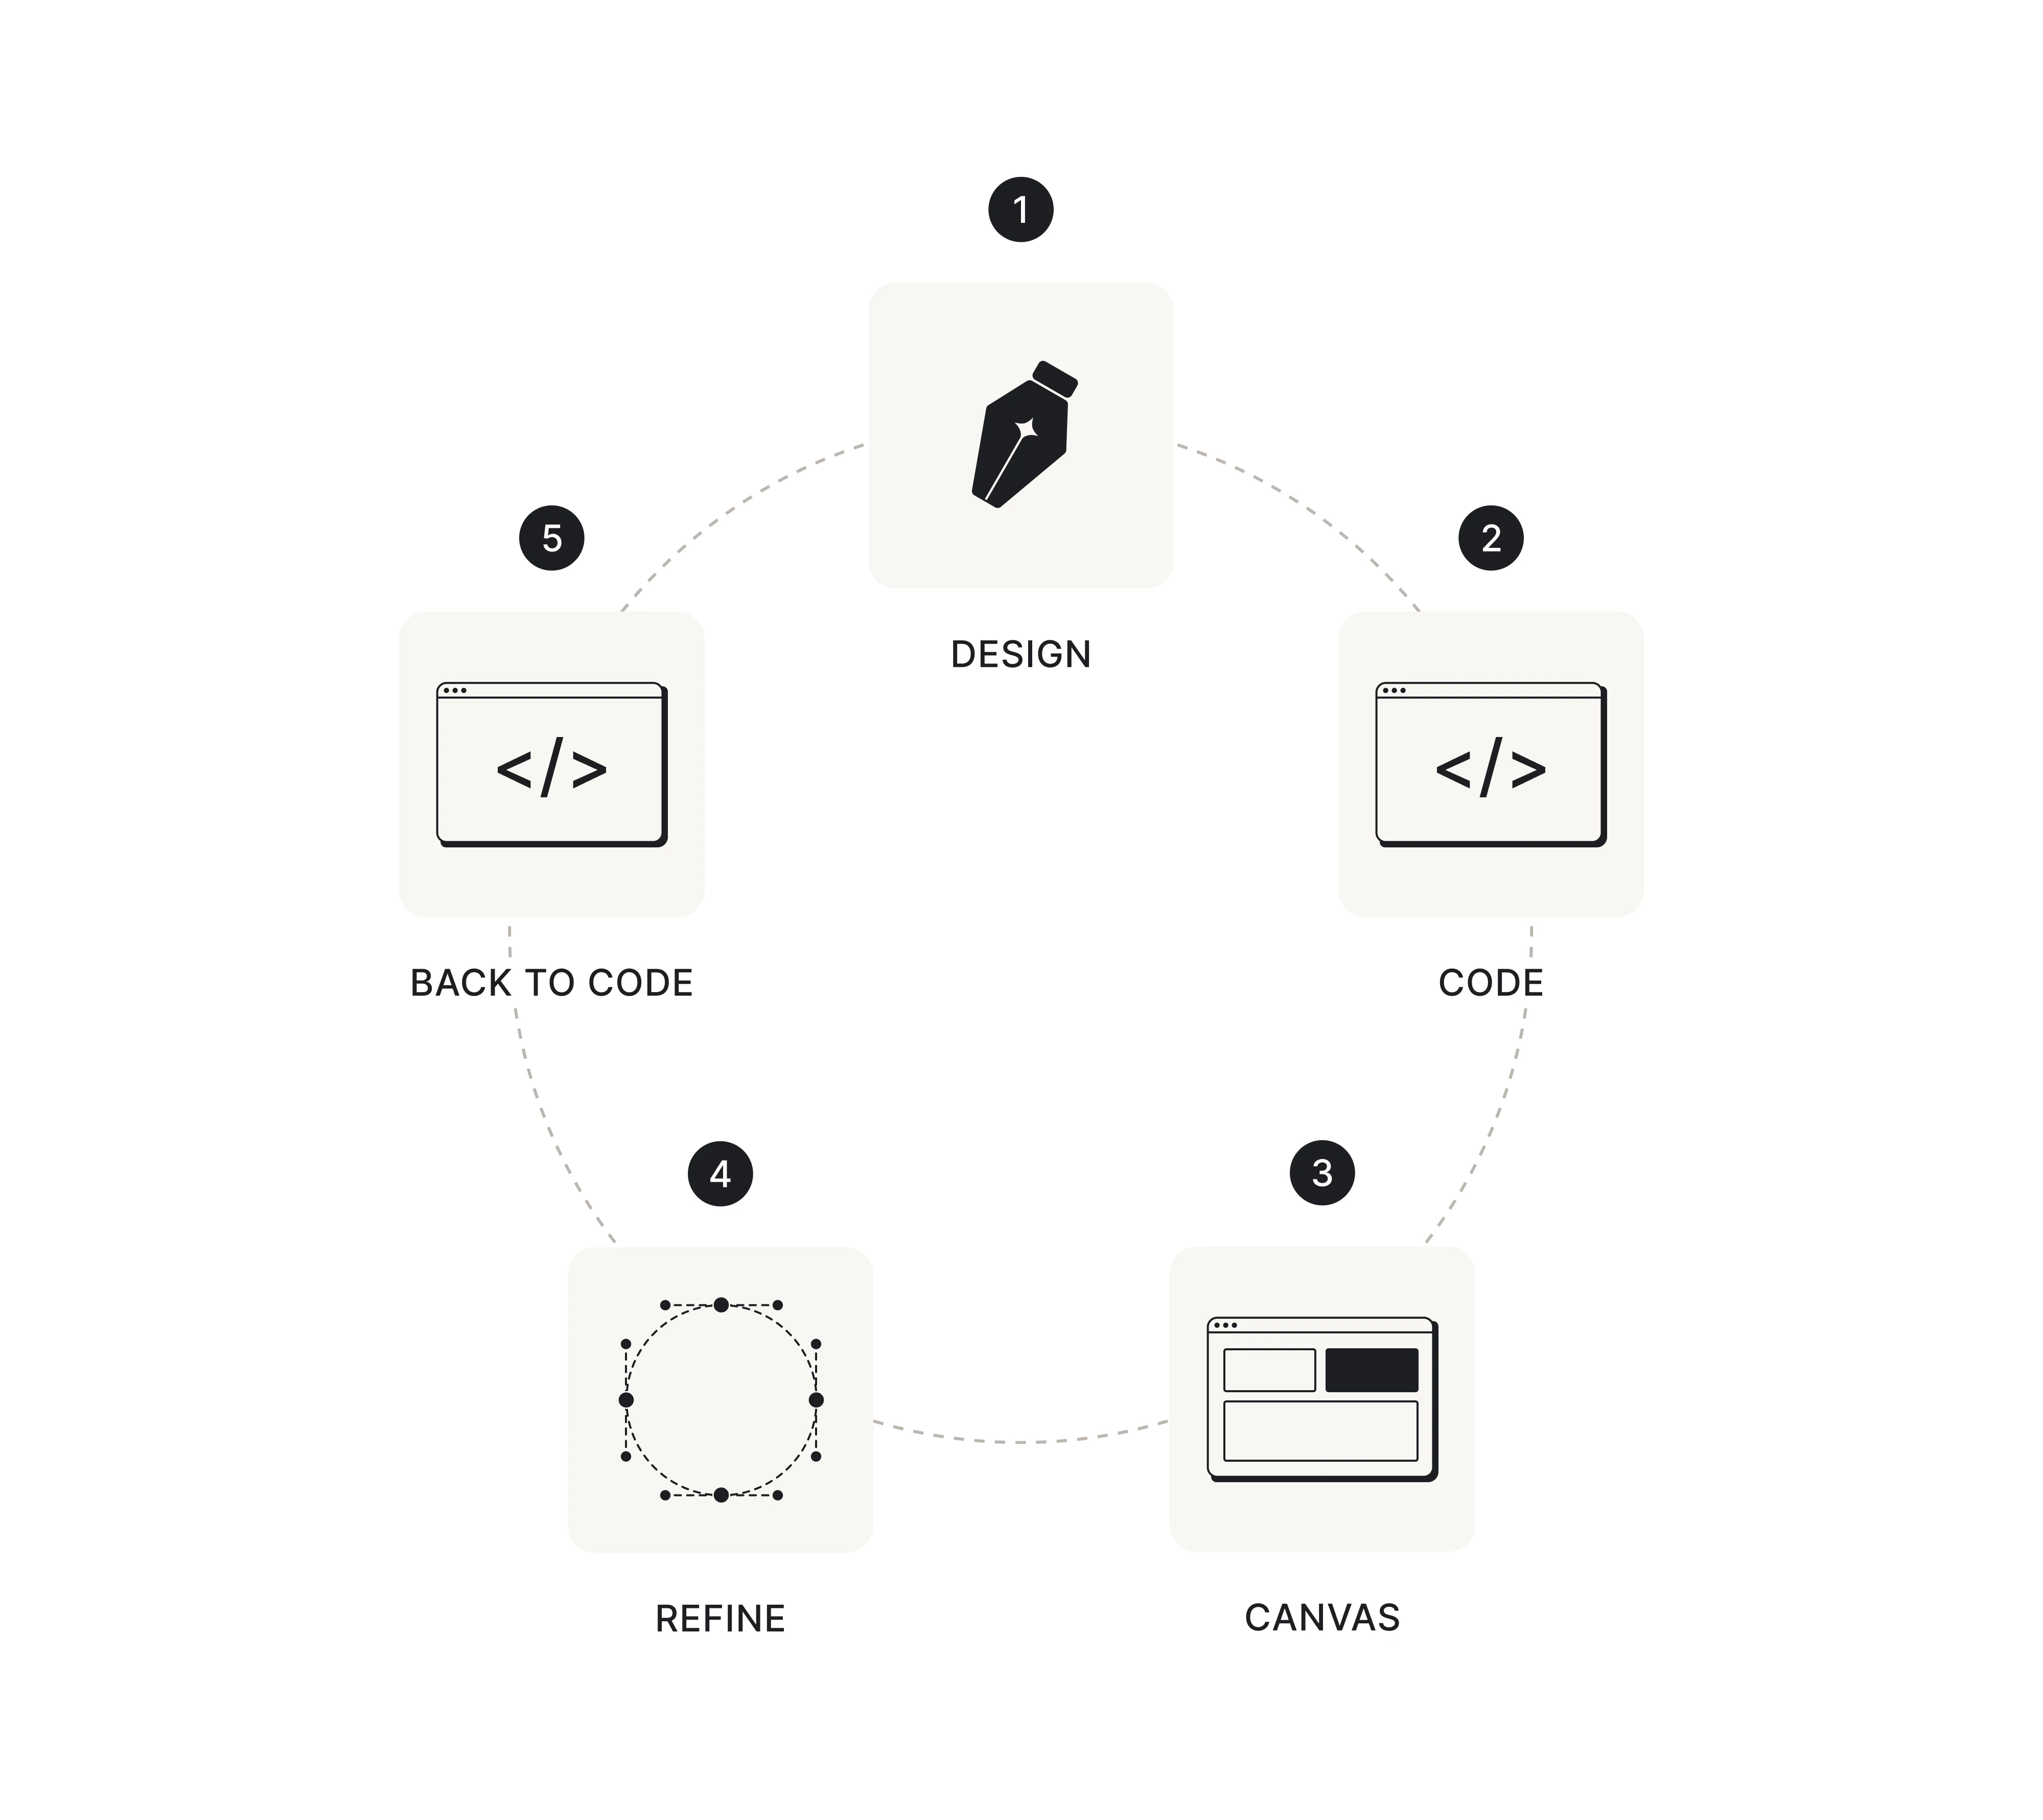
Together, they form a loop: design → code → canvas → refine → back to code.
Before you go further, there's one thing you need to understand. MCP gives Claude structured data: component names, layout properties, spacing tokens. It does not give Claude a visual rendering of your design.
Claude is reconstructing what your design looks like from raw property values. This is why pixel-perfect output is a myth. It's also why teams that don't know this spend hours wondering why nothing looks right. Knowing it upfront saves you that frustration.
Now the more important question: where does this workflow create value, and where does it just create more friction?
Use cases: what this is good for
Figma with Claude Code is the more mature direction right now. Claude Code → Figma is real, but it's still secondary. If you go in expecting a seamless two-way loop, you'll be disappointed. But if you understand the strengths of each direction, the workflow becomes much more useful.
Here are the most common use cases where Eleken designers are already seeing value.
Use case 1: Rapid interactive prototyping
This is the clearest win. Take a design or even just a rough idea, push it to Claude, and get something clickable fast. It won't be production code to Figma-ready. But it'll be testable, demonstrable, and good enough to put in front of real users sooner than you otherwise would.
And if you want to learn more about Figma prototypes, watch the video below:
As design AI tools go, this is one of the more immediately useful for teams that need to move fast.
Maksym, Head of Design at Eleken, describes it well: "You can show this to customers, let them play with it. You can make a mock demo with fake data that you can demonstrate in presentations to show how it will work."
That's a real capability shift. The distance between “we have a design” and “we have something users can interact with” gets dramatically shorter.
Here’s a prototype Maksym built using this workflow. The interface is interactive, the assistant's behavior changes dynamically, and the experience is close enough to a real product that stakeholders can meaningfully test and react to it before development even begins.
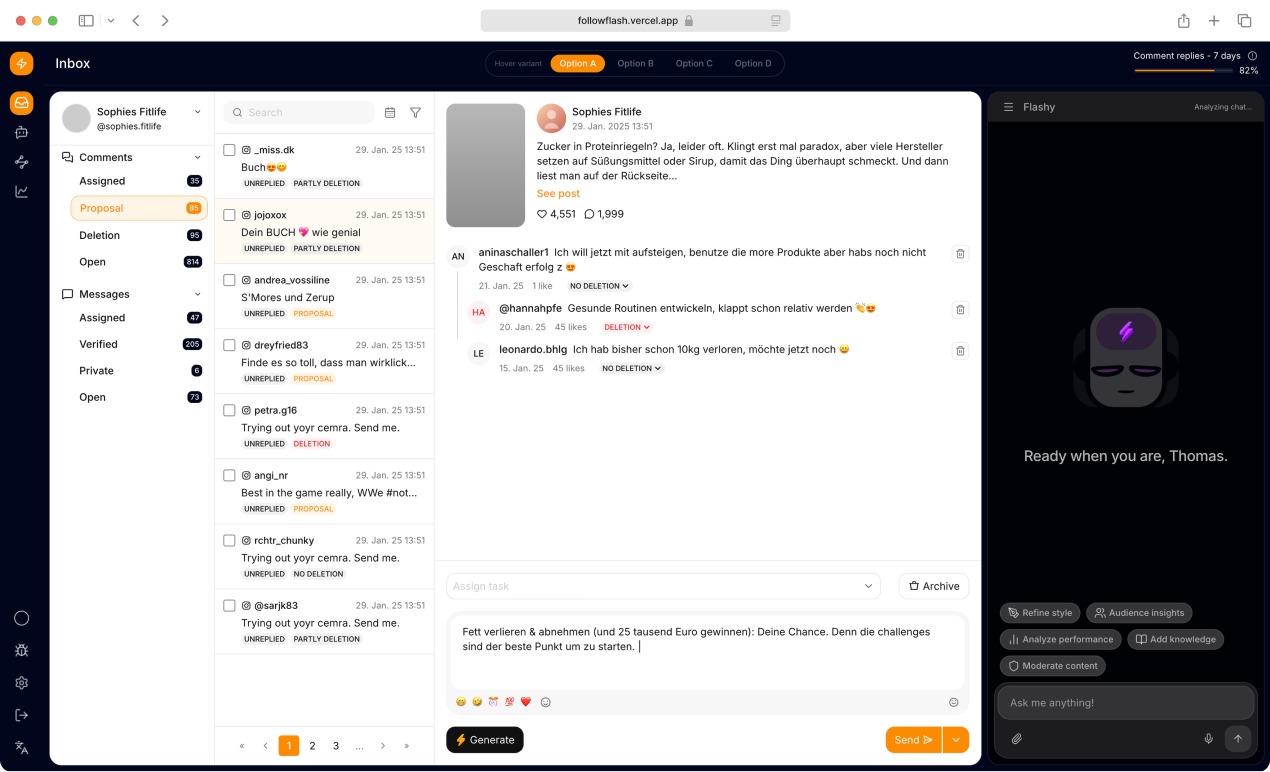
FollowFlash — AI-assisted social inbox moderation
A Claude-generated prototype for managing high-volume creator comments, flagged replies, moderation decisions, and AI-assisted response drafting inside one focused social inbox workflow.
Use case 2: A/B testing new features
You've designed a new feature and built a quick prototype through Claude Code. Now you want to test two variants with real users before committing development resources to either.
This workflow makes it fast and inexpensive. Instead of waiting for engineering cycles to build out both variants, you can have them ready in a day. For product decisions that hinge on user behavior, speed matters. This is a case where we identified pain points and improved usability.
The example below is this kind of case. Eleken designers used AI-assisted prototyping to explore different onboarding and search interaction patterns, identify usability pain points, and test which experience felt more intuitive before moving deeper.
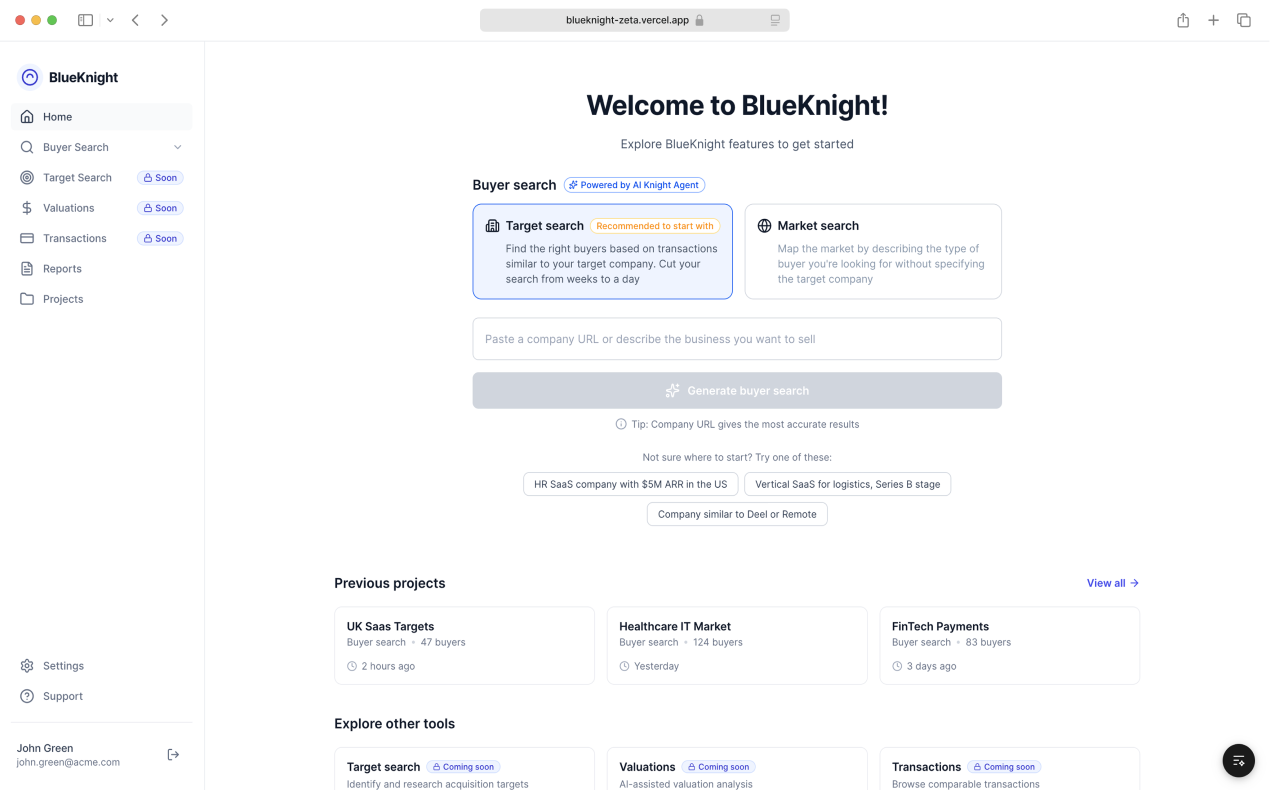
BlueKnight — AI-generated product dashboard
A quick Claude-generated prototype showing how AI can move from rough product logic to a usable dashboard interface — the kind of early concept a SaaS team can review before investing in full design.
Use case 3: Redesigning an existing product
This is the more advanced case and the more token-expensive one. The idea is to launch an existing product in developer mode, then start editing it like a designer, through code. It's a particularly strong fit for AI in SaaS products where design systems sprawl across dozens of screens and global changes are otherwise painful.
The workflow typically looks like this:
- Claude analyzes the existing UI;
- extracts baseline design patterns;
- identifies reusable components;
- helps standardize inconsistent styling;
- applies changes across the product.
Maksym describes it this way: "You change the building blocks the interface is made of. Then you take a page and say: “Our primary button was blue, now it's purple, change it everywhere."
That’s where the real leverage appears. Instead of manually updating dozens of screens, teams can iterate on the underlying system itself.
The example below is a prototype Maksym created while experimenting with redesign workflows for an existing SaaS interface. The goal was to test how quickly large-scale UI consistency changes could be applied across a complex product environment.
One important caveat: This workflow burns through design tokens quickly.
It’s realistic and genuinely powerful, but teams should go in with clear expectations and a budget in mind.
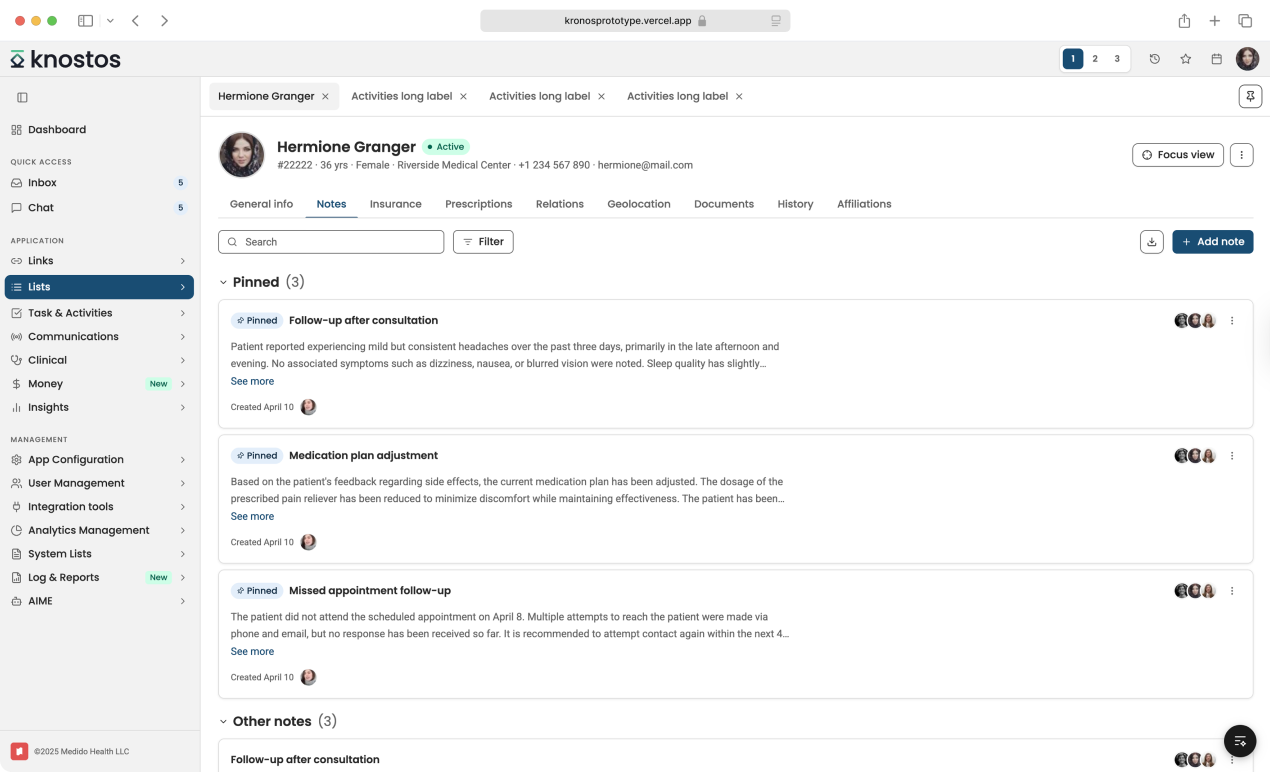
Knostos — patient workspace for care teams
A Claude-generated healthcare interface prototype for navigating patient records, pinned clinical notes, communications, documents, insurance, prescriptions, and care-team activity from a single workspace.
Use case 4: UI quality control
This one hasn't fully landed yet, but it points somewhere interesting. The concept: designers catch frontend implementation drift and fix it directly in code. You open the shipped product, spot the 3px misalignment, create a branch, fix it in code, and hand it back to the developer for sign-off.
No more "can you just nudge that button?" Slack messages.
Our Head of Design hasn't tested this pattern with clients yet, and that is worth keeping. But the underlying capability is real: "It's easy to fix things in code — 'raise this button 3 pixels.' You just go to the code and say raise it, lower it, remove this, do this thing here."
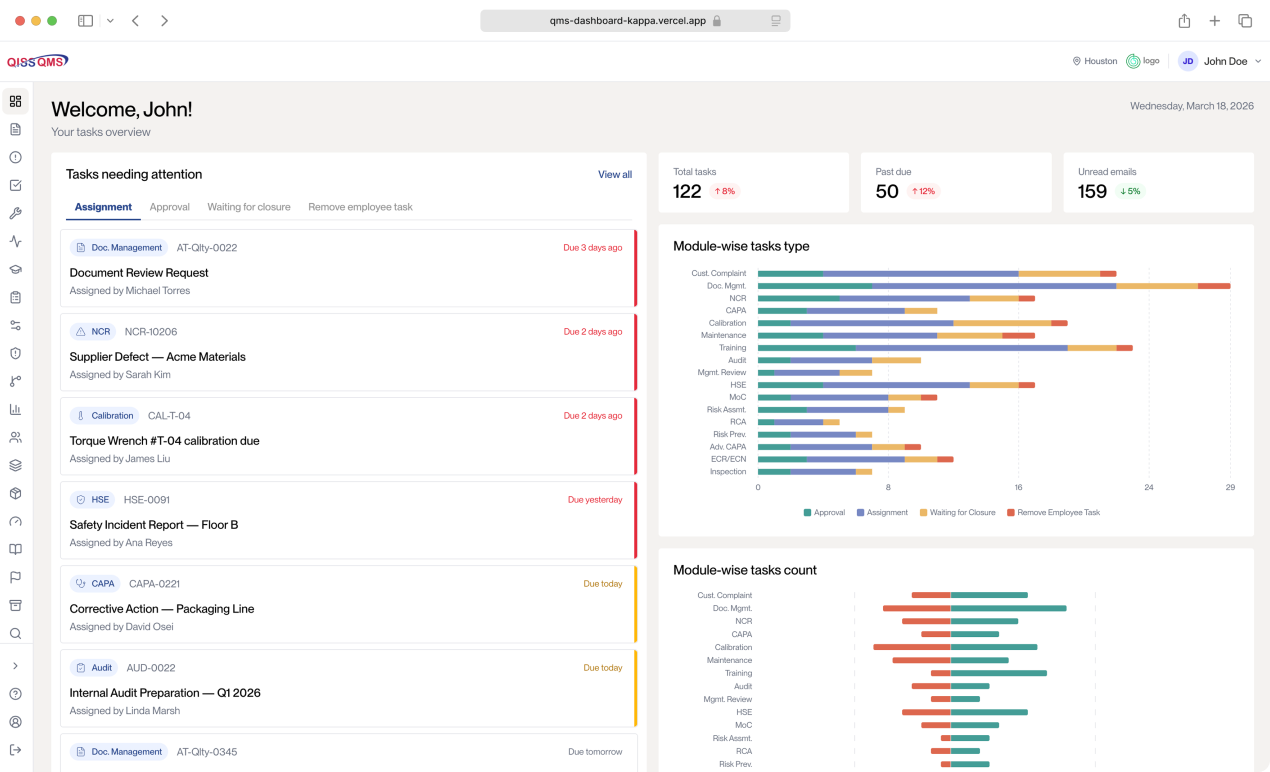
QMS Dashboard — quality task command center
A Claude-generated quality management dashboard that turns overdue tasks, approvals, CAPAs, audits, calibration items, and module-level workload into a clear operational view for quality teams.
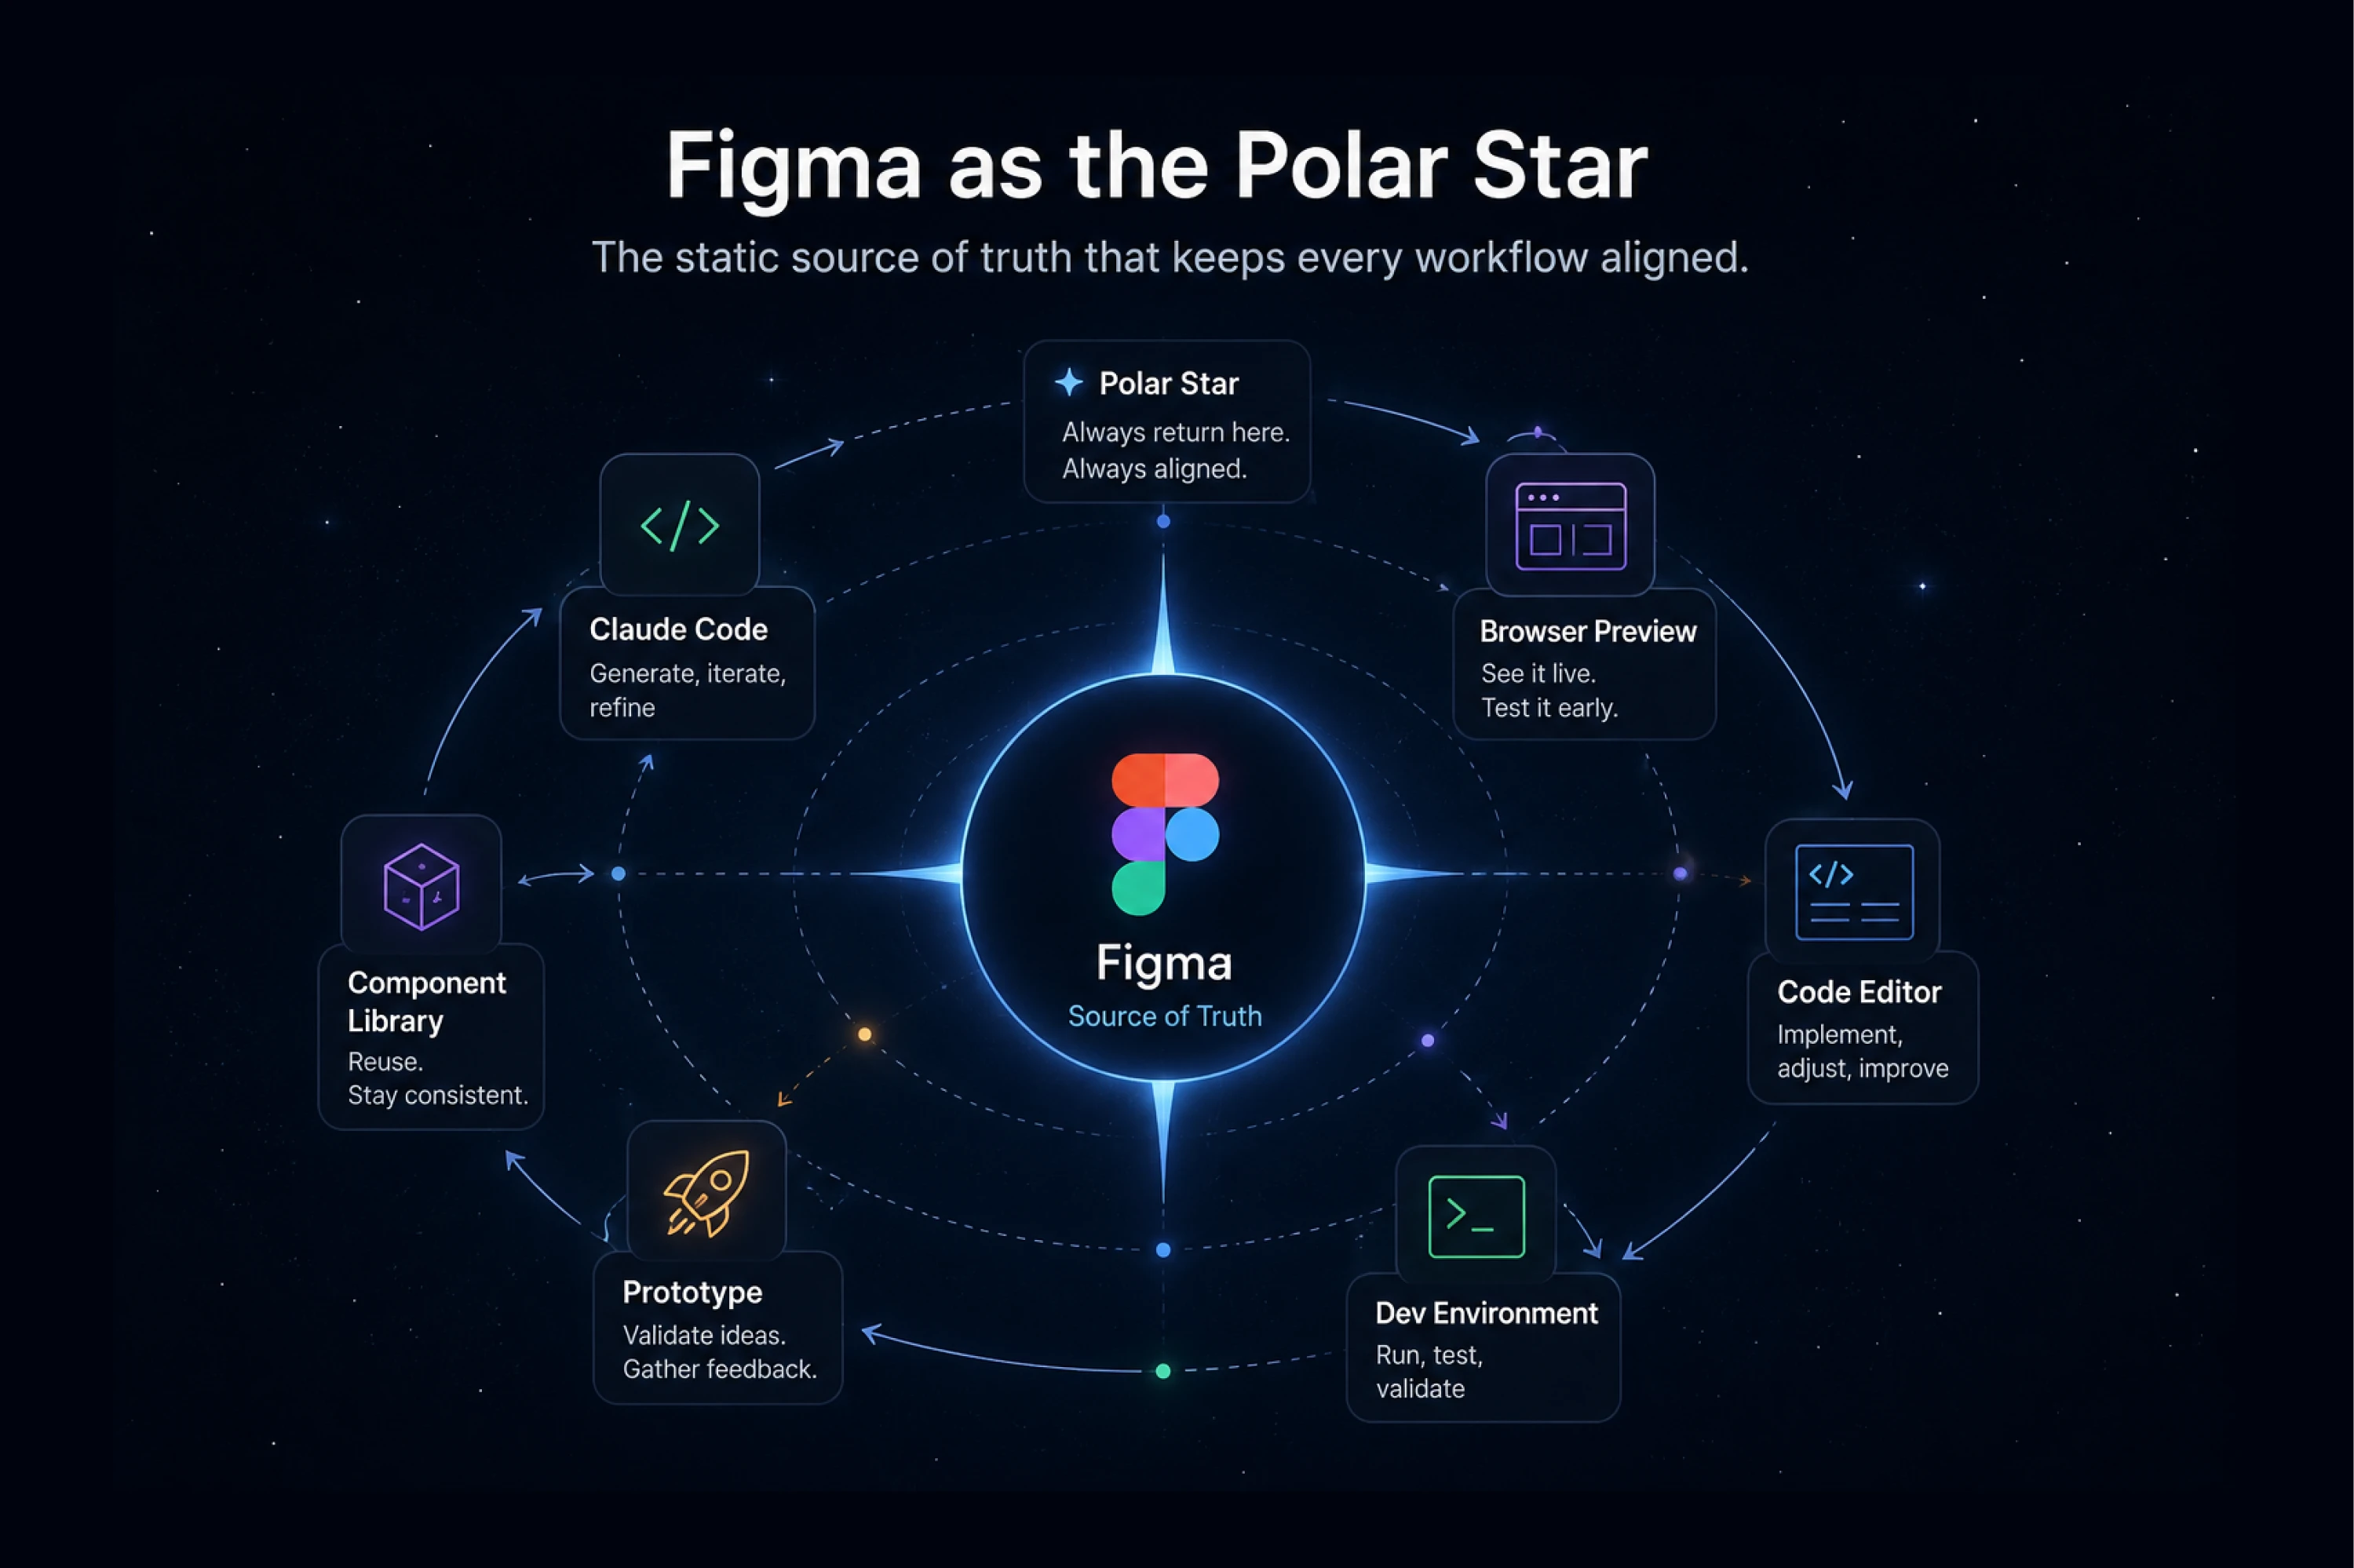
The one case where Figma stays essential
Across all of these workflows, Figma stays what Maksym calls the "Polar Star", the static source of truth you always return to. Even when you're building directly in Claude, you lose the blueprint if you don't have static screens to reference. The canvas keeps the team anchored.
When it struggles:
- You're working on an existing codebase, and changes mean regenerating rather than editing.
- You expect pixel-perfect output from complex, multi-frame designs.
- You're on a budget: heavy iteration burns tokens on both Claude and Figma's API.
- You're on Windows/WSL using the Desktop MCP.
- Your Figma file has no design system. Claude defaults to generic-looking output.
Once you understand where this workflow succeeds and breaks, the next step is seeing how the loop works.
The workflow in practice
Here's how the loop runs, step by step.
Phase 1: Figma → Code
This is where most teams start, and where realistic expectations and a structured workflow make the biggest difference:
- Connect Claude Code to Figma through MCP.
- Paste a Figma frame link into Claude Code.
- Generate the first implementation.
- Run it locally.
- Refine the UI iteratively.
One rule makes a massive difference: Don’t start with full pages.
Full-page generation gives Claude too many degrees of freedom, and the output becomes inconsistent fast. The teams getting reliable results almost always start small:
- one component;
- one section;
- one interaction pattern.
Get the workflow working on something contained before scaling up. Once Claude generates the first pass, run it on localhost immediately. That first output is rarely final; it’s a starting point.
The refinement loop
This is where most tutorials stop and where the actual method begins.
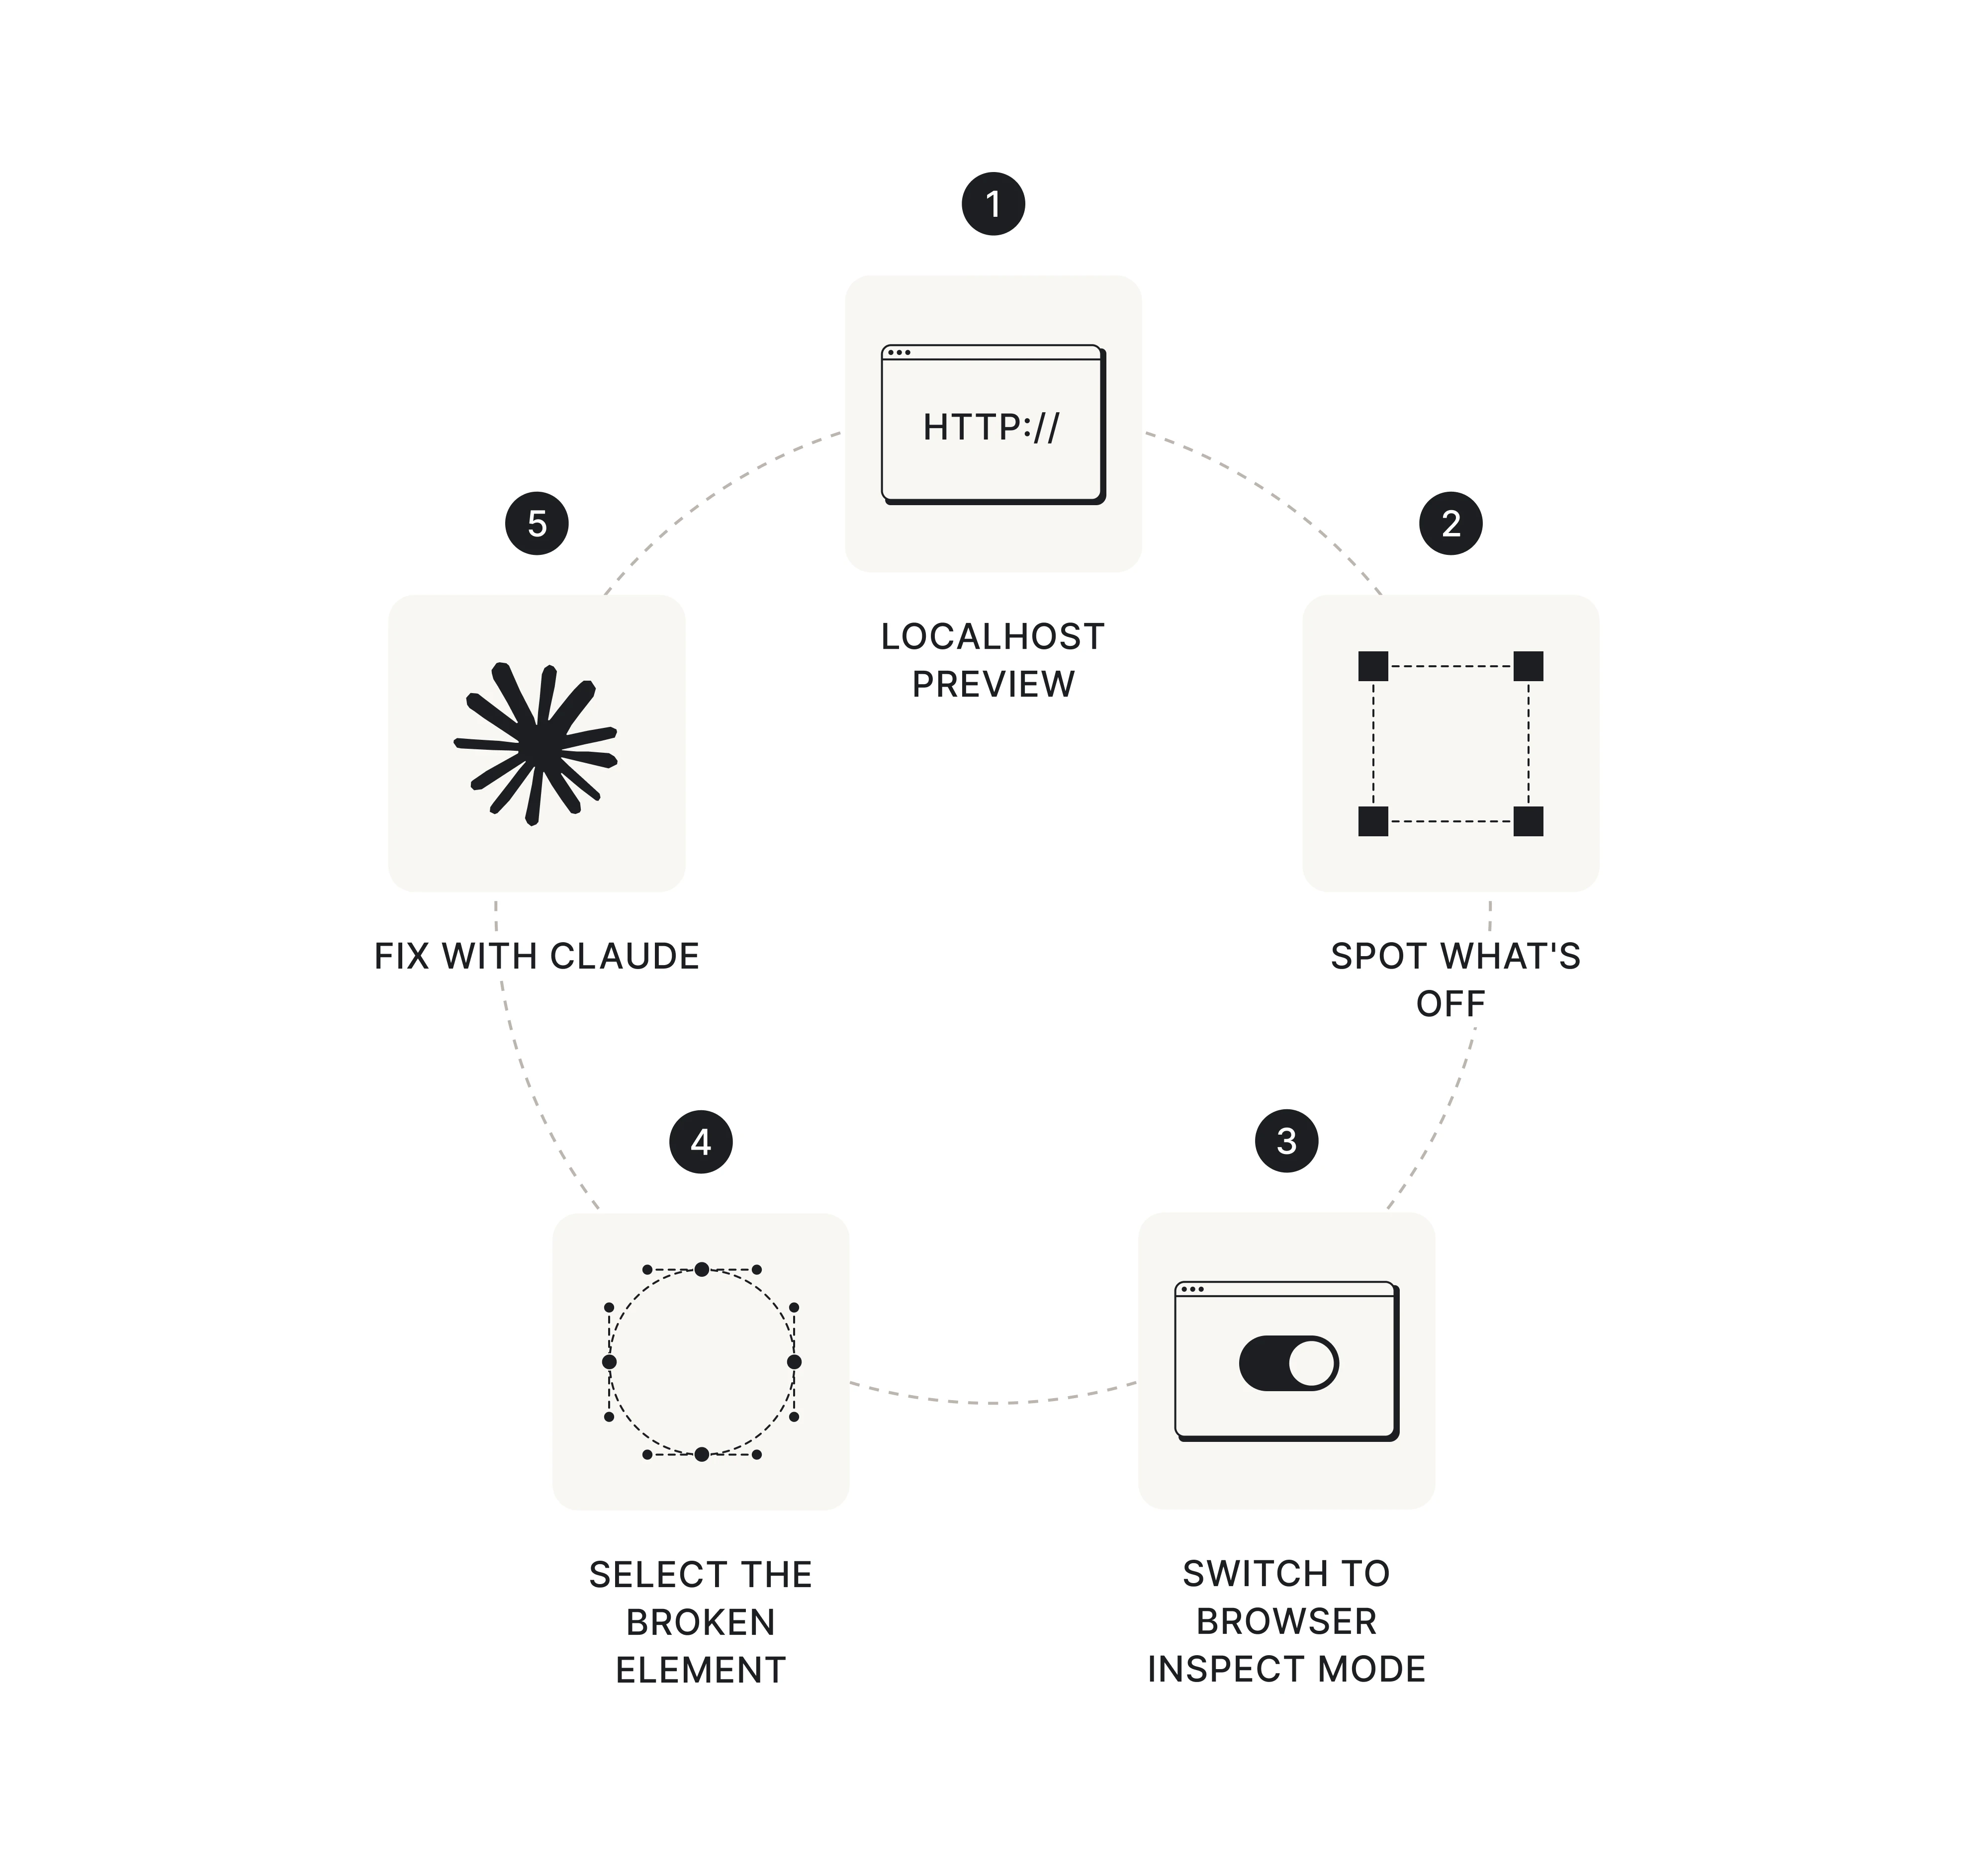
From Maksym: "I select the element in the preview in inspect mode through Chrome, say I need to fix this element, and tell Claude how to fix it, right there in Claude."
The key principle: reference Figma only when a whole component has been fundamentally misinterpreted. Not for minor spacing or color fixes. Handle those in the inspect loop. Iterate until the screen is right.
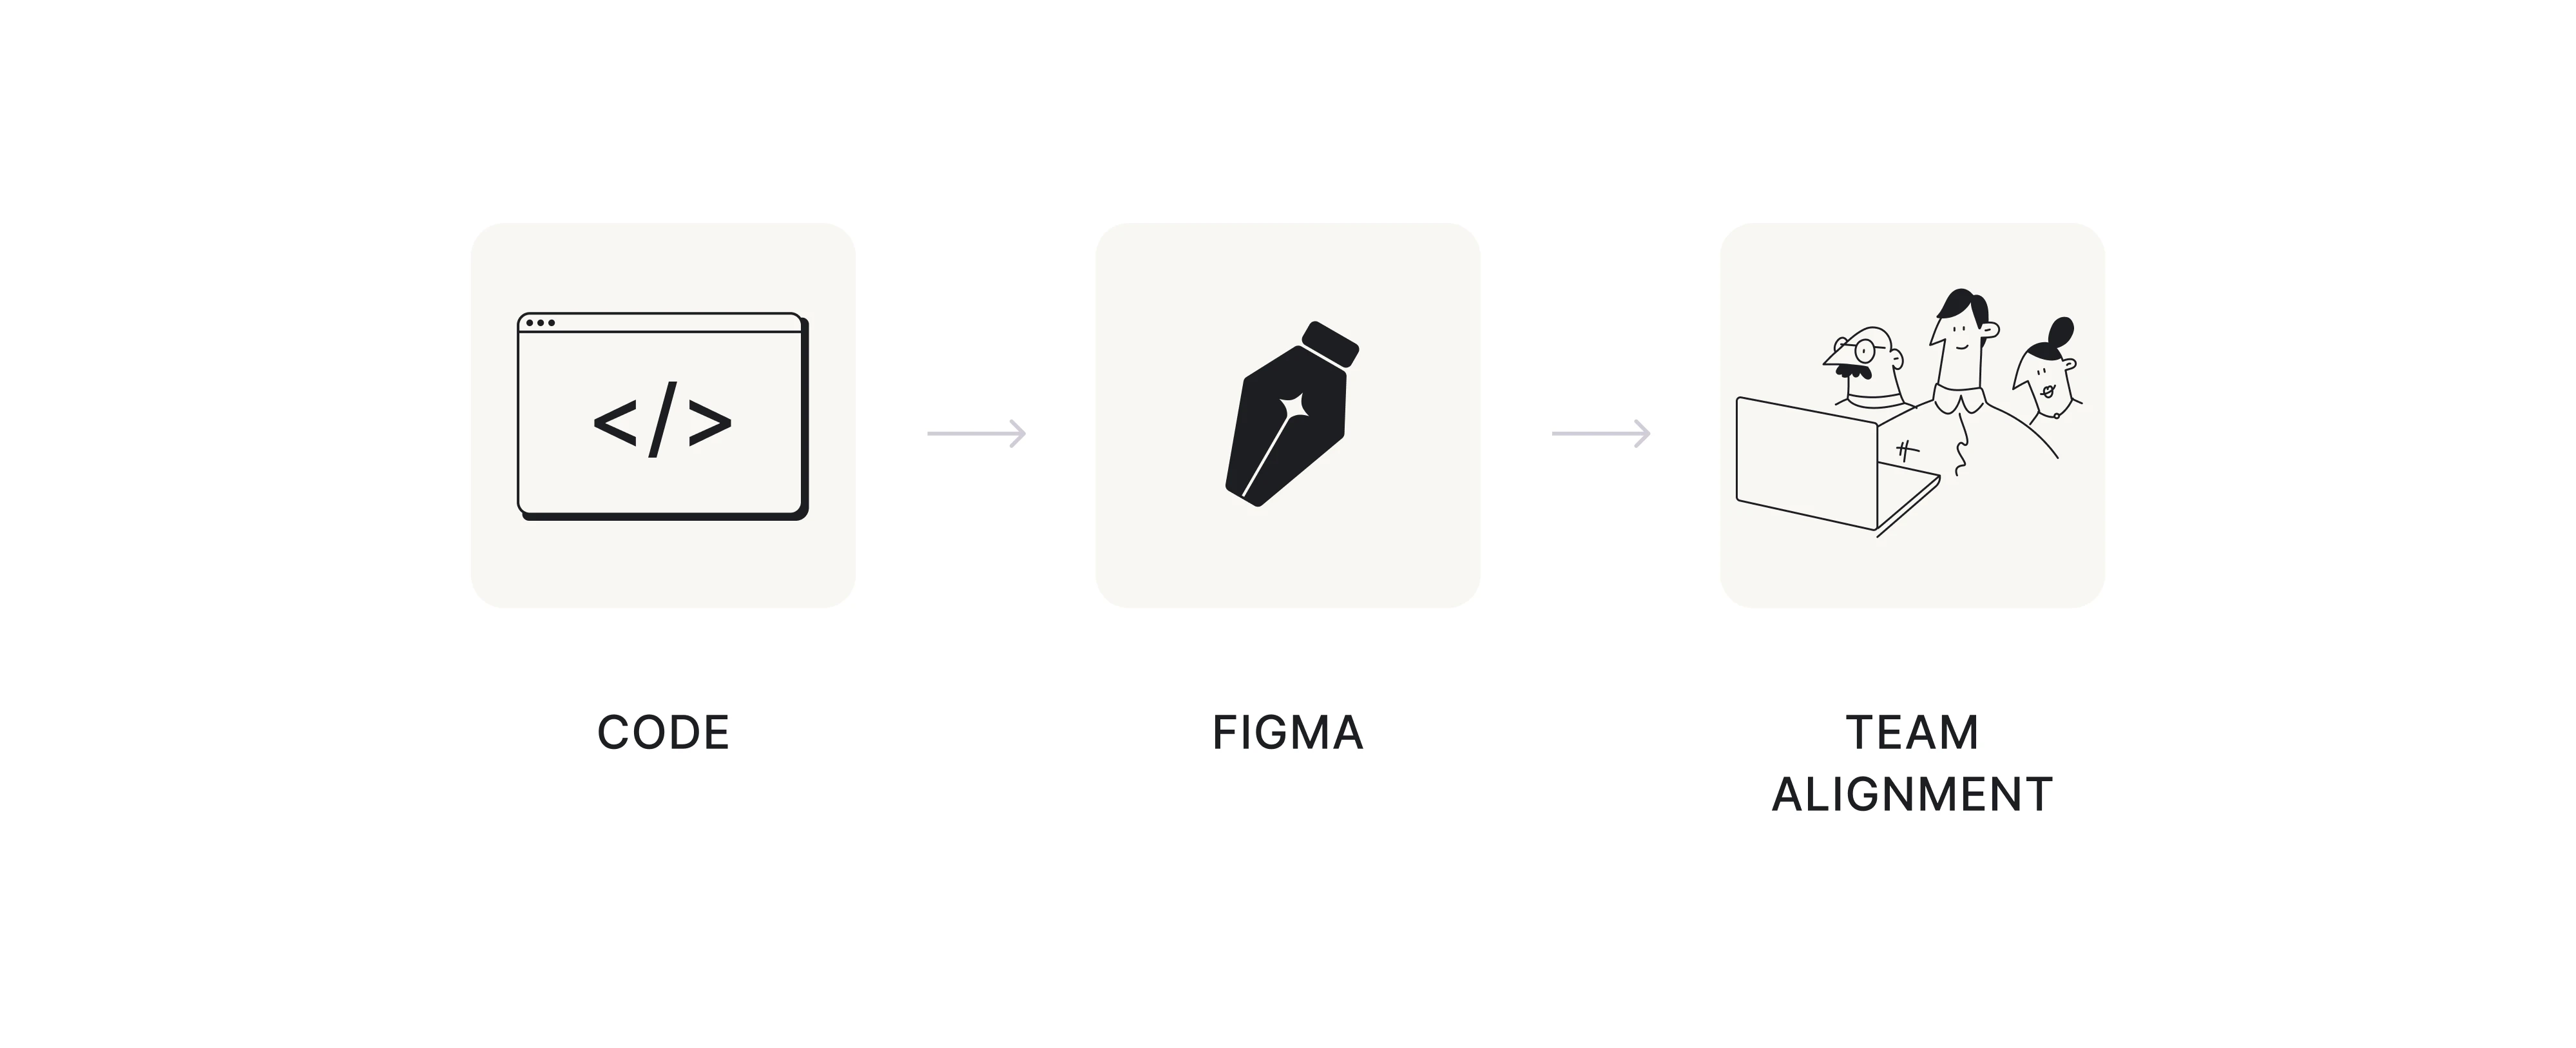
Phase 2: Code → Canvas
When you have a working UI state worth sharing, type “Send this to Figma.” This allows teams to generate UI design in Figma from Claude while keeping layouts editable for review, iteration, and alignment.
What you get back: real editable layers, editable text, and auto-layout. However, you don't get business logic, event handlers, or state management.
Use this alongside your other collaboration tools for team alignment, side-by-side variant comparison, and multi-screen flow review. The design canvas is for diverging and aligning, not a handoff artifact.
Phase 3: Back to Code
Once the team reviews and annotates the UI in Figma, share the updated frame link back with Claude and continue iterating from there.
This is where the workflow becomes collaborative instead of linear. Designers can comment on flows, compare variants, refine interactions, and align on direction before more implementation design work happens.
The loop usually looks like this:

That round-trip comes with a cost: multiple tools, repeated context switching, and ongoing iteration. For simple solo work, it can feel excessive.
But for complex features, multi-screen flows, stakeholder reviews, and collaborative product decisions, the alignment benefits often outweigh the friction.
How to get good results
The teams getting the best results usually have one thing in common: they give Claude far more structure and context than beginners expect. Here’s how to do that.
- Write a CLAUDE.md file.
Think of it as onboarding Claude to your product and design system. Ask:
- Where are the actual components?
- Which naming conventions matter?
- What are the source-of-truth examples?
The more structured context Claude has, the better the output tends to be.
Experienced teams often combine MCP with:
- reusable components;
- style guides;
- design system documentation;
- project instruction files like CLAUDE.md;
- existing code and front-end code references.
The goal is simple: reduce how much Claude has to “imagine.”
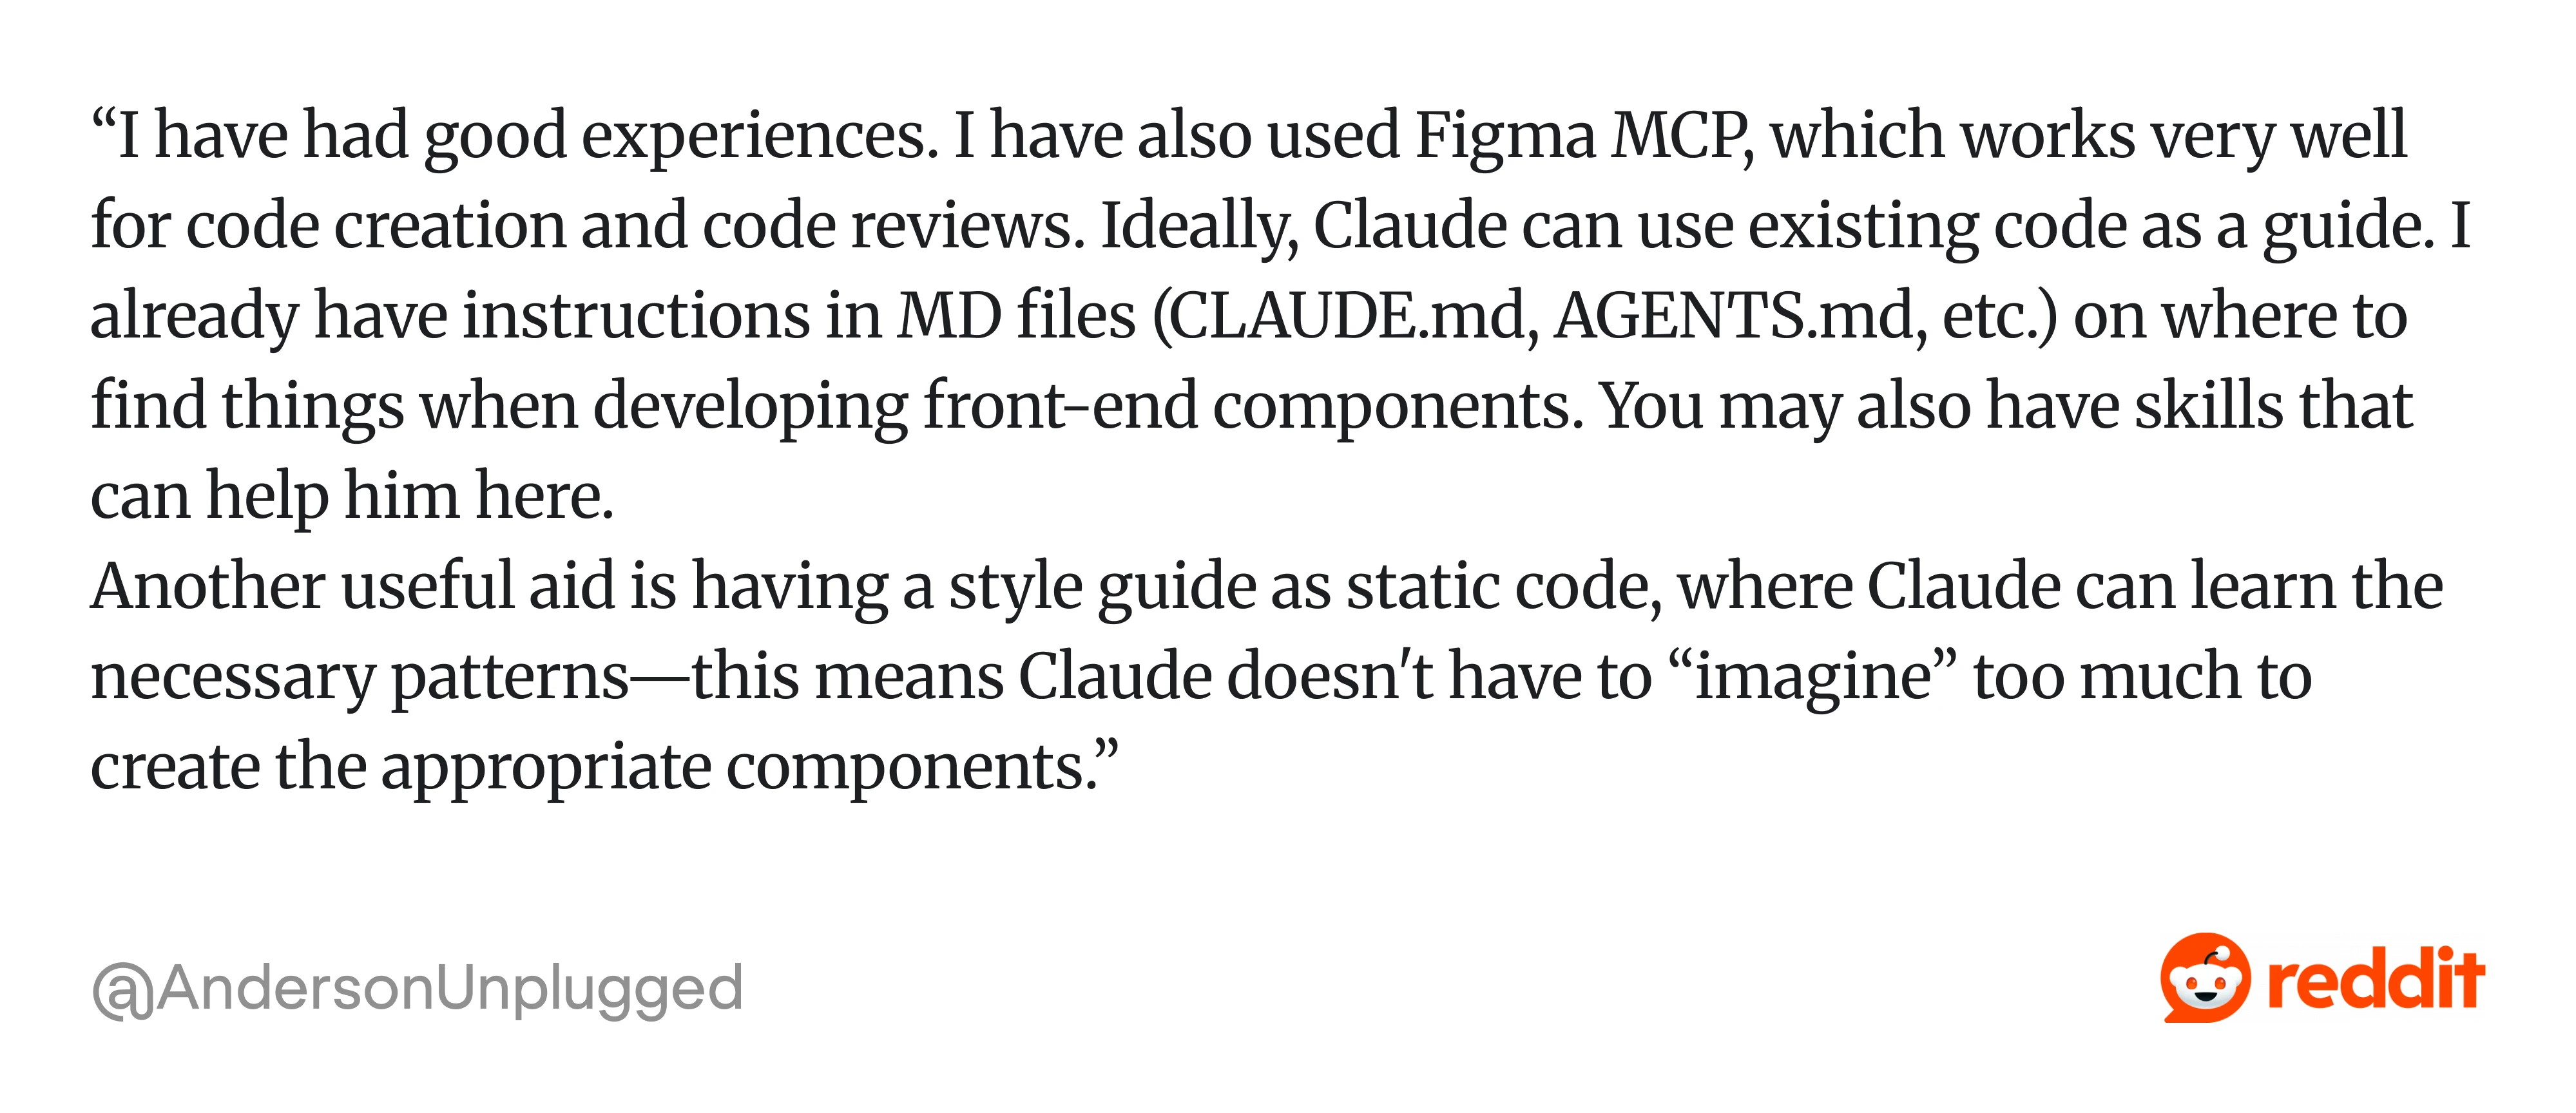
As one Reddit user explained, they got much better results once Claude had clear instructions on where to find components, coding patterns, and reusable UI examples. Plus, “... Having a style guide as static code, where Claude can learn the necessary patterns—this means Claude doesn't have to “imagine” too much to create the appropriate components.“
- Start with one component, not a page.
Every practitioner who gets reliable results starts small. Everyone who gets frustrated starts with a full screen.
Large multi-frame generations give Claude too many degrees of freedom, which quickly leads to inconsistent layouts and messy hierarchy.
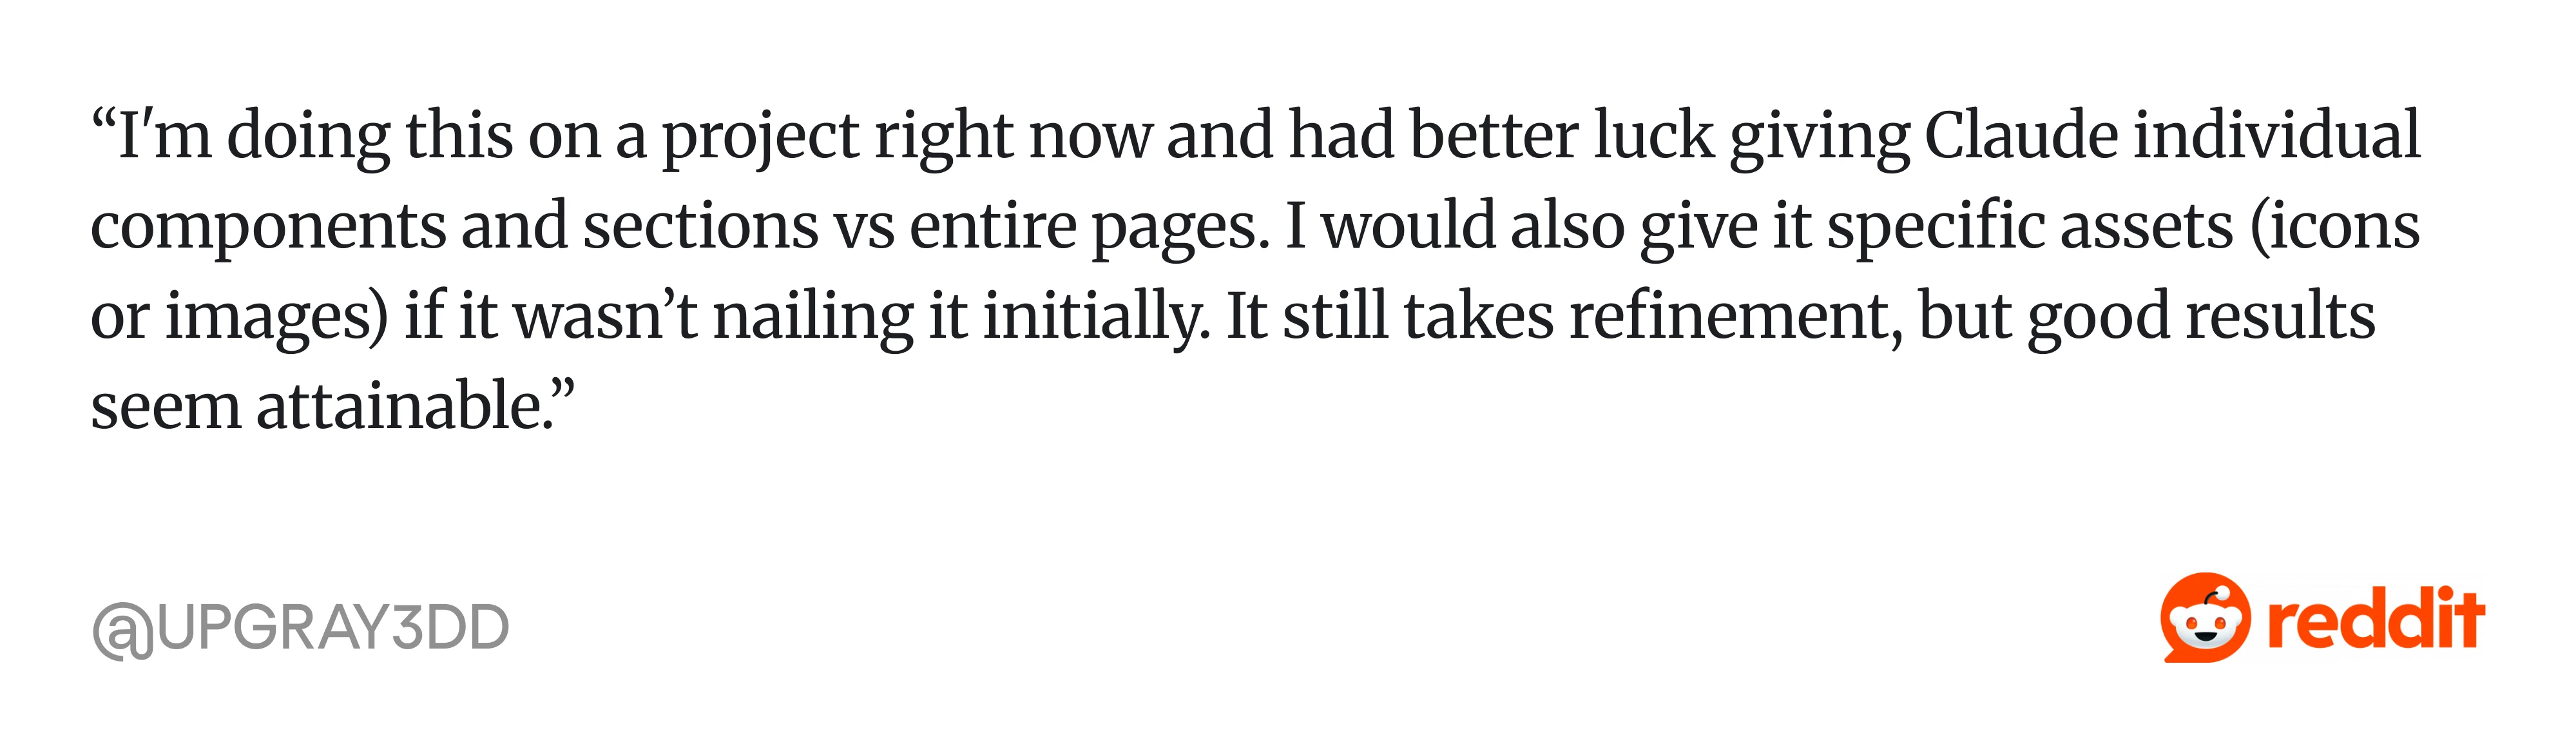
Interestingly, experienced Reddit users experimenting with Figma MCP workflows report the same pattern: better results come from “... giving Claude individual components and sections vs entire pages…”, then refining iteratively with specific assets and visual references when needed.
- Combine MCP data with dev mode CSS.
MCP gives Claude the structural information behind your design: component hierarchy, spacing values, layout rules, and tokens. But it still doesn’t fully understand how the interface should visually feel.
That’s where Dev Mode CSS helps.
By combining MCP data for structure and Dev Mode CSS for visual styling, you give Claude a much clearer picture of the intended UI.
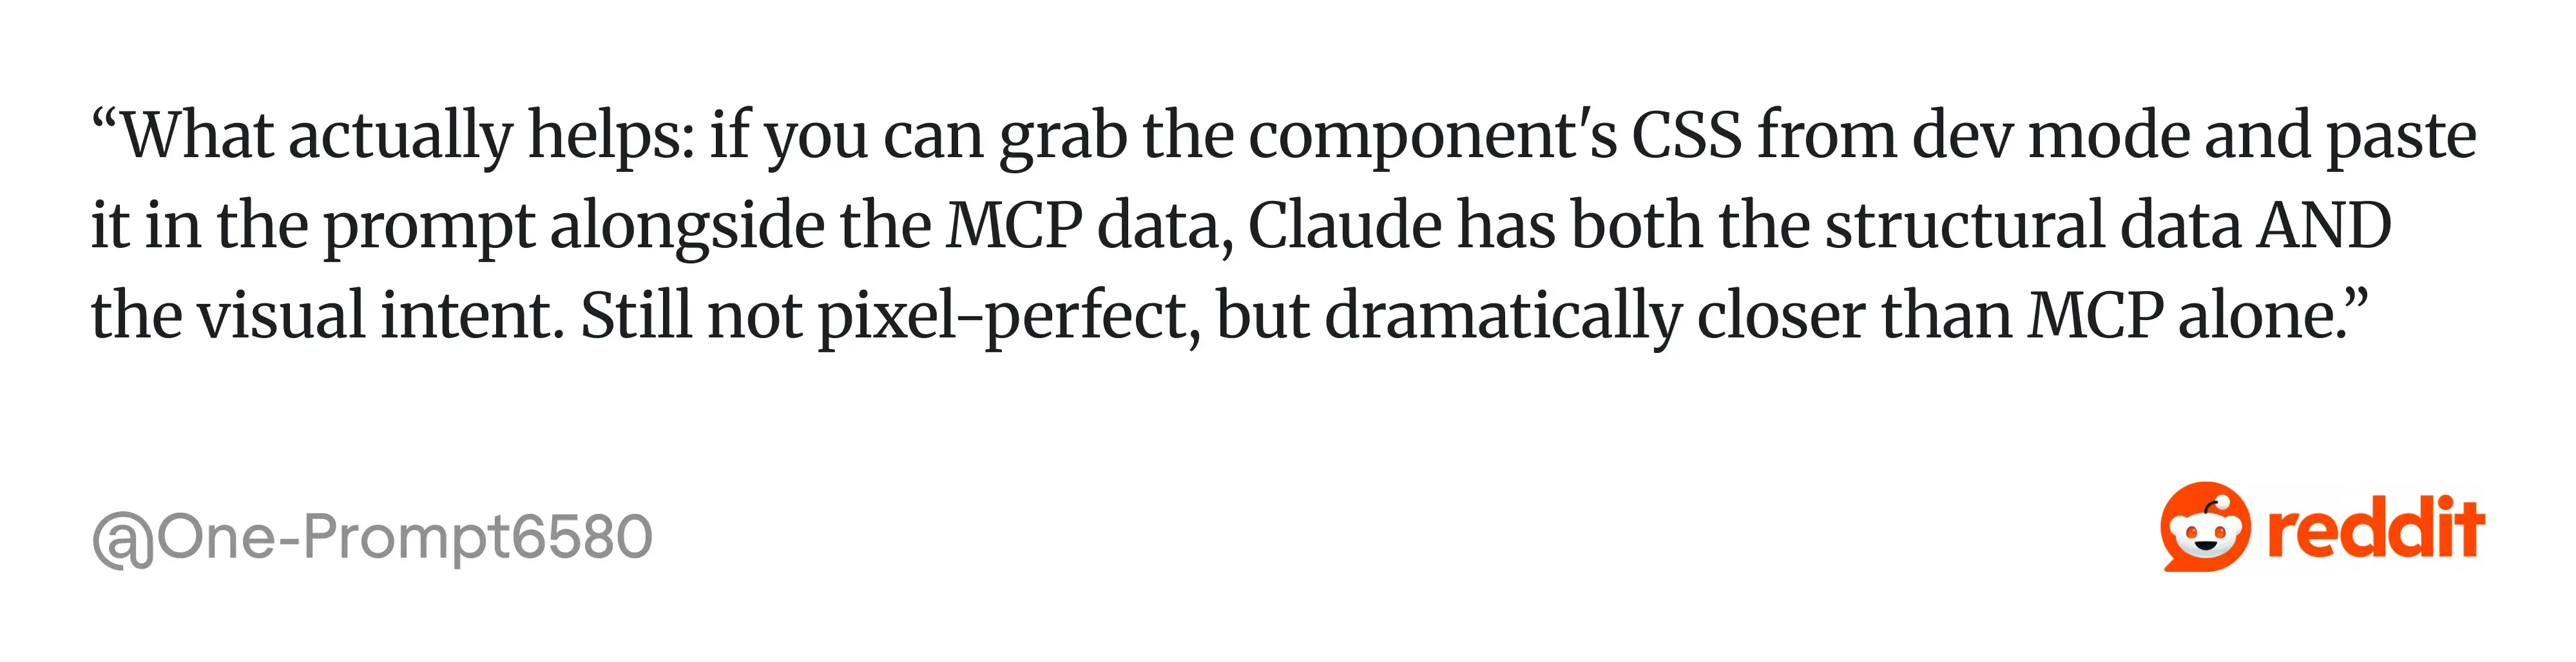
Many teams experimenting with Figma MCP workflows have found that combining MCP data with component CSS gives Claude much more accurate and consistent UI output: “What actually helps: if you can grab the component's CSS from dev mode and paste it in the prompt alongside the MCP data, Claude has both the structural data AND the visual intent. Still not pixel-perfect, but dramatically closer than MCP alone.“
It’s still not truly pixel-perfect, but it’s one of the most effective ways to get closer to the original design without endless refinement loops.
- Use Figma for diverging, code for converging.
The most effective workflows usually separate exploration from implementation.
Use Figma to explore ideas, compare variants, review flows, and align with stakeholders. Use Claude Code to build, refine, and iterate on the implementation itself.
Teams often start running into problems when they try to fully design and fully implement within the same conversational session. That’s usually where context gets messy, and the workflow becomes frustrating.
A smoother pattern is:
- Batch your Figma API calls.
If you’re on a limited plan, repeated MCP requests can become expensive surprisingly fast.
A better approach is to gather most of the design context at the beginning of a session, including components, assets, spacing rules, typography, and layout references, and then continue refining locally instead of constantly sending Claude back to Figma. This usually leads to fewer token-heavy round trips, faster iteration, and more consistent output.
- Create a separate source of truth document.
Maksym's primary fix for cross-screen consistency: a document listing all your color palette, typography, and spacing rules, with instructions telling Claude to always reference it.
If you also use ChatGPT for UX research, the same principle applies: AI tools need explicit context to stay consistent. It sounds simple, but it works.
Taken together, these practices point to a bigger shift: the workflow is no longer just “design, handoff, develop,” but a continuous, conversational, and much more iterative process.
Where this leaves us
The old workflow was linear: design in Figma, Figma handoff, code. The new one is a loop, and it changes what design-driven development can look like in practice.
For some teams, this integration removes the biggest friction point in the design-to-code pipeline. For others, it adds steps to a process that was already working fine. There's no universal answer here.
However, you can always test: try it on one component, not a page or a full project. You'll know in 20 minutes whether it fits how you work, and that's worth more than any setup guide.
At Eleken, we work with SaaS teams actively exploring AI-assisted UX workflows, rapid prototyping, and modern design-to-code collaboration.
We don’t see tools like Claude Code as replacements for designers or engineers. We use them to help teams move from idea to usable product faster and with less friction.
If your team is experimenting with AI-powered product design workflows and wants experienced product designers who understand both UX and modern AI tooling, Eleken can help.


.webp)
.webp)
.webp)

.webp)