

The gap between AI hype and what designers do day-to-day is real. Ask most teams, and they’ll tell you they’re still primarily in Figma, using AI for writing copy or summarizing research. At Eleken, we used a similar approach till it became fatal.
What changed for us was losing a client. As our design lead, Maksym put it: “When a client chose another agency that gave them three interactive prototypes instead of a design, I started trying to make an AI prototype for every project.” That loss pushed us to rethink where AI in UX design actually earns its place.
The workflow we’re sharing here came out of that shift. We built it around a sequence of decisions, each producing something concrete that feeds the next step. And that process starts with understanding what AI is good for.
What is AI good for in a design workflow?
The honest answer is that most design teams are using generative AI for far less than it’s capable of, while also expecting more from it than it can deliver.
Designers who’ve experimented with AI integration land in one of two camps. Some try to hand off whole tasks — “write me a PRD,” “generate the onboarding flow” — get mediocre output, and conclude AI isn’t useful. Others stay cautious, using it only for copy or meeting summaries, and leave most of the value on the table.
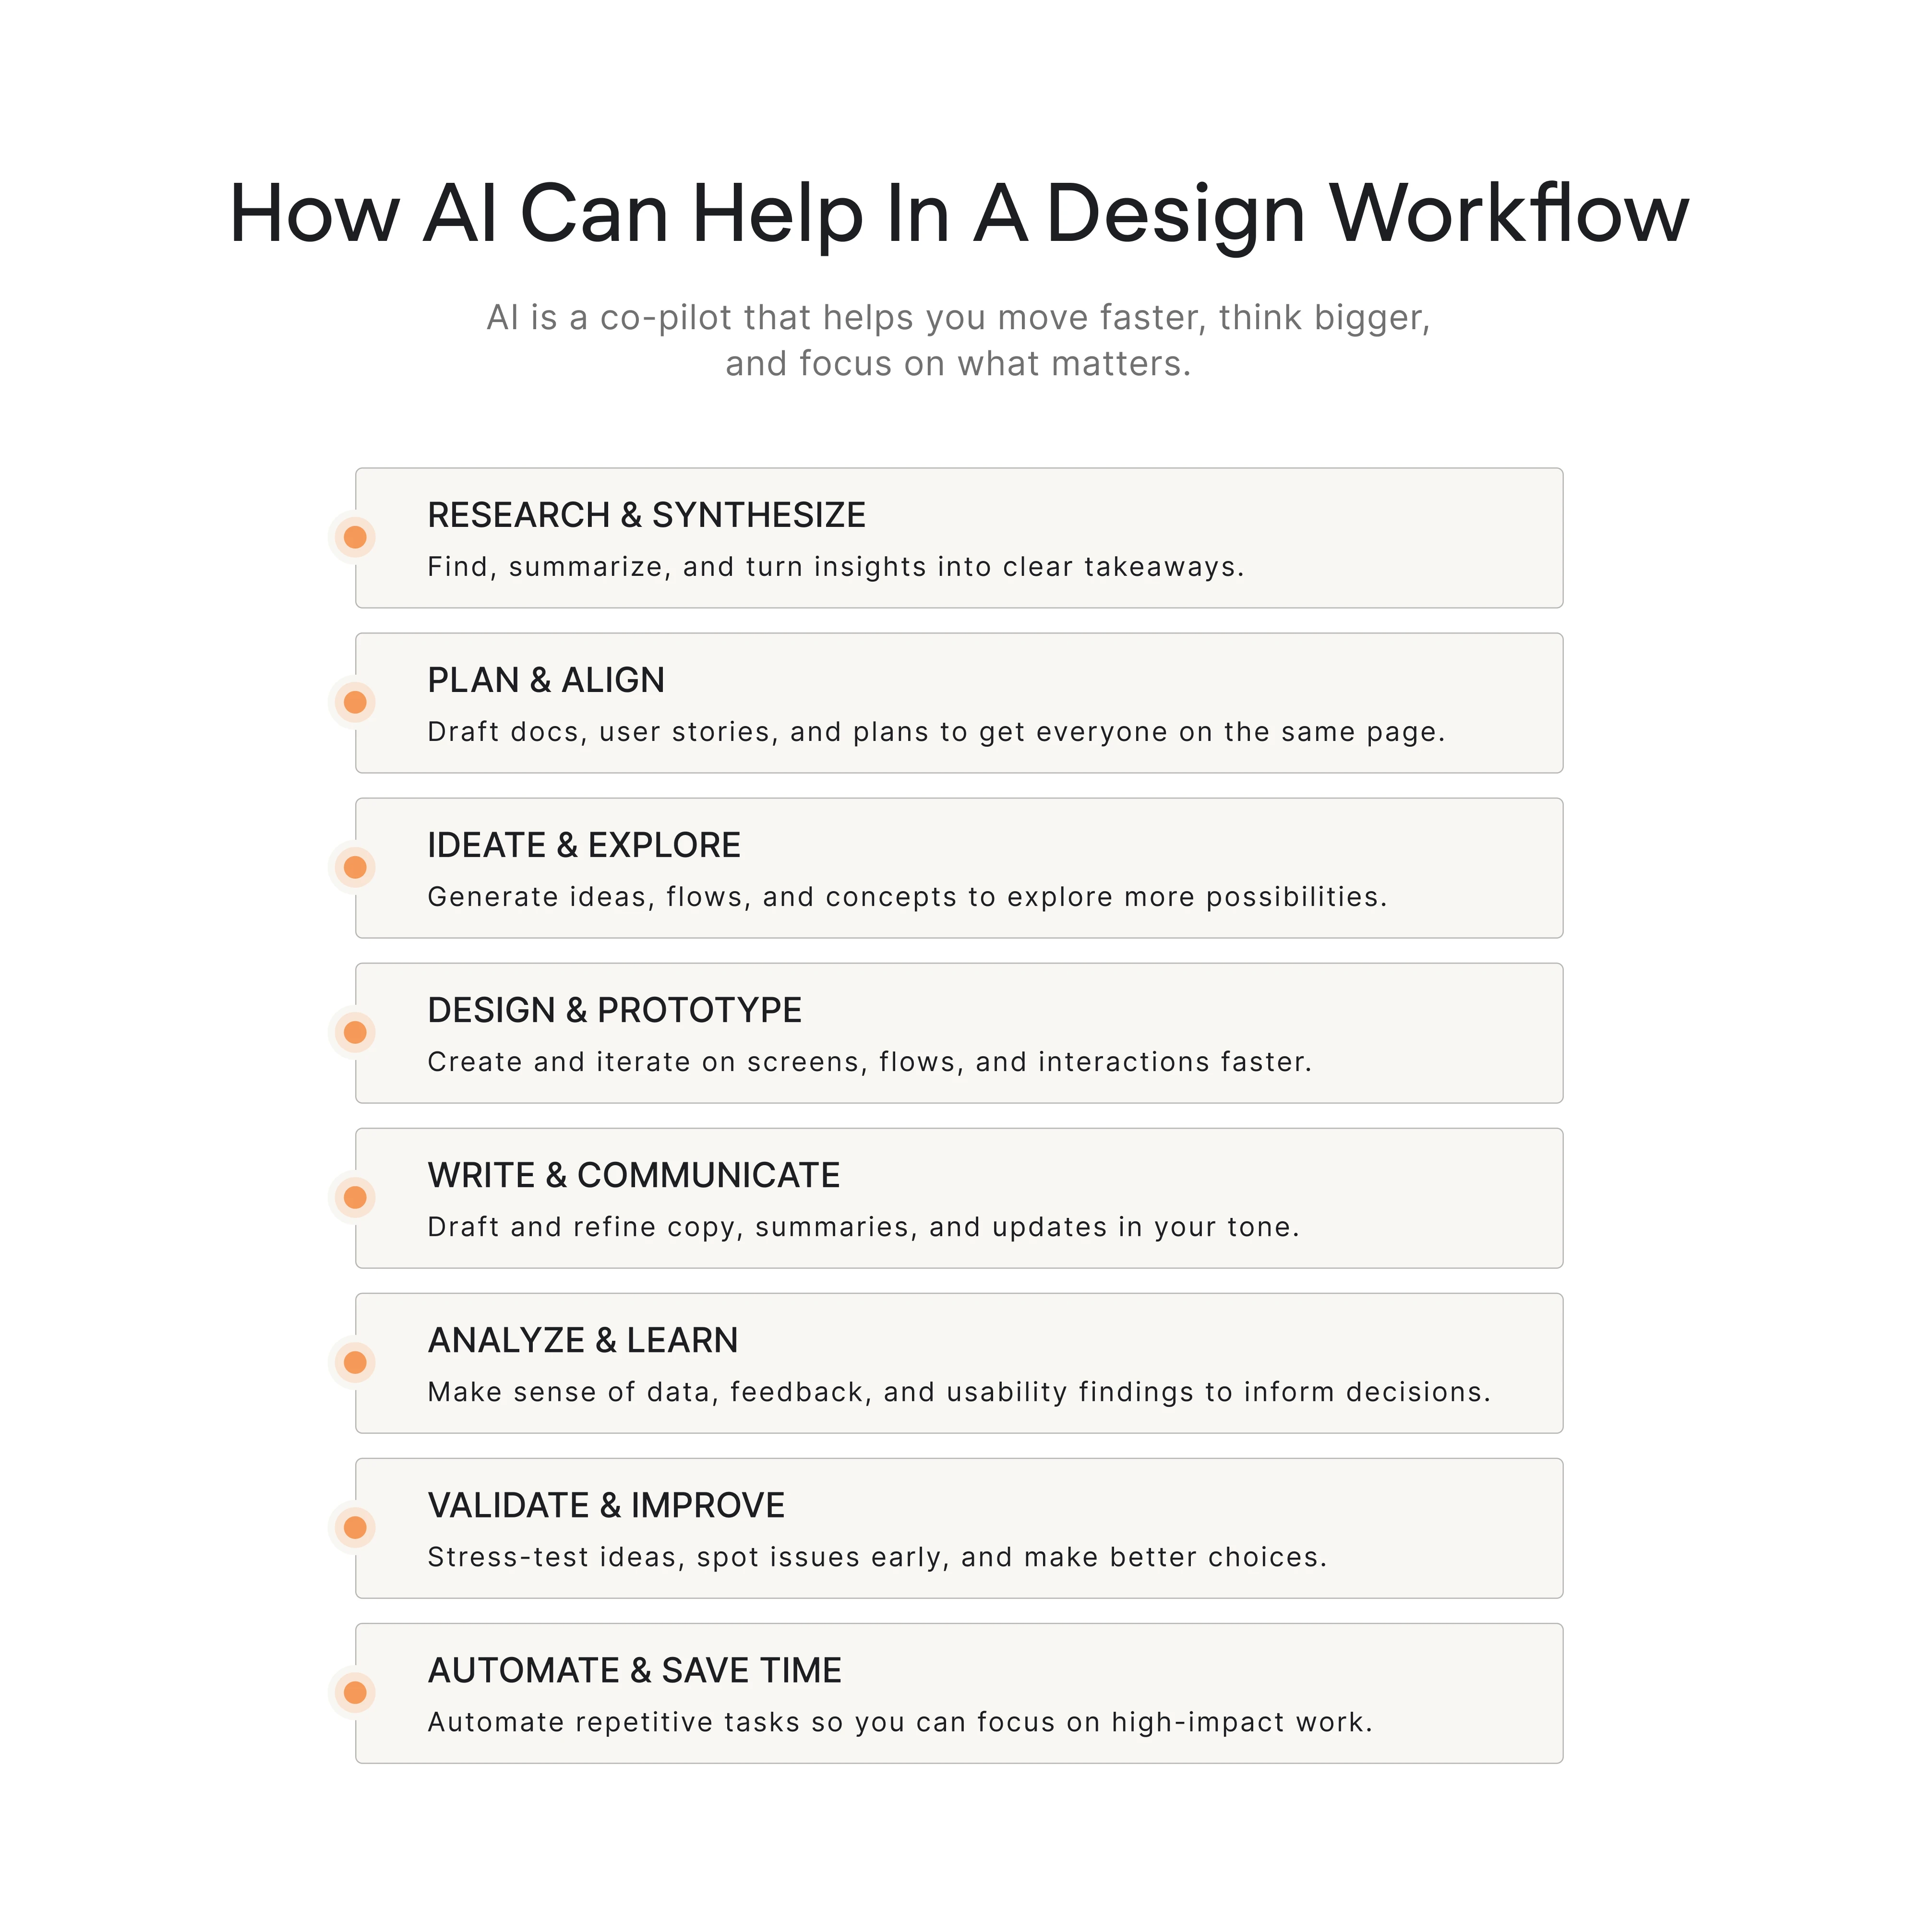
A study by researchers at Polytechnique Montréal interviewed UI/UX designers and found four areas where an AI UX design workflow adds value: aiding research, kick-starting creativity, generating design alternatives, and facilitating prototype exploration.
In practice, this maps to specific moments where AI design automation handles the heavy lifting so designers can focus on judgment:
- Competitive research that would take two days gets done in ten minutes.
- A decision document that usually requires half a day of writing gets structured in five.
- Repetitive design tasks like asset resizing, state generation, and copy drafting get handled in seconds.
What’s not on that list is making strategic decisions, understanding user psychology, and knowing which problem is worth solving. That stays with the designer.
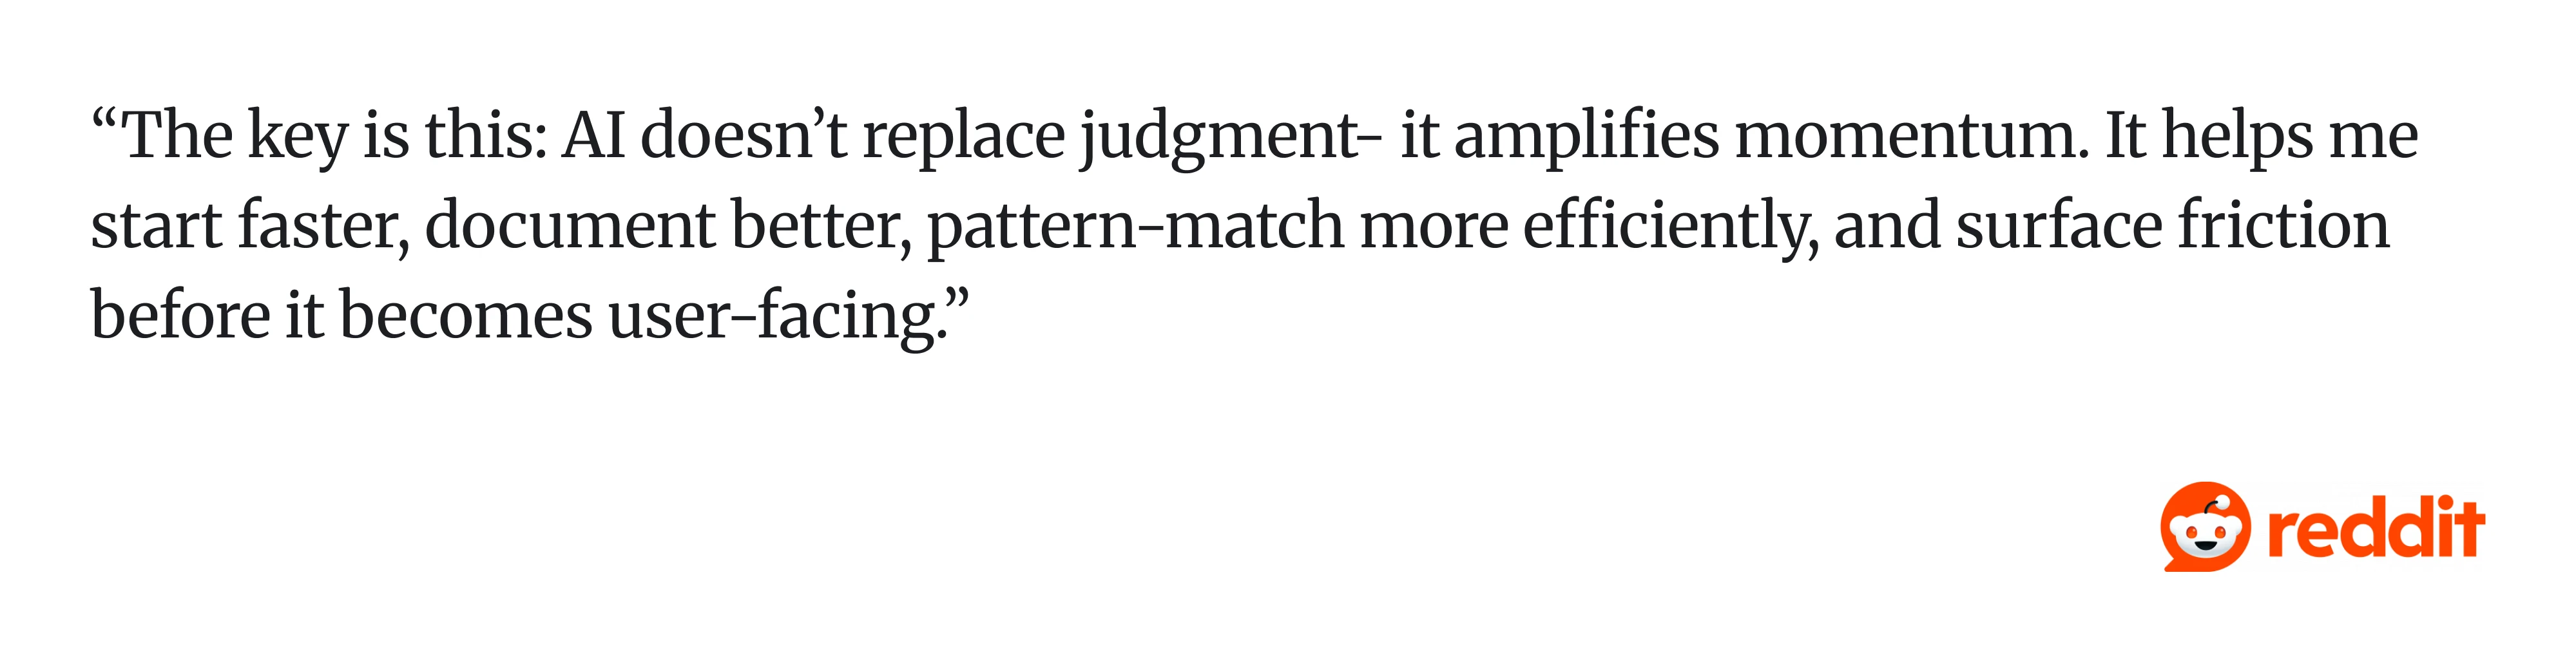
One Reddit commenter put it plainly:
The failure mode to avoid is treating AI as a generator.
As Maksym puts it, working with AI feels like working with a junior product designer: “You give a task, review the creative output, give feedback, and improve iteratively.” The judgment stays with you, but the execution moves faster. That shift in framing is what the AI-assisted design process below is built on.
Step-by-step Eleken’s AI design workflow
This AI agent workflow design was built on a real client project and has since become our standard approach. Every phase has a clear deliverable, and each one builds directly on the last. Let’s take a look at how it works.
Phase 1: Dump everything before you organize anything
Most designers stall at the start of a project because they try to organize before they think. They create folders, rename files, structure their notes, and spend the first hour producing nothing useful. With AI in the loop, that instinct works against you.
The move is to upload everything you have before touching the structure. Screenshots of the current product, requirements docs, client notes, whiteboard photos, and handwritten sketches. AI will synthesize raw material either way, even without pre-organizing. The only rule is don’t let organizing become a delay.
One thing that matters more than any of this is talking to the client before you dump anything into AI. A good conversation upfront is the single biggest quality multiplier in the whole workflow. What you’re trying to collect from that conversation:
- Their intention — why they hired a designer and what outcome they expect.
- User pain points — what’s frustrating people today.
- Known UX issues — what they’ve already identified internally.
- Expected deliverables — wireframes, PRD, prototype, or handoff.
Before moving forward, verify the AI’s summary against your original materials. Check whether it mentions every artifact you uploaded, and flag anything it inferred that nobody asked for.
Phase 2: Refine decisions before you build
The most common mistake in an AI workflow design is jumping straight to output. You paste in your context, ask for a PRD or a flow, get something plausible-looking, and spend the next hour fixing things that were never agreed on in the first place. The fix is simple: frame the session as a dialogue before you ask for anything.
The opening prompt sets the tone for everything that follows.
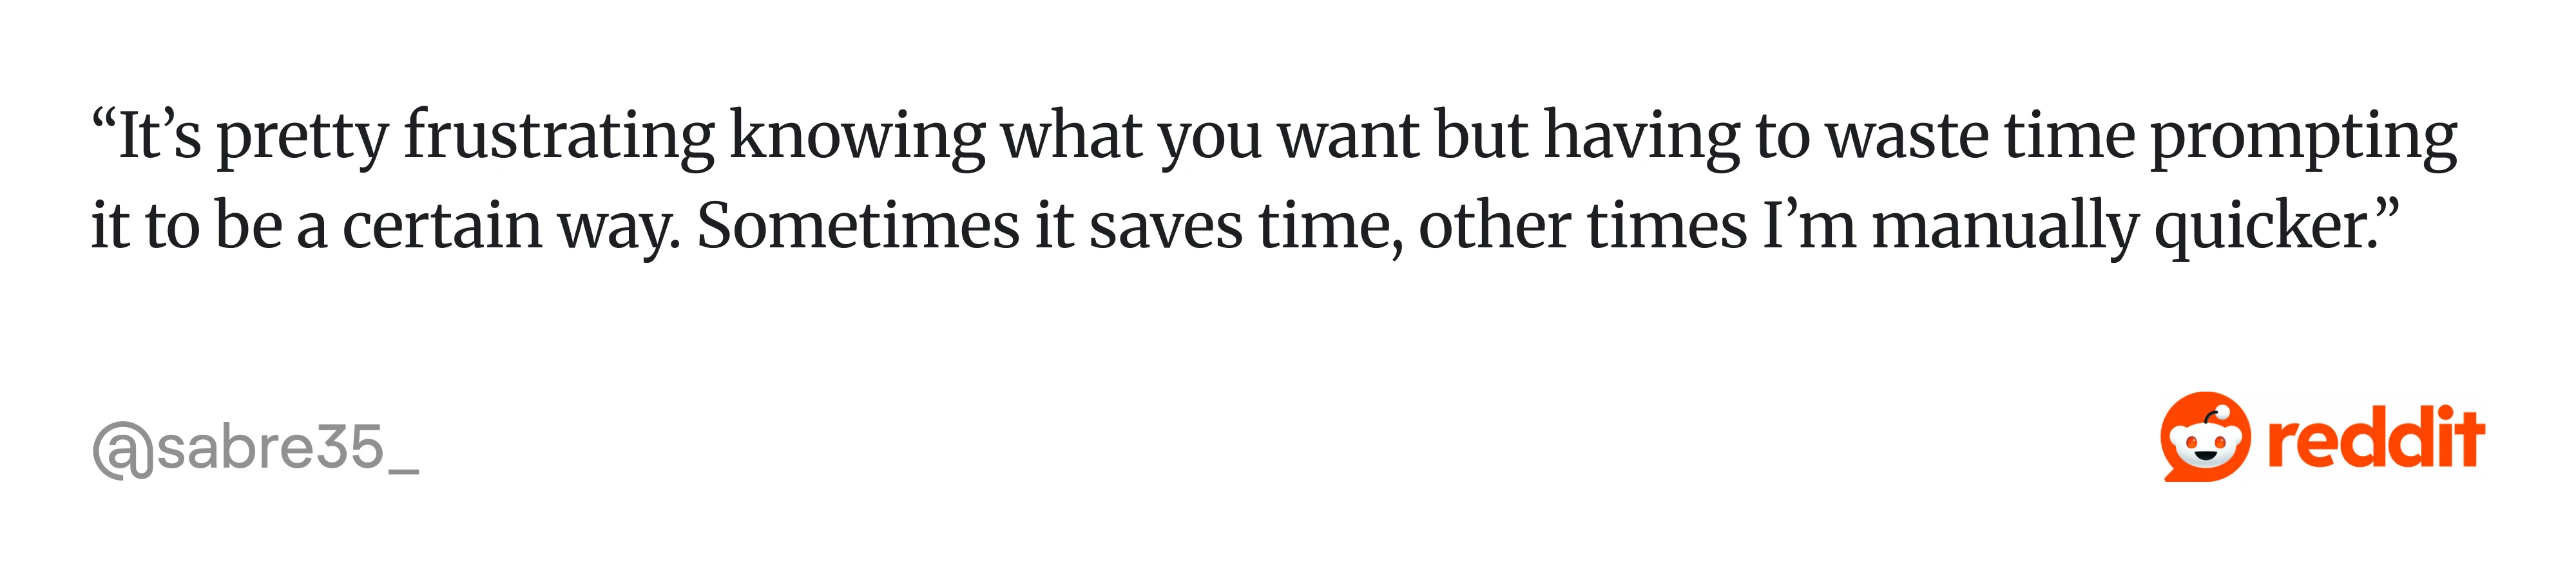
If your first message asks AI to surface questions and options, you won’t need to pull back mid-conversation. Adding a line like “Don’t build anything yet — just show me you understand the full picture.” signals that you want comprehension, and keeps the conversation as a dialogue from the very first message.
From there, the refinement loop looks like this:
- Ask AI to summarize what it understood from your context.
- Work through open questions together.
- Push back on AI suggestions and ask for alternatives.
- State your decisions clearly once you’ve landed on them.
Before moving to research, create a short decision log with every call made in this phase, including reasoning. It becomes the backbone of your stakeholder document later, and it keeps ambiguity from quietly carrying into the spec.
Phase 3: Research competitors with purpose
Generic research is one of the biggest time sinks in design work. Asking AI “what are best practices for settings pages” gets you textbook answers that don’t map to any real product decision. The way to get something useful is to name specifics, like specific companies, specific features, specific UI patterns.

The good news is you don’t need to know which competitors to benchmark before you start. A two-step flow works better.
First, ask AI to surface products that already solve a similar problem or ship a comparable feature. Ask for 6–10 candidates across direct competitors, adjacent products, and best-in-class references, with a one-line reason each one is relevant.
Then narrow the list down to 3–5 and go deep on those, asking AI to find screenshots and synthesize what patterns they use and why.
In Eleken’s workflow, analyzing six competitor platforms with visual examples takes about ten minutes. The same exercise done manually would take one to two days, and most designers would end up looking at one or two references at best.
A few things worth verifying before you trust the output:
- Open the actual products and confirm the UI matches what AI described — competitor features get hallucinated more often than you’d expect.
- Watch for survivorship bias — AI tends to surface well-known companies, which means smaller competitors with better patterns often get missed.
The goal coming out of this phase is a set of verified patterns you can cite when making design decisions in the next phase. For a closer look, check out our article on AI in UX research.
Phase 4: Present decisions to stakeholders
Most designers send stakeholders a PRD or a set of screens, get pushback on things that were never agreed on, and spend the next week revising. The problem lies in the sequence. When stakeholders see decisions for the first time inside a spec, they push back. When they see the reasoning first, they buy in.
The move is to put together a decision document before the PRD exists. It should be clear enough to walk a stakeholder through the thinking.
For each decision, the structure is:
- What problem we’re solving.
- What options we considered.
- The tradeoffs between them.
- What we’re recommending and why.
AI can generate this in about five minutes from the decision log you built in Phase 2 and the research from Phase 3.
What this buys you is a spec with zero contested decisions. By the time the PRD lands, every strategic call has already been reviewed and signed off.
One quality check worth running before you send it is asking AI to argue against each recommendation. If the counterarguments are strong, your rationale needs more evidence. A good recommendation should be able to survive its own red team.
Phase 5: Prototype with AI to feel the flow
With decisions approved and a spec in hand, the next step is turning it into something you can click through. An AI prototyping workflow forces real decisions and surfaces the things a spec never could: pacing, transitions, and how states feel in sequence.
This is also where Eleken’s approach shifted most visibly for clients.
As Maksym puts it, “The moment a client can click through a real interaction like a dashboard with live data, working form validation, or animated states, the feedback changes completely. Figma prototypes can show it, but they can’t make you feel it.”
This hands-on, iterative approach is what the design community has started calling vibe design.
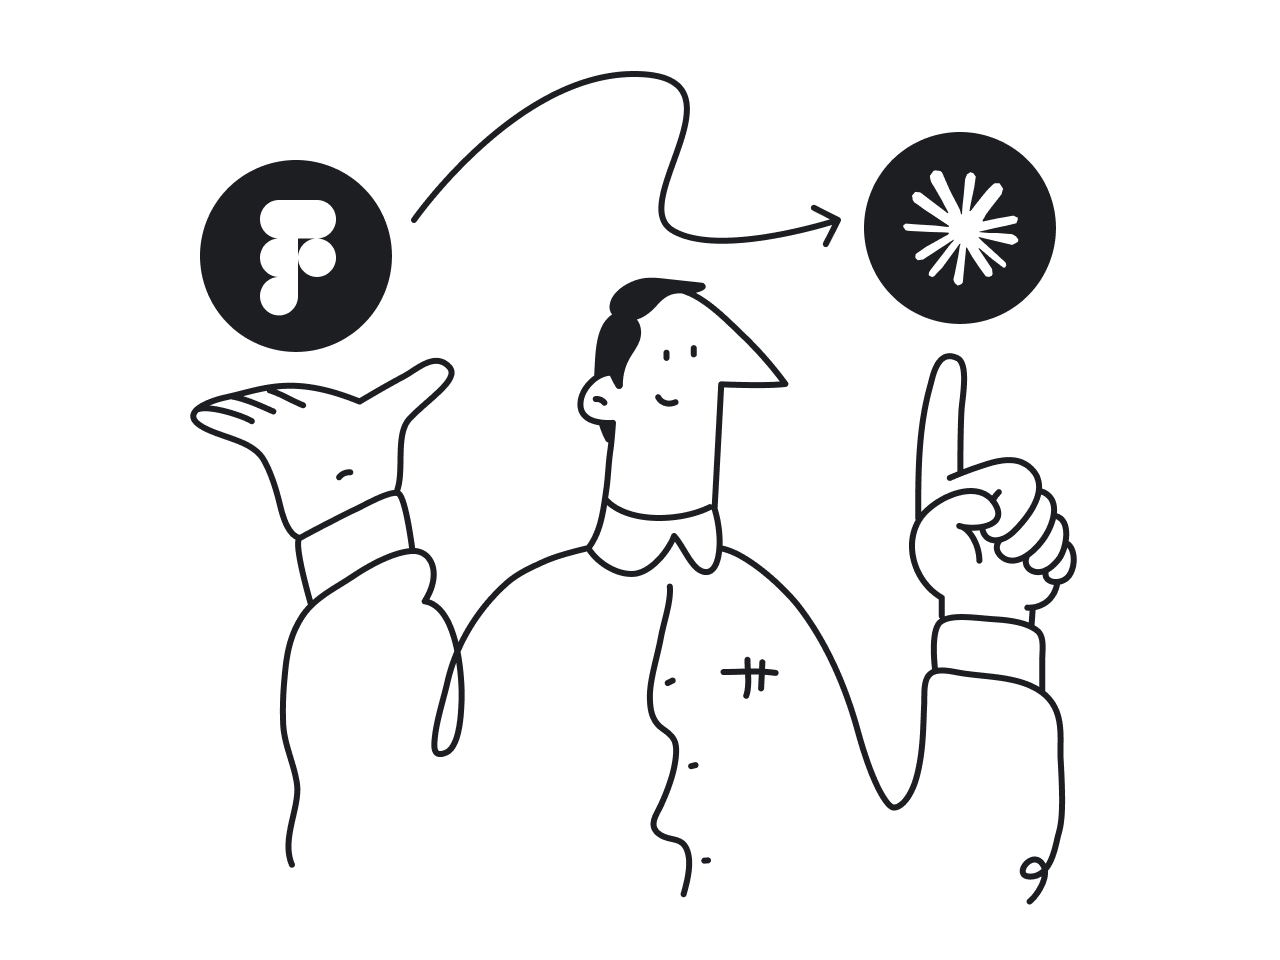
For AI design workflow integration tools, the current landscape offers a few paths. Lovable, v0, and Bolt AI are strong for rapid ideation from zero, as they produce something clickable fast. Our workflow runs on Figma Make paired with Claude Code, which gives you a clean handoff from visual design into iterable code.
Both AI tools generate UI components that you can review against your spec immediately. The choice between them matters less than the habit of generating something runnable early and iterating from there.
A few things that make the iteration loop faster:
- Keep all reference materials inside the project folder from the start so Claude Code can read them without re-uploading on every prompt.
- Launch a localhost preview as soon as the first generation completes. Seeing the prototype in a browser beats reading a diff.
- Use a visual feedback tool to annotate directly on the running preview. Describing layout issues in prose is slow. Pointing at them is much faster.
The core principle here is the same as the rest of the workflow: don’t hand the task over, steer it. Generate the core flow first, review it against the spec, and treat every round of feedback as a targeted correction rather than a new brief.
If you want to go deeper on the topic, we have a full article on AI prototyping.
Phase 6: Iterate with delta prompts
Once the prototype is running, the temptation is to keep feeding AI broad feedback, like “this doesn’t feel right, can you rework the layout?” That approach costs more than it saves. Every full regeneration risks breaking things that already worked, and it turns focused corrections into open-ended redesigns.
Delta prompts are a better habit. Upload a screenshot of what’s wrong, write a short numbered list of specific changes, reference the PRD section each change relates to, and ask AI to address only those issues. Nothing else gets touched.
The prompt structure might look like this: “Here is a screenshot of the current state. I need these specific changes: 1. [issue] — screenshot X, PRD section Y. 2. [issue] — screenshot X, PRD section Y. Address only these. Don’t change anything else.”
Screenshots work, but they slow you down and leave you describing regions and coordinates in prose. A browser-based visual feedback tool that lets you point and annotate directly on the running preview and paste those notes into the session is significantly faster. The difference becomes obvious after your first few rounds.
Once each delta is done, run a quick check:
- Did only the intended sections change? AI occasionally makes unsolicited edits to adjacent parts of the layout.
- If a delta changed a design decision, update the decision document to match. Letting the two drift apart creates confusion at handoff.
The discipline of targeted corrections compounds fast. Five focused delta rounds will get you further than two full regenerations, with far less regression risk.
What this workflow saved (and what it didn’t)
The numbers from our guide are worth putting on the table directly, because they’re the kind of claim that sounds exaggerated until you’ve run the workflow yourself:
The one-hour figure represents focused expert time. It assumes the designer already has the domain knowledge to evaluate AI output and make good decisions. What the workflow compresses is the execution work that surrounds that expertise.
The number of AI workflow design platforms available today makes AI adoption tempting to rush. The workflow matters more than the platform you run it on.
That’s also where the limits show up. An AI-powered design workflow won’t save you from a poor brief, a client who hasn’t decided what they want, or a spec built on assumptions. AI compresses execution time. It doesn’t fix upstream problems.
There are also specific failure modes worth knowing before you hit them.
- AI hallucinates competitor features more often than you’d expect, which is why every research output needs a manual check against the actual product.
- Generated specs can carry subtle errors in data models that only a developer review will catch.
- Delta prompts occasionally edit sections you didn’t ask them to touch, which makes diffing after every iteration a habit worth building early.
The honest summary is that the AI workflow moves fast, but the speed is only as good as the judgment directing it.
A final thought
If you take one thing from this article, make it the sequence. Talk to the client before you open AI. Refine before you build. Present decisions before you show screens. Each step feels slower in the moment and saves you more time downstream.
For a first design project, don’t try to run all six phases. Start with the context dump and the refinement loop. Get comfortable treating AI as a thinking partner before you use it to generate a full spec. The rest of the workflow follows naturally once that mental model clicks, and you understand how AI fits into your process.
At Eleken, we run this agentic AI workflow design on every project. If that sounds like what your product needs, let’s talk.


.webp)
.webp)
.webp)
.webp)


