

Prototypes used to be mostly simulations of a product. Today, Claude Code prototyping makes it possible to create something much closer to the real thing: a working interface with actual interactions, states, components, and logic.
This shift is already visible in how design teams work. According to the AI in Design Report 2026, 74% of surveyed designers use AI for prototyping, while 43% say their companies increasingly expect functional prototypes or real code instead of static mockups.
But generating working UI quickly isn't the same as creating a good prototype. Without clear scope, product context, and design-system constraints, speed can simply produce more inconsistent screens, unnecessary features, and code for the team to review.
At Eleken UI/UX design agency, Claude Code has become part of our Product Design Engineering workflow, helping us explore ideas directly in code and bring prototypes closer to the real product.
In this guide, we'll explain what Claude Code prototyping is, where it adds value, and where it can go wrong. More importantly, we'll walk through a practical workflow for using it in SaaS product design — from defining what you need to validate to handing a working prototype to engineering.
What is Claude Code prototyping?
Claude Code prototyping is the use of Claude Code to create interactive, code-based versions of product ideas before full development.
Instead of only showing what an interface might look like, teams can open the prototype, interact with it, test behaviors and states, and iterate based on what they learn.
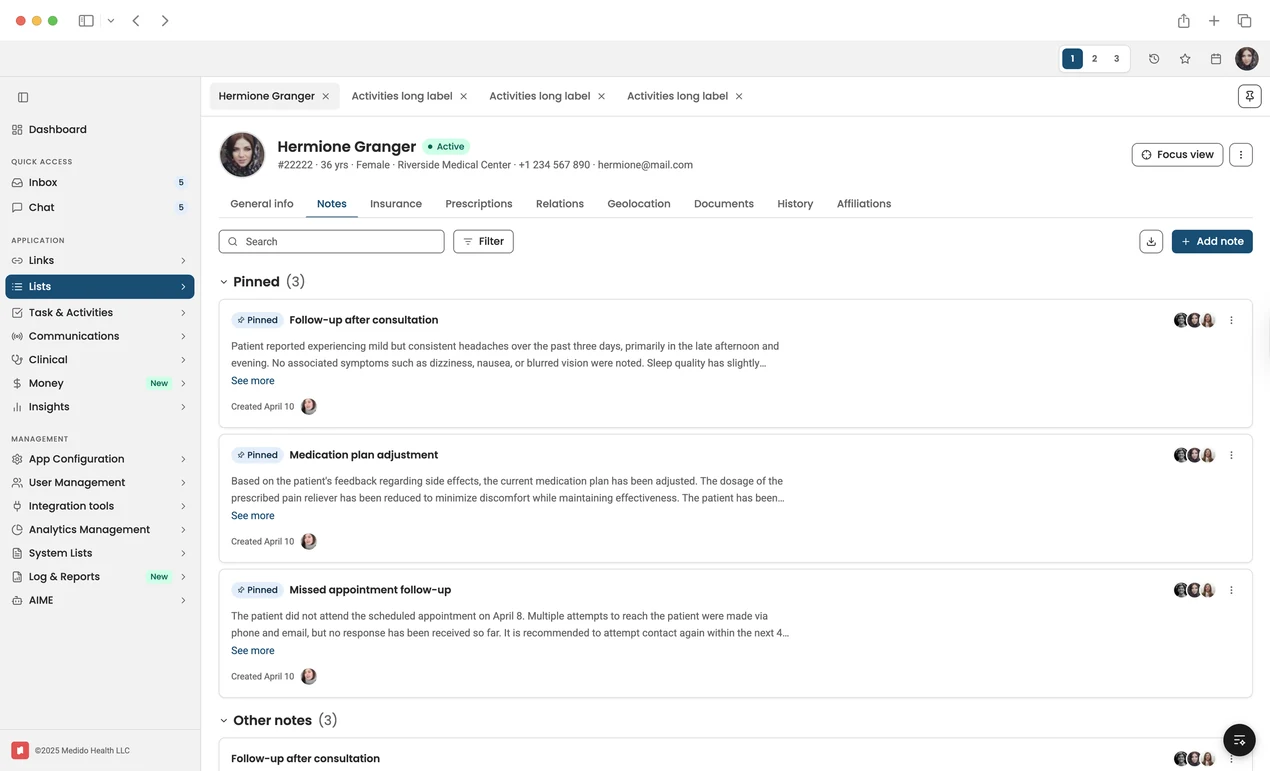
A Claude-generated healthcare interface prototype for navigating patient records, pinned clinical notes, communications, documents, insurance, prescriptions, and care-team activity from a single workspace.
A Claude Code prototype can be a quick experiment that gets discarded after validation or a more realistic frontend prototype built with existing components and design tokens. The level of fidelity should depend on what the team needs to validate.
What makes it different from a traditional prototype?
This doesn't make prototyping with Claude Code a replacement for Figma. Some teams may use Claude Code for functional exploration and Figma for visual refinement, while others may take a coded prototype much closer to implementation. The right approach depends on the question you're trying to answer: Do you need to validate how something looks, or how it actually behaves?
Why prototype with Claude Code?
The biggest advantage of Claude Code for designers isn't simply generating UI faster. It's being able to test ideas in an environment that behaves more like the eventual product.
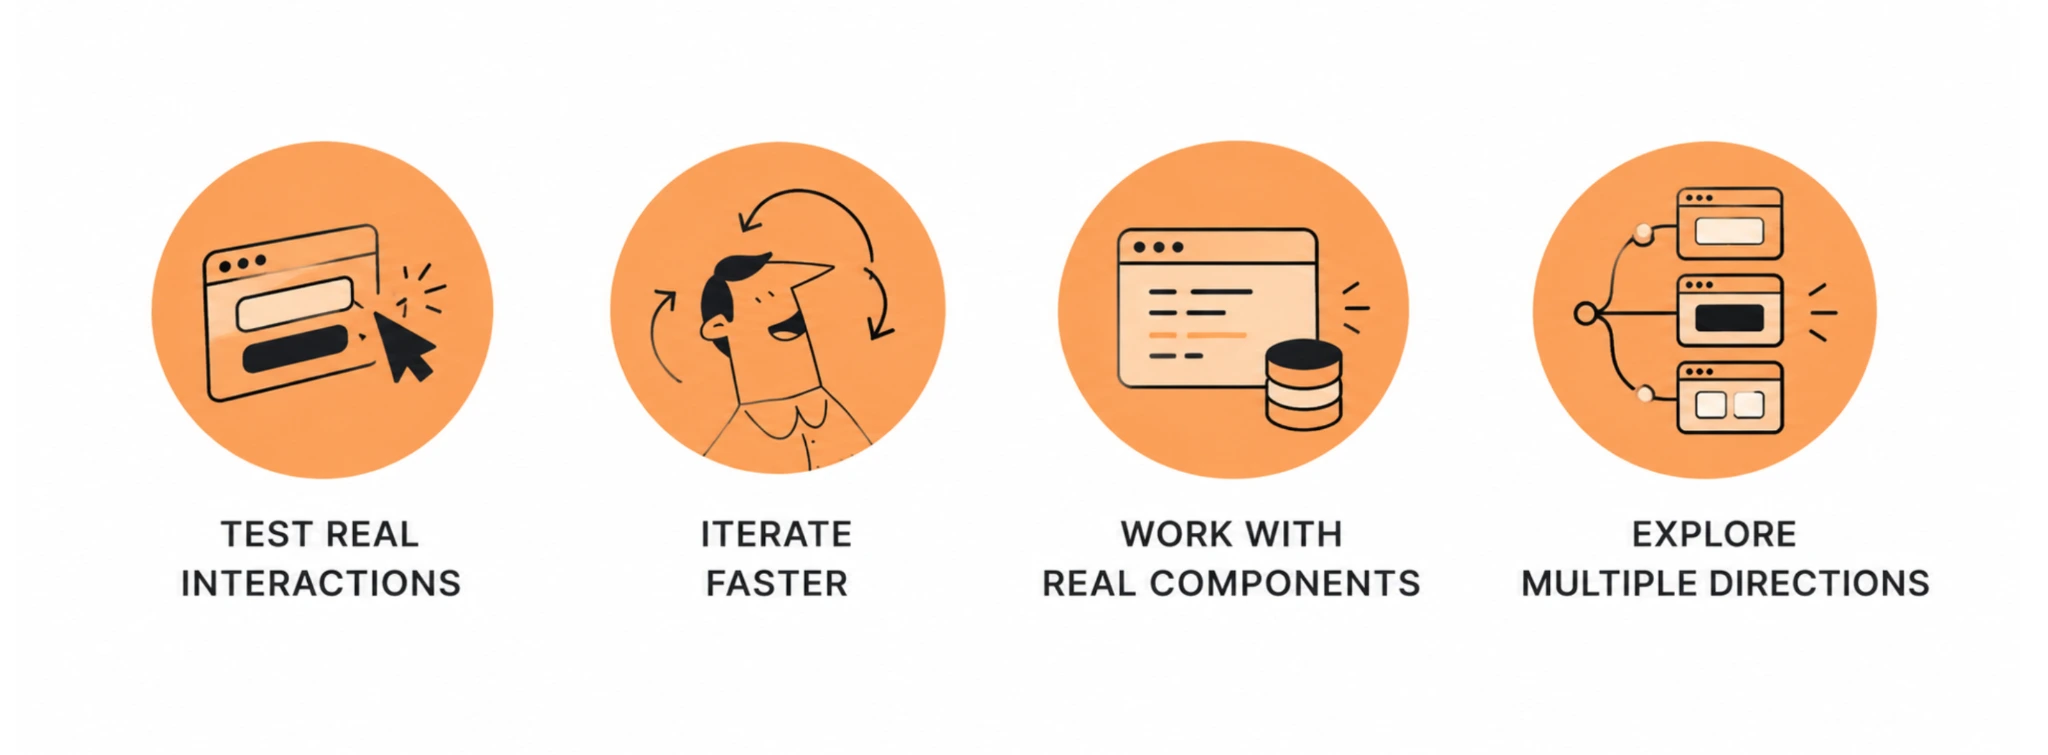
Test more than screens
A clickable mockup can demonstrate a flow, but a Claude Code UI prototype can include actual states, inputs, imports, interactions, and logic. AI product design helps teams validate not only what an experience looks like, but how it behaves when someone actually uses it.
Explore and iterate faster
Instead of manually rebuilding every variation, teams can generate an initial implementation, interact with it, identify problems, and ask Claude to make targeted changes.
The loop becomes: Generate → interact → review → change → test again
This makes it easier to explore ideas without investing heavily in each direction.
The efficiency gains are reflected in recent industry data: 85% of respondents reported improvements in their speed and efficiency when using AI. While this finding covers design work more broadly, it helps explain why AI-assisted prototyping is becoming an attractive part of the workflow.
Bring prototypes closer to development
Claude Code prototypes can also work with real components, design tokens, and existing frontend patterns. That makes the prototype less of an isolated artifact that developers later have to reinterpret.
In Eleken's workflow, for example, designers can prototype against existing product components and, where the technical setup allows it, pass a working branch to engineering for review.
This reflects a broader shift toward code-based design workflows. In the 2026 AI in Design survey, 50% of respondents reported using AI for code generation and frontend implementation, up 31 percentage points from 2025. Half had also shipped AI-generated code to production, although that doesn't mean every prototype is ready to ship.
Explore multiple directions before committing
Code-based prototyping also makes it possible to keep alternative ideas in separate branches or versions. The brief highlights a community example where multiple Git worktrees were used to let Claude implement variations in parallel before the selected direction was passed to an engineer.
That means faster generation doesn't have to push the team toward the first plausible solution. Used deliberately, it can create more room to compare alternatives before committing development resources.
Where Claude Code UI prototypes go wrong
Claude Code removes much of the effort involved in building a prototype. It doesn't remove the product decisions behind it. Without enough context and review, faster generation can simply create more things for the team to fix.
And these concerns aren't hypothetical: 62% of designers cite inconsistent or unreliable output quality as a major challenge when using AI, while 45% point to a lack of control over the results. For code-based prototyping, this reinforces the importance of clear requirements, design-system constraints, and regular reviews.
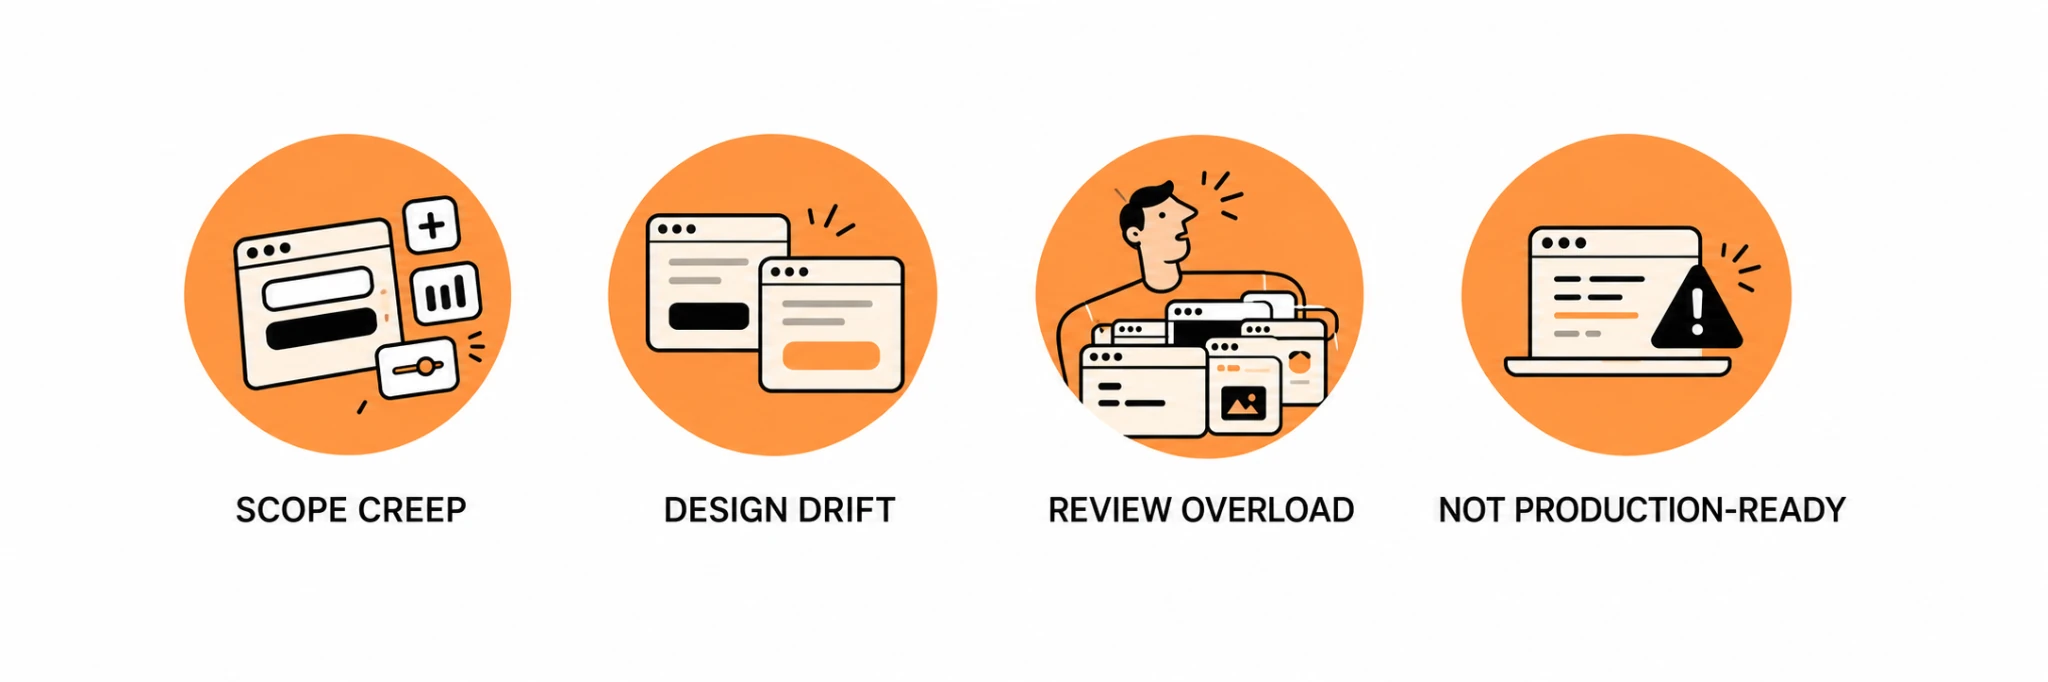
Claude invents things you didn't ask for
Ask for one feature, and Claude may add extra fields, statistics, CTAs, or functionality that seems reasonable but was never part of the requirement. The result can look complete while quietly expanding the original scope.
The UI becomes inconsistent
Without clear AI design-system constraints, the same action or concept may be represented differently across screens. Components, terminology, spacing, and interaction patterns can gradually drift as the prototype evolves.
Fast output creates a large review backlog
When producing another variation takes minutes, generation stops being the bottleneck. Reviewing those variations and deciding which ideas should survive becomes the harder part.
Product and design judgment still matters: just because Claude can create five approaches doesn't mean all five deserve equal attention.
A working prototype isn't necessarily production-ready
A prototype can successfully prove an idea without meeting the standards required for production. Accessibility, architecture, edge cases, design-system compliance, and engineering quality may still need significant work.
That's why the goal of prototyping with Claude Code shouldn't be “generate it once and ship it.” The goal is to learn faster while keeping enough human control to make sure you're learning from the right product.
How to prototype with Claude Code: An 8-step workflow
The quality of Claude Code product design depends heavily on what happens before generation. Instead of starting with “build this interface,” start by defining the problem and giving Claude enough context to work within your product's boundaries.
Step 1. Define what you're trying to learn
Before opening Claude Code, clarify the purpose of the prototype:
- What problem are we solving?
- Who are we solving it for?
- What hypothesis are we testing?
- What does the prototype need to demonstrate?
- What should it explicitly not include?
That last question is particularly important. Clear exclusions reduce the chance that Claude fills gaps with features, fields, or interactions you never intended to test.
You don't need a complete product specification at this stage. You need a clear boundary around the experiment.
Step 2. Give Claude product context before asking for UI
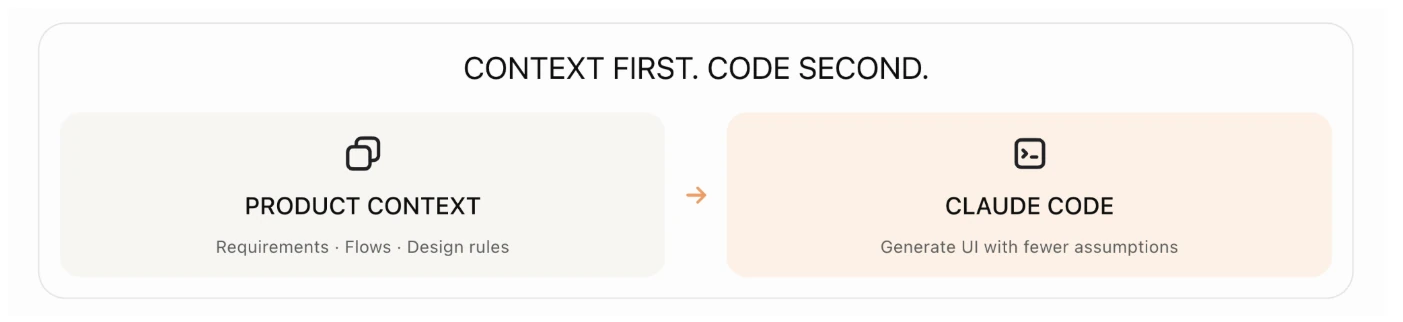
Once the scope is clear, provide the information Claude needs to understand the product. Depending on the prototype, that might include user and problem context, requirements or tickets, existing flows, screenshots or Figma references, established product patterns, technical constraints, and design-system rules.
Persistent project documentation such as CLAUDE.md can also help keep important instructions available throughout the work.
The principle is simple: context first, code second. The less Claude has to guess about your product, the less time you'll spend correcting those guesses later.
Step 3. Connect the prototype to your design system
For an established SaaS product, context should also include the rules governing the interface.
Give Claude access or clear guidance around components, design tokens, component states, interaction patterns, and naming conventions. Depending on the technical setup, tools such as Storybook and MCP can help provide this context.
This turns the design system into a shared source of truth for designers, developers, and the AI-assisted workflow—and reduces the risk of every new screen inventing its own UI patterns.
Step 4. Ask Claude to understand before it builds
A common mistake in prototyping with Claude Code is jumping directly from context to implementation. Before asking Claude to write code, ask it to summarize what it understands about the feature, identify gaps, and raise questions.
A better sequence is: Context → summary of understanding → clarifying questions → implementation
This gives you a chance to catch incorrect assumptions before they become UI. If Claude misunderstood the user, scope, or expected behavior, correcting a summary is much easier than untangling an already-generated prototype.
Step 5. Generate the first working version
Once the direction is clear, build the smallest version that can answer your original question. Then run it locally and interact with it like a user would.
The Claude Code design workflow becomes:
Prompt → run locally → interact → identify problems → prompt or edit → repeat
Don't treat the first output as the finished prototype. Treat it as the beginning of a design conversation. Each iteration should respond to something you learned from the previous version rather than simply adding more functionality.
Step 6. Review the UX, not just whether the code works
A functioning interface can still be a poor product experience. After each meaningful iteration, review the prototype against the original problem.

Check whether the flow solves that problem, whether anything unnecessary has appeared, whether important states and edge cases are covered, and whether terminology and interaction patterns remain consistent. Accessibility and alignment with the existing product should also be part of the review.
This is also where designers' expertise remains critical – 81% of design professionals rely on their own judgment for final visual polish and quality decisions, while 71% rely on it to understand user needs and context. A working prototype can make an idea easier to evaluate, but it can't replace those decisions.
One question is particularly useful: Did Claude solve any problems we never asked it to solve?
Removing those additions can be just as important as improving what Claude generated.
Step 7. Keep iterations controlled with Git
As prototypes become more complex, it's easy to lose track of what changed and which version worked best. Git gives Claude Code frontend prototype a simple structure for experimentation without turning the process into a full development cycle.
A practical flow might look like this:
Main branch → prototype locally → iterate → push changes → open for review
If you want to test another direction, create a separate branch rather than continuously rewriting the same version. This makes it easier to compare alternatives, revert AI-generated changes that don't work, and preserve the strongest direction.
For product managers and designers, the important part isn't mastering Git. It's having a controlled record of experiments—and a concrete artifact developers can inspect when a direction is ready for review.
Step 8. Hand the winning prototype to engineering
A working Claude Code frontend prototype doesn't automatically mean production-ready code. What happens next depends on how the prototype was built and what it was intended to validate.
Think of the possible outcomes as a spectrum:
Throwaway validation prototype → coded reference for developers → prototype built with real product components that can become a development starting point
At Eleken, where the environment allows it, designers can work with existing components and design tokens in a dedicated branch, then submit the result for engineering review. This reduces the gap between a design concept and something developers can actually inspect and build from.
How Eleken approaches the Claude Code design workflow
At Eleken, Claude Code prototyping is part of a broader Product Design Engineering workflow rather than a shortcut for generating UI. AI design workflow connects research, design, and frontend prototyping so teams can test ideas earlier and give developers a more concrete starting point.
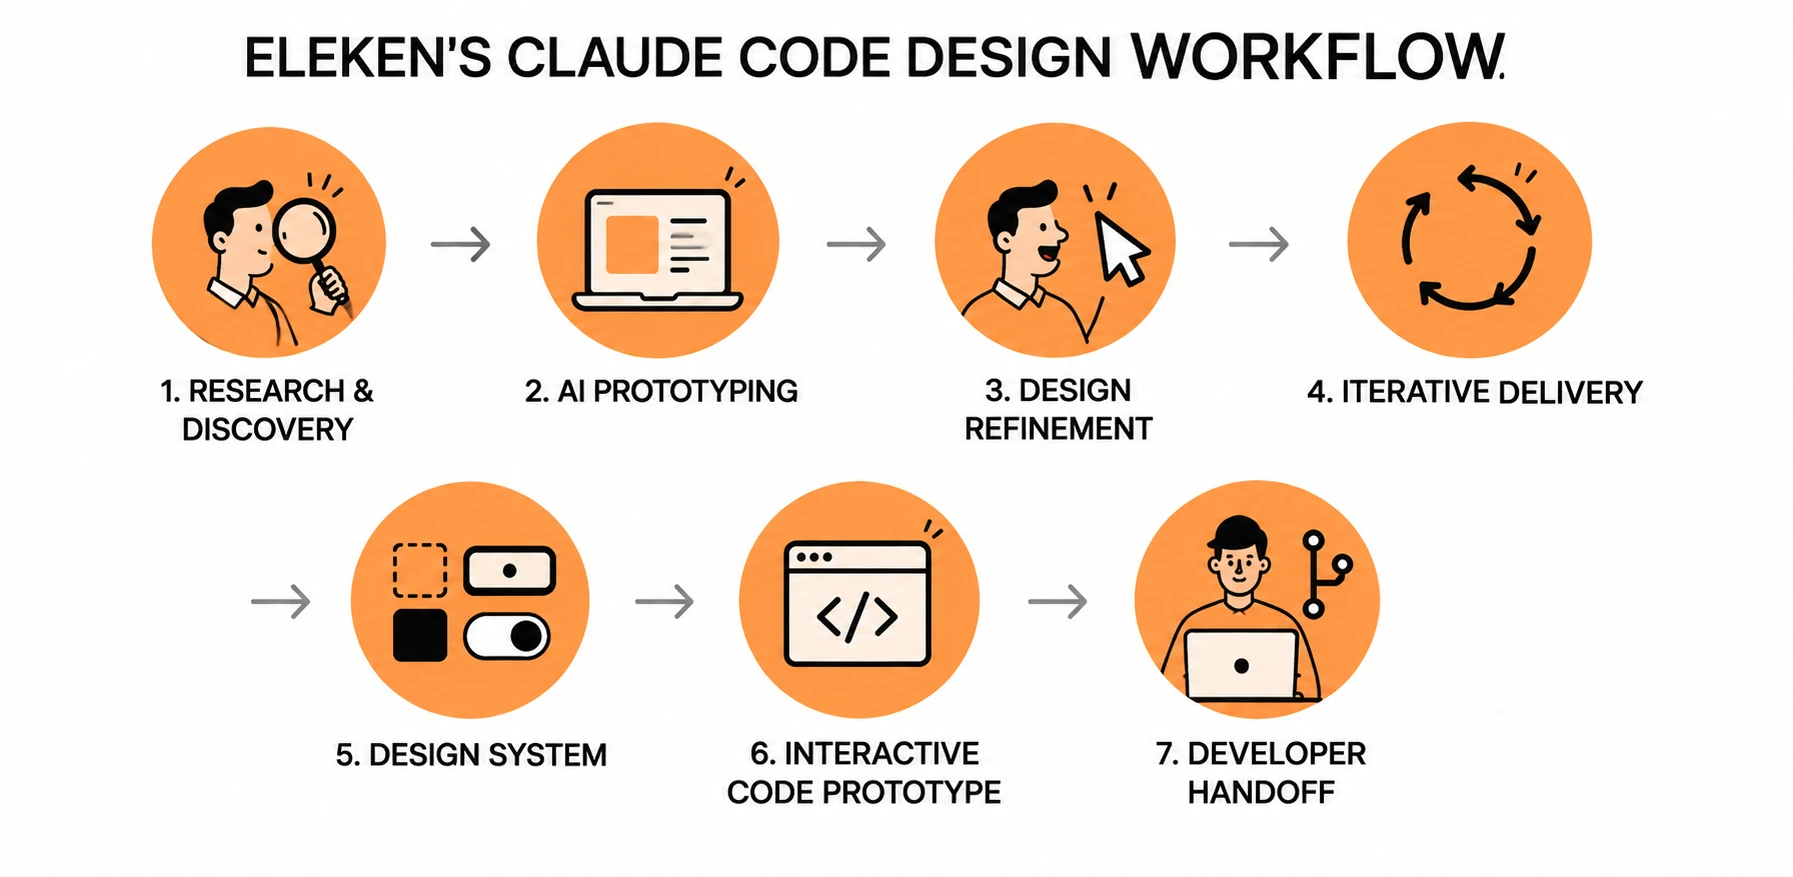
Here’s how the process works:
1 — Research and discovery
We start by understanding the product, its users, and the data behind its performance. A UX audit prioritizes issues by their impact, while competitor research adds context. This gives the team clear problems to solve before prototyping begins.
2 — Prototyping
We use AI to build working prototypes quickly and explore several possible structures. Instead of committing to the first idea, teams can click through alternatives, compare approaches, and make changes while the work is still easy to adjust.
3 — Design refinement
Designers review and refine the generated experience: checking whether flows hold up under real use, adding missing states, and improving interaction details. This is where product knowledge and design judgment turn an initial prototype into a coherent experience.
4 — Iterative delivery
Teams receive working React or HTML prototypes every one to three days and can comment on them directly. Feedback shapes the next iteration, while Figma runs in parallel wherever the team still needs it for exploration, documentation, or collaboration.
5 — Design system
Reusable components and their states develop alongside the product work. When an existing design system is available, designers work with its components and tokens, helping new screens stay consistent with the rest of the product.
6 — Interactive code prototype
The work comes together in a Git project with frontend screens, states, and interactions built out. Engineering gets a working interface to inspect, making behavior easier to evaluate than static screens alone.
7 — Developer handoff
Developers review the frontend, connect it to the backend, and integrate it into the product. The prototype provides a concrete foundation, while engineering owns the review and implementation needed for production.
Throughout this Claude Code design workflow, research guides what we build, designers shape and validate the experience, and engineers decide what is ready to ship. AI accelerates production, while each stage keeps the work grounded in real product needs.
Is Claude Code prototyping right for your product team?
Not every product question needs a coded prototype. Claude Code prototyping is most useful when the team needs to understand how an idea behaves—not just how it looks.
✓ When it's a good fit
Claude Code can be particularly useful when you're working on interaction-heavy features, need more realistic user testing, or want to explore several functional concepts before choosing a direction.
It also becomes more valuable when your team already has a design system or codebase Claude can reference. Existing components, tokens, and product patterns provide constraints that can keep prototypes closer to the actual product and reduce translation between design and development.
✗ When it's probably overkill
If you're exploring a basic layout, or comparing a few static screens, a sketch or Figma prototype may answer the question faster.
The point isn't to use Claude Code whenever a prototype is needed. It's to choose the lightest tool that can realistically test your hypothesis.
There's also a tradeoff as products become more established. The more complex the product, the more context and guardrails Claude needs. Without clear requirements, existing patterns, and design-system constraints, faster generation can lead to more inconsistencies and more cleanup rather than faster validation.
Claude Code is most useful when its ability to build quickly is matched by a workflow that keeps the team in control of what gets built.
From prototype to product with Eleken
At Eleken, Claude Code prototyping is part of our Product Design Engineering approach. We use it on real projects to turn ideas into working prototypes, iterate with existing components and design systems, and bring validated directions closer to engineering through actual code. The goal isn't to generate more UI or replace designers and developers. It's to shorten the distance between “What if we tried this?” and “Here's a working version—let's test it.”
If your team wants to prototype closer to production but isn't sure how to make Claude Code work with your product, codebase, and design workflow, Eleken can help. We know where the tool saves time, where it needs guardrails, and how to turn its speed into a practical product design workflow.